
How to Run a Linux Desktop on an Android Phone Without Root
You can run a full Linux desktop on Android without root using two free apps, Termux and Termux:X11. Install both from GitHub, install Debian Linux with proot-distro, add the XFCE desktop, and start it with one command. It takes about 40 minutes and around 2.6 GB of storage, and it works on almost any phone running Android 7 or newer.
Below, you can see the detailed step-by-step guide on how to run Linux using Termux on Android.
Before You Start
- An Android phone running Android 7 or newer. Almost every phone from the last few years works. I used a OnePlus phone on Android 16.
- About 3 GB of free storage. The finished setup, with Firefox, took about 2.6 GB on my phone.
- Wi-Fi and your charger. The downloads are around 600 MB, and installing the desktop takes a while.
- About 40 minutes. No root, no computer and no paid apps.
Install Termux
Termux is a free, open-source terminal app for Android. Everything in this guide runs inside it. I'm using the version from Termux's official GitHub page, which is one of the two download sources Termux's own website points to.
- 1
Open the Termux download page
Open Chrome and go to github.com/
termux/ termux-app/ releases/ latest. This is Termux's official download page. 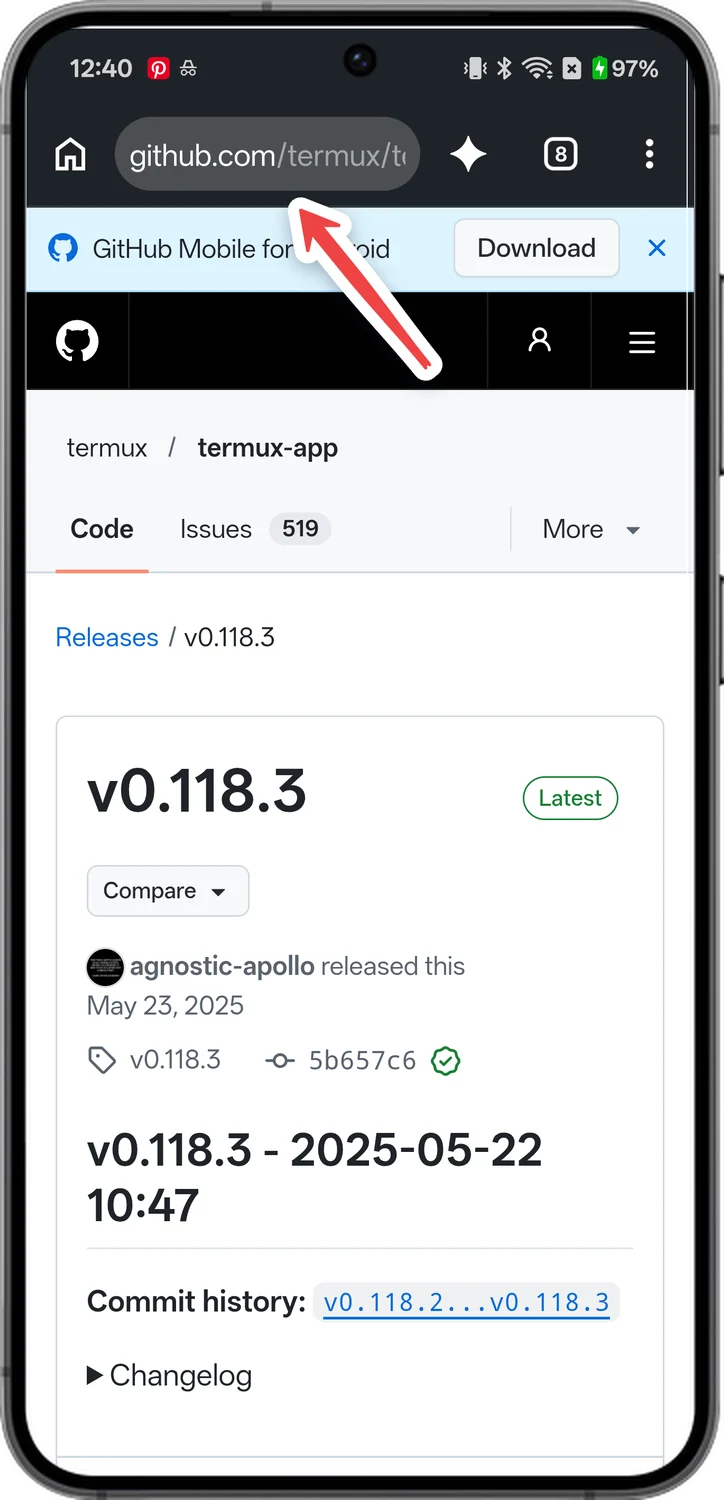
- 2
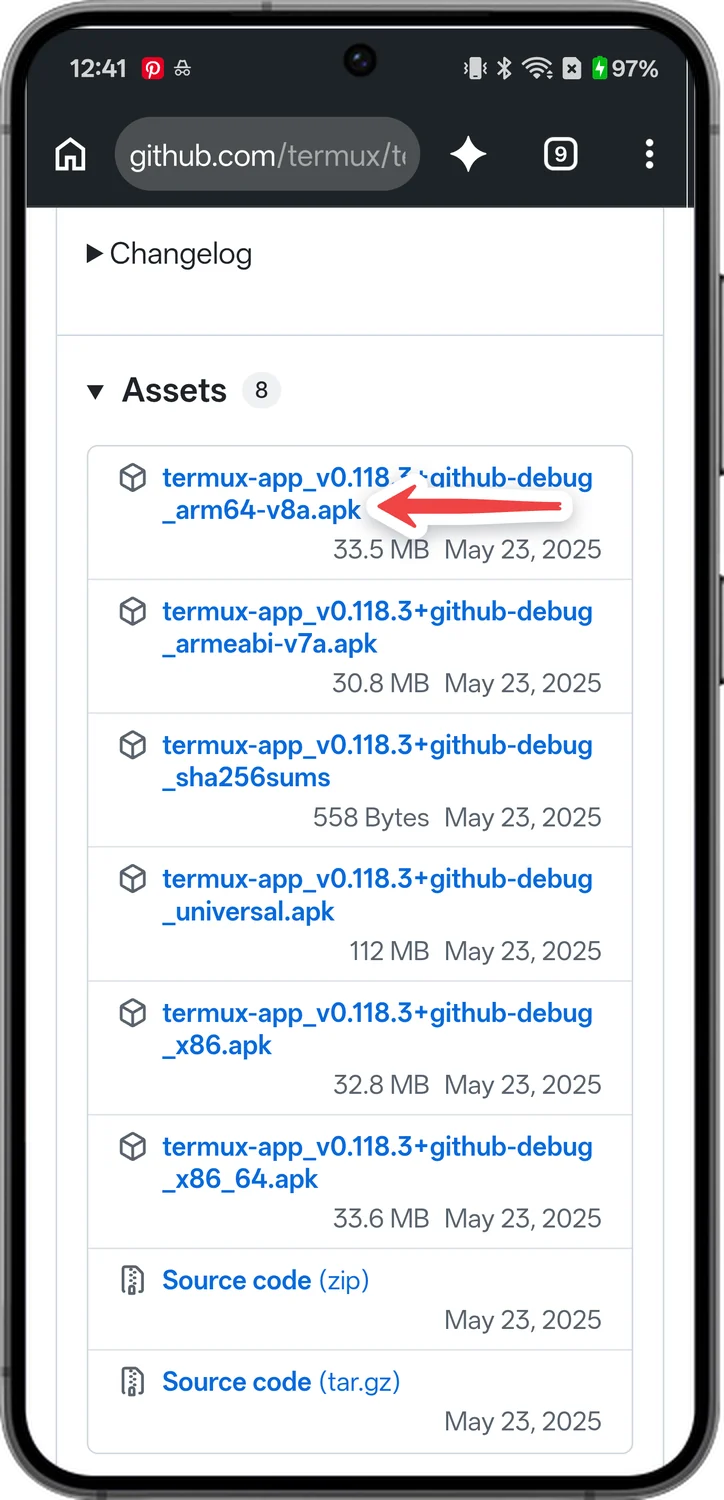
Download the arm64 file
Scroll down to Assets and tap the file that ends in arm64-v8a.apk. Almost every Android phone from the last few years needs this one.
- 3
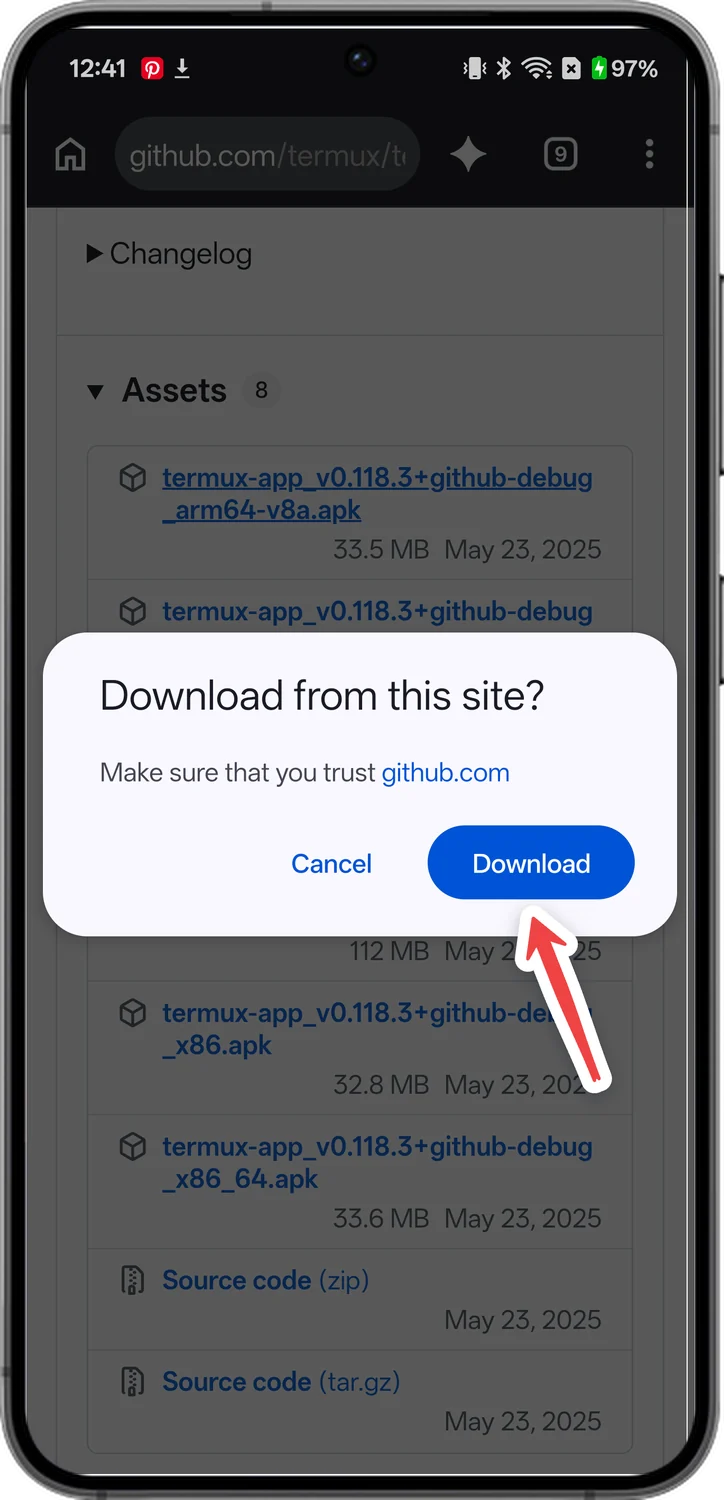
Confirm the download
Chrome asks if you trust the site. Tap Download.
- 4
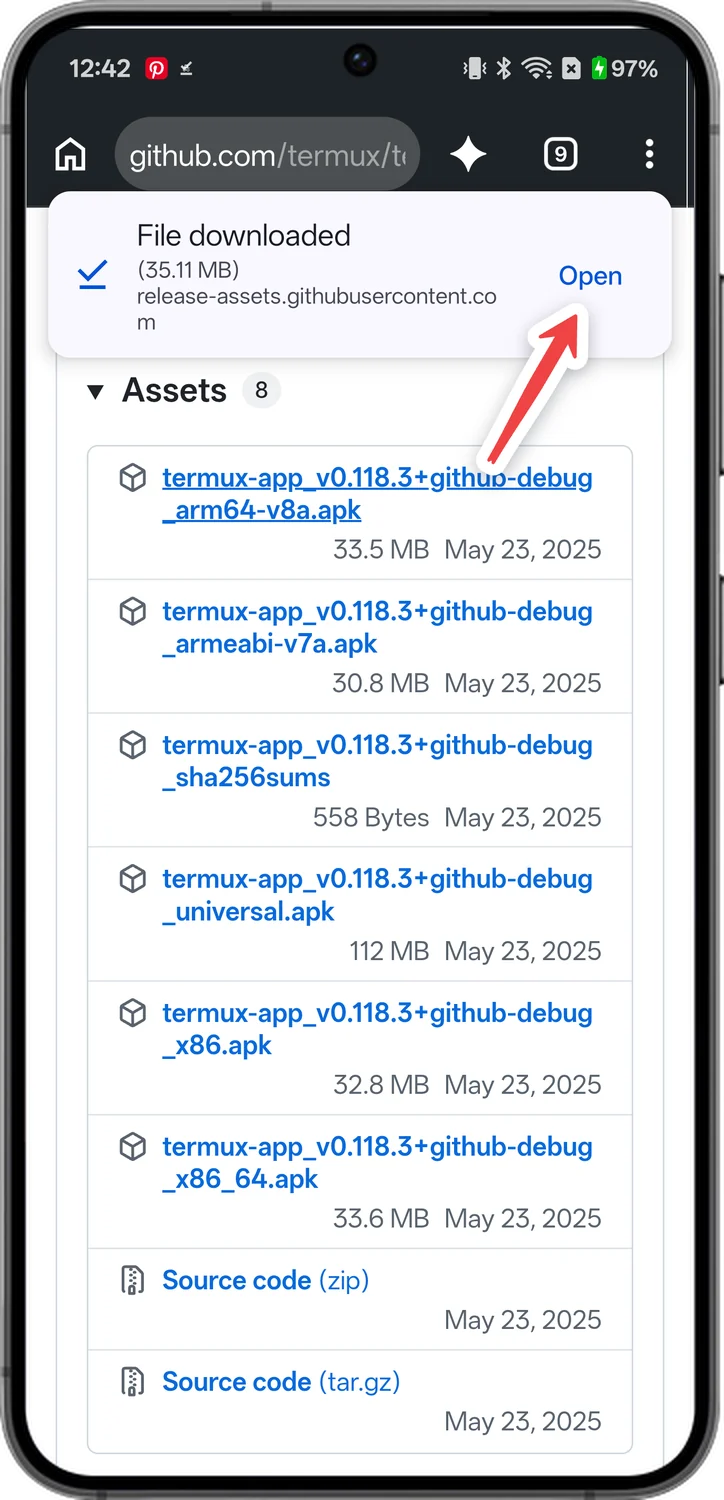
Open the file
When Chrome says File downloaded, tap Open. You can also find it later in Chrome's Downloads.
- Optional
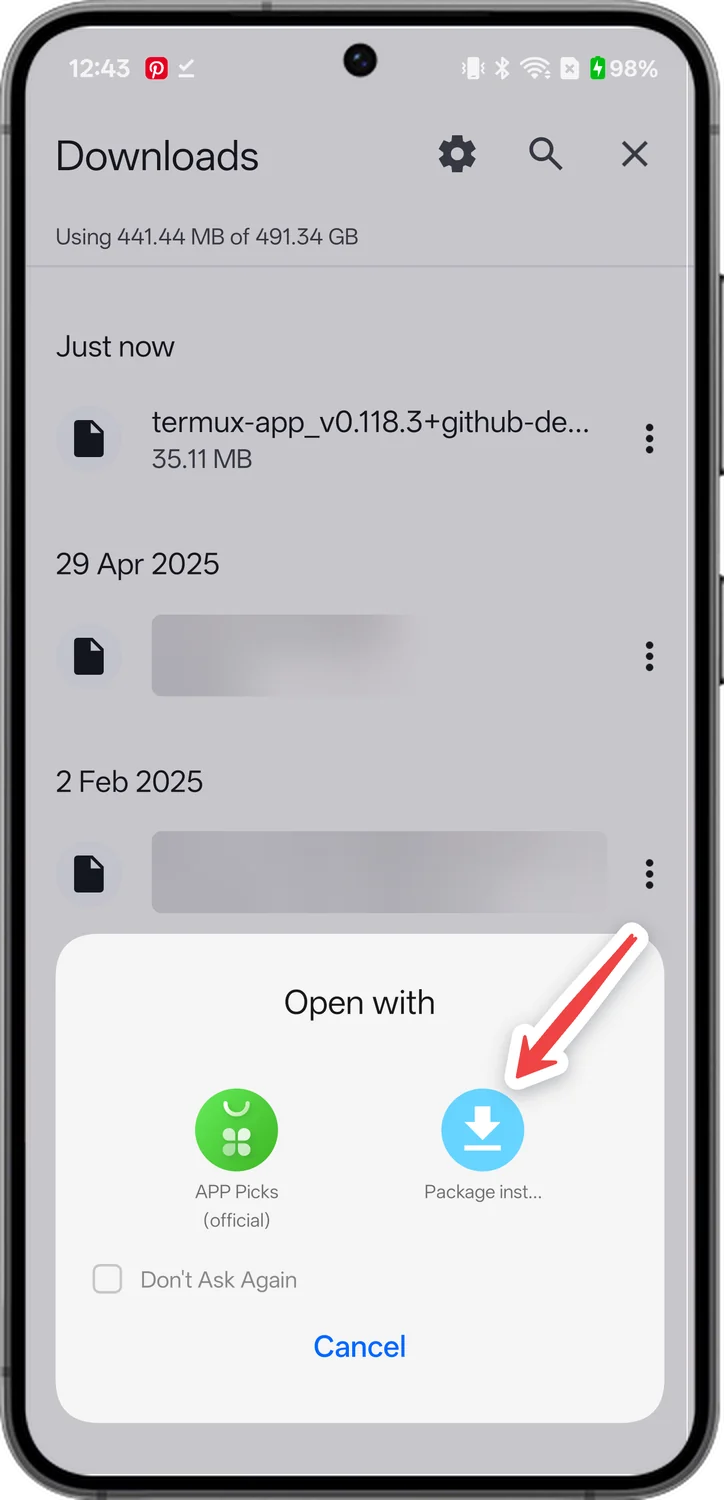
Only if your phone asks which app to open it with
5Choose Package installer
Tap Package installer. If your phone says Chrome isn't allowed to install apps, tap Settings, turn on Allow from this source and go back.
- 6
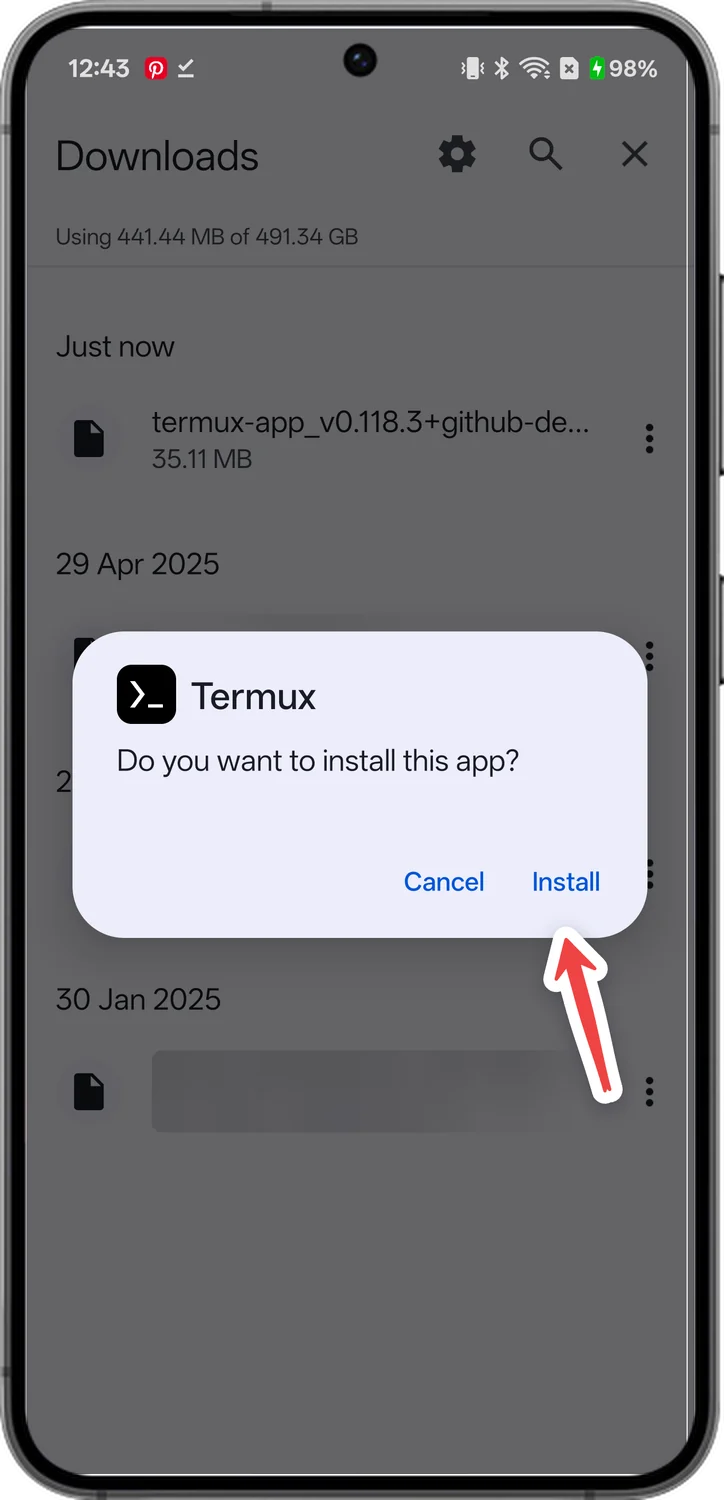
Install Termux
Tap Install.
- Optional
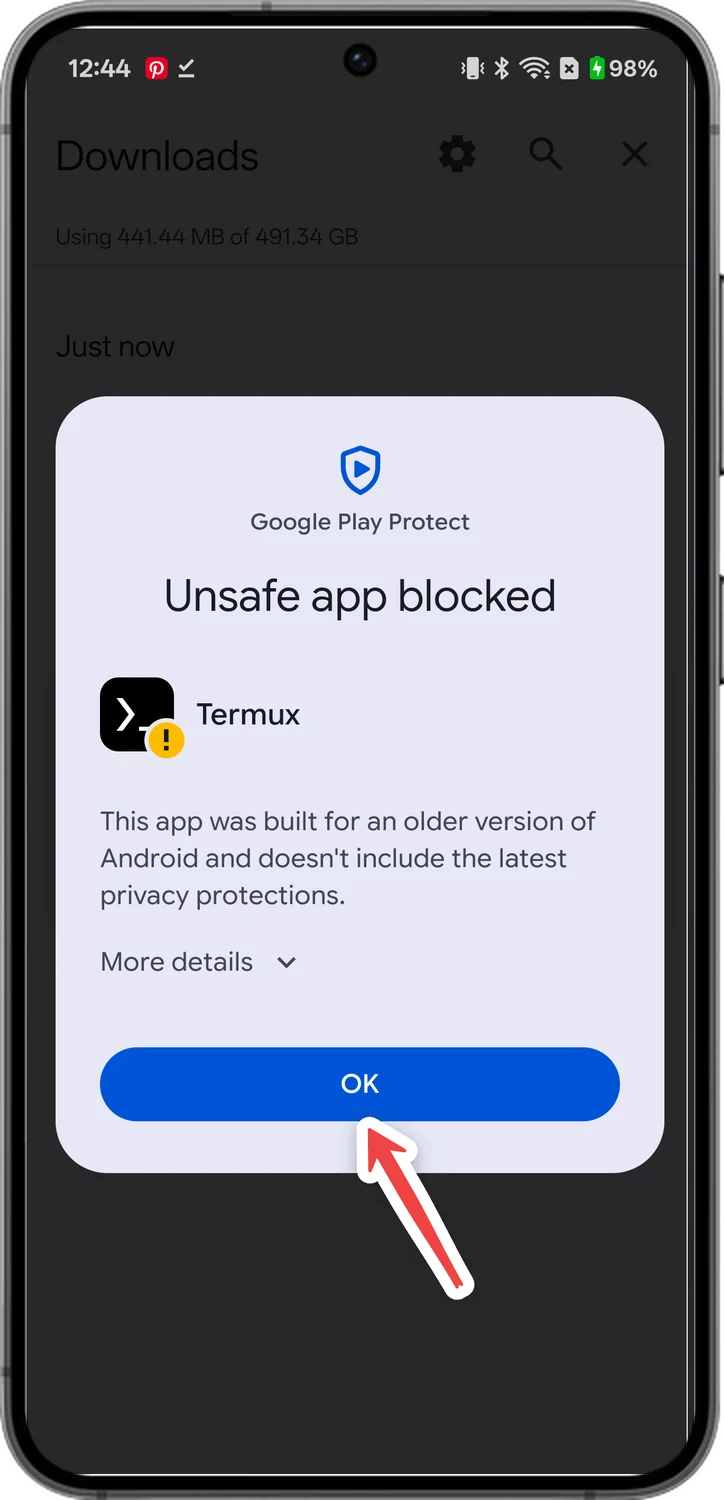
Only if Google Play Protect shows a warning
7Close the Play Protect warning
Play Protect warns you because Termux is built for an older version of Android, not because it's harmful. Tap OK. On my phone, Termux installed anyway.
Install Termux:X11
Termux:X11 is the companion app that shows the Linux desktop on your screen. You install it exactly the same way.
- 8
Open the Termux:X11 download page
In Chrome, go to github.com/
termux/ termux-x11/ releases/ latest. It's the official nightly build, and that's the one everyone uses. 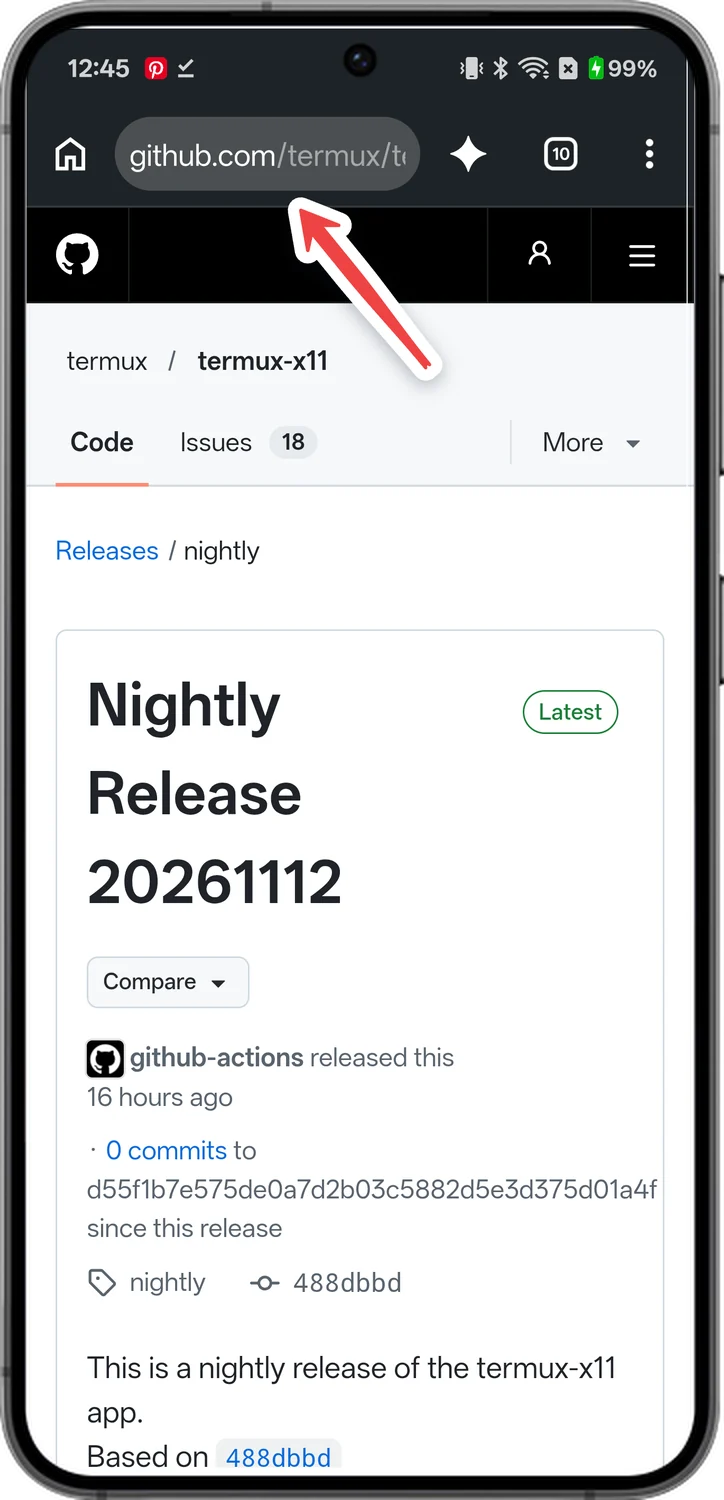
- 9
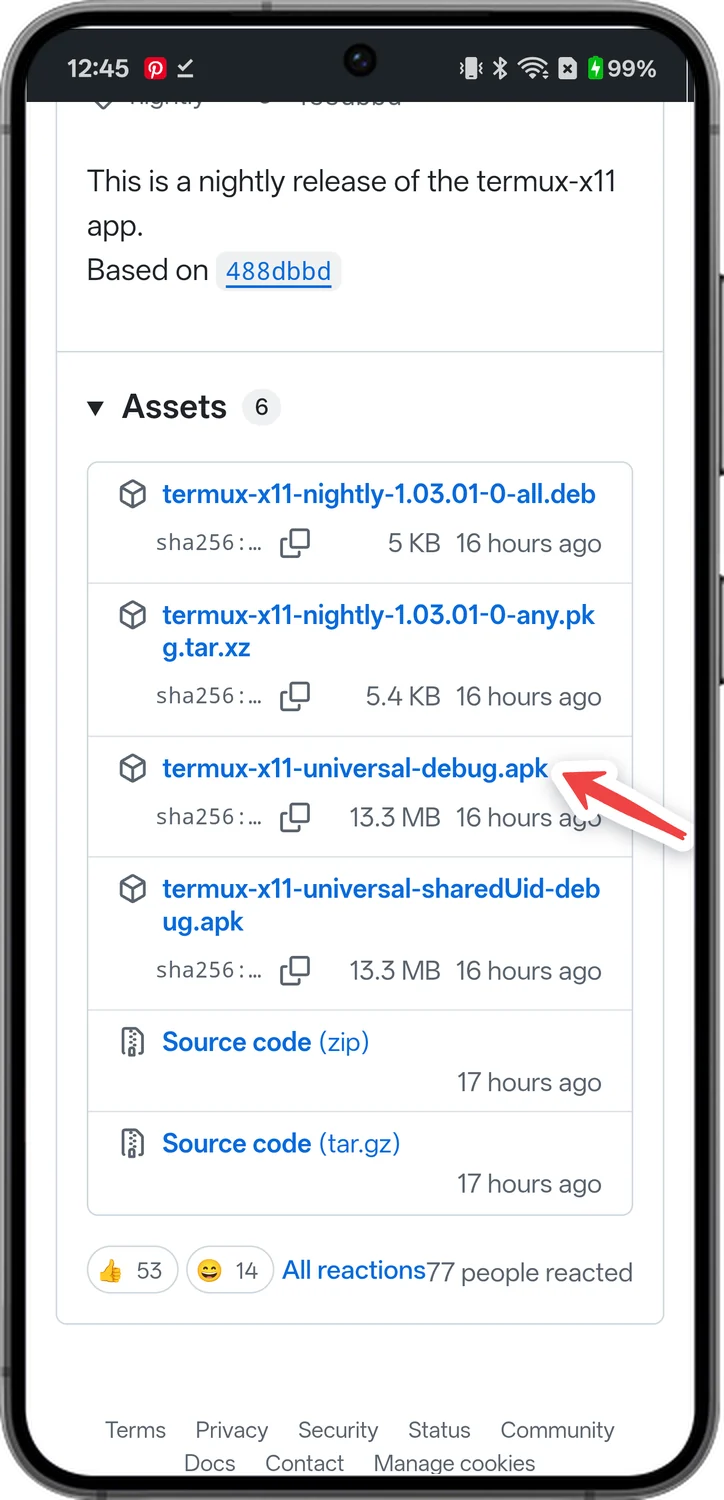
Download the universal file
Under Assets, tap termux-x11-universal-debug.apk. Don't pick the one with sharedUid in its name.
- 10
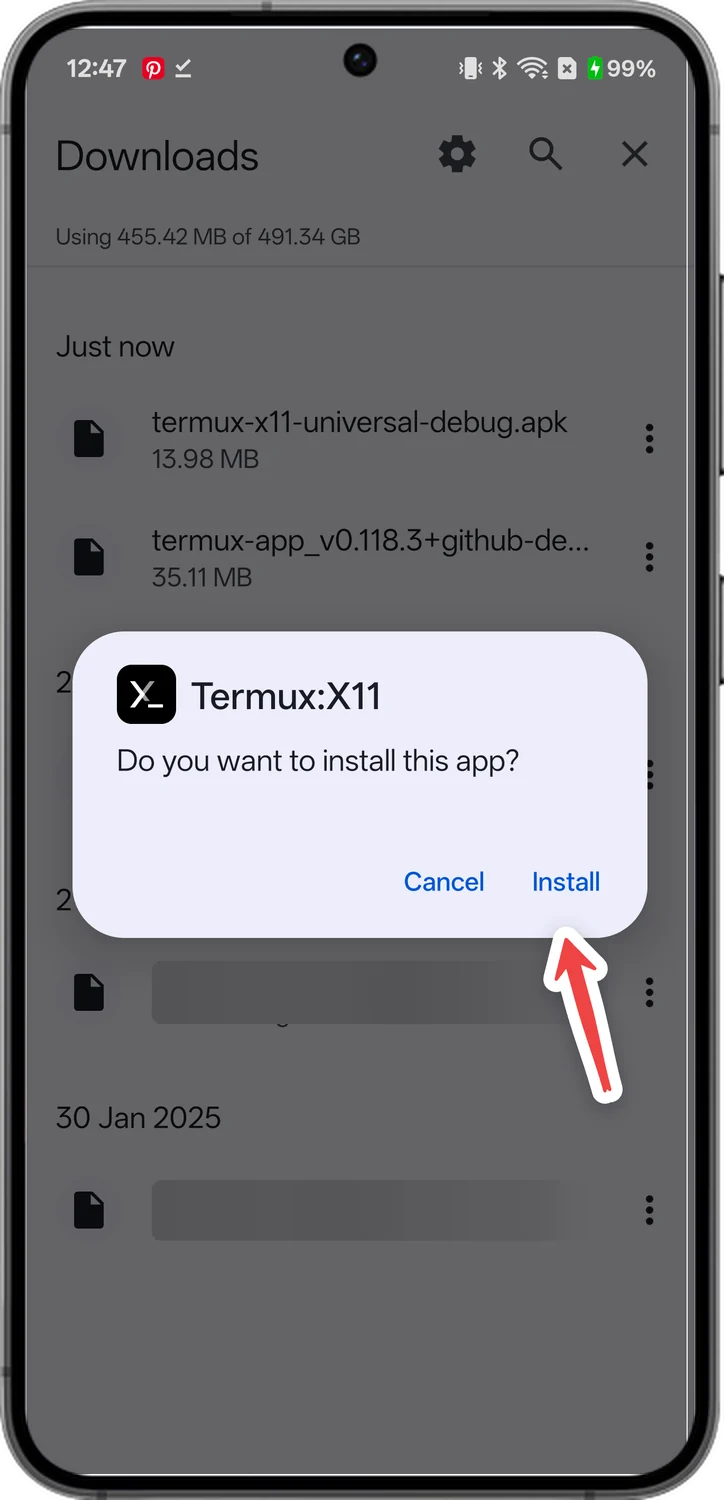
Install Termux:X11
Tap Download, then Open, then Install, just like you did for Termux.
- Optional
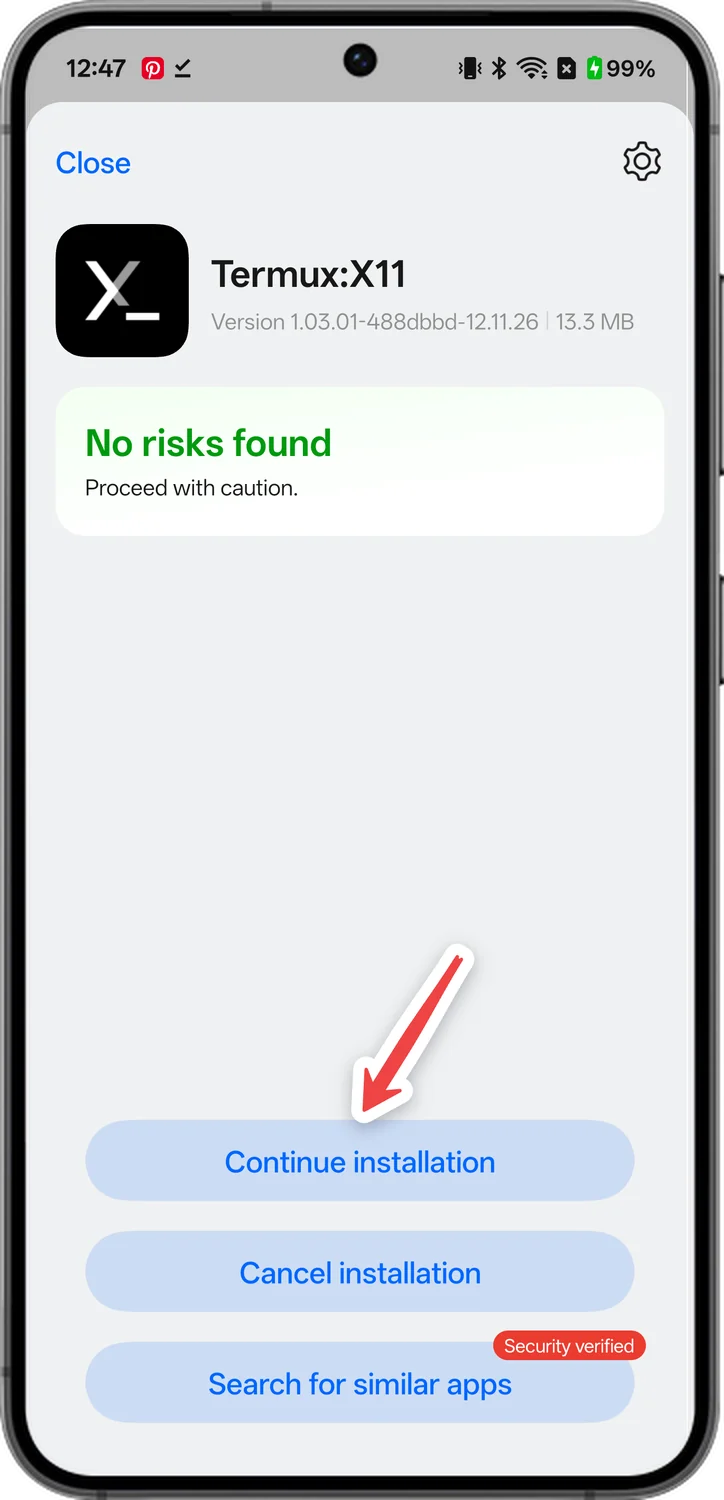
Only on OnePlus, OPPO and realme phones, which scan every app you install
11Continue the installation
Tap Continue installation.
Update Termux
Now open Termux and get it ready. You type (or paste) one command at a time and press Enter, the ↵ key on your keyboard. Tap the black screen if the keyboard isn't showing.
- 12
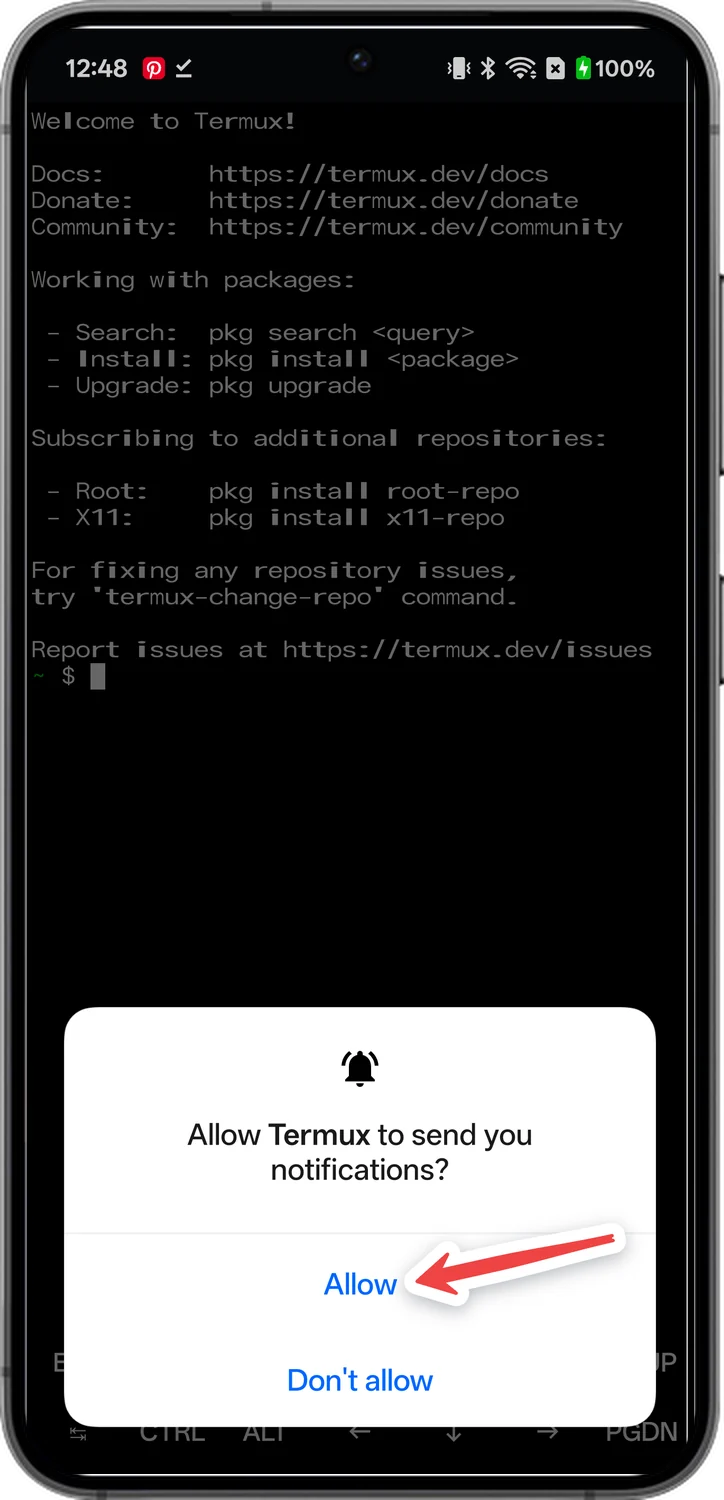
Open Termux and allow notifications
Open Termux from your app drawer. It sets itself up for a few seconds the first time. Tap Allow, so it can keep running in the background.
- 13
Update Termux
Copy this command, paste it into Termux (press and hold the screen, then tap Paste) and press Enter.
pkg update -y && pkg upgrade -y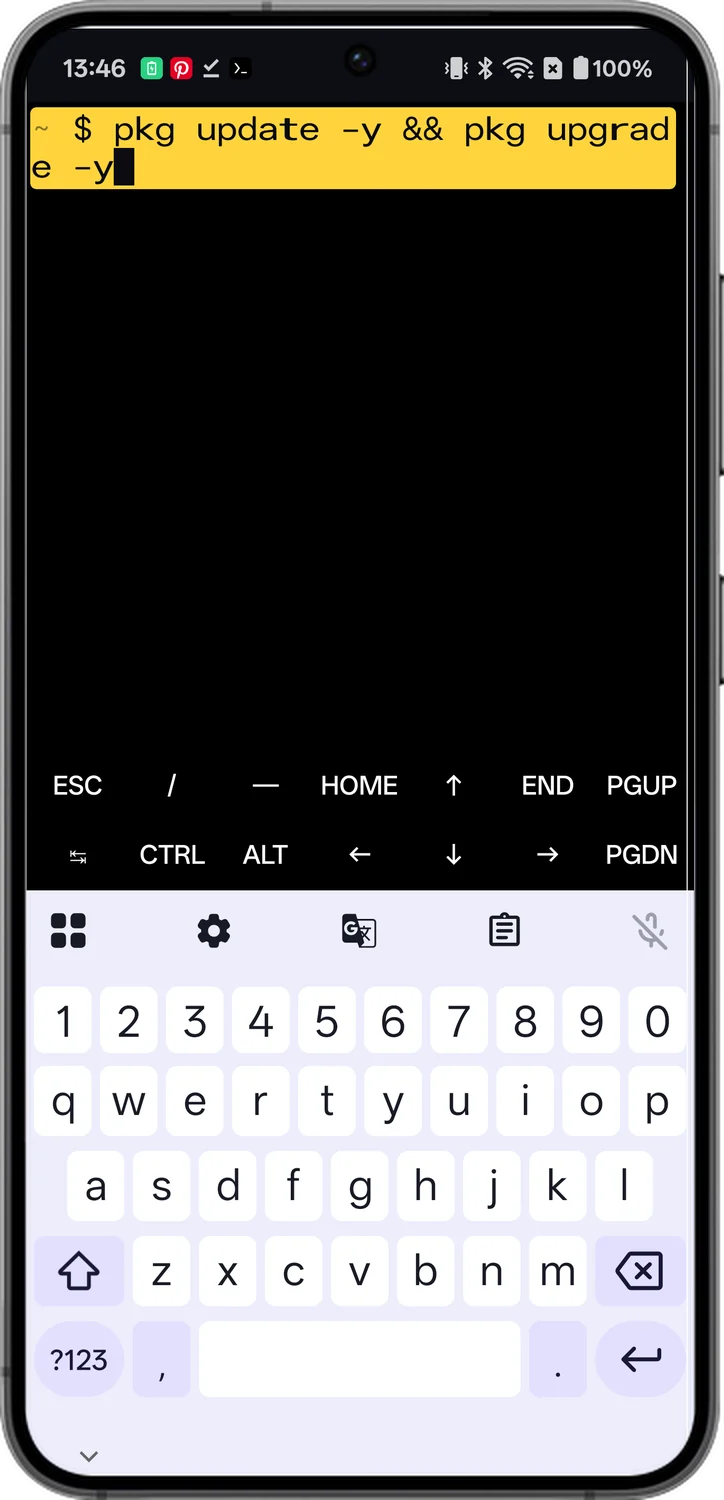
- 14
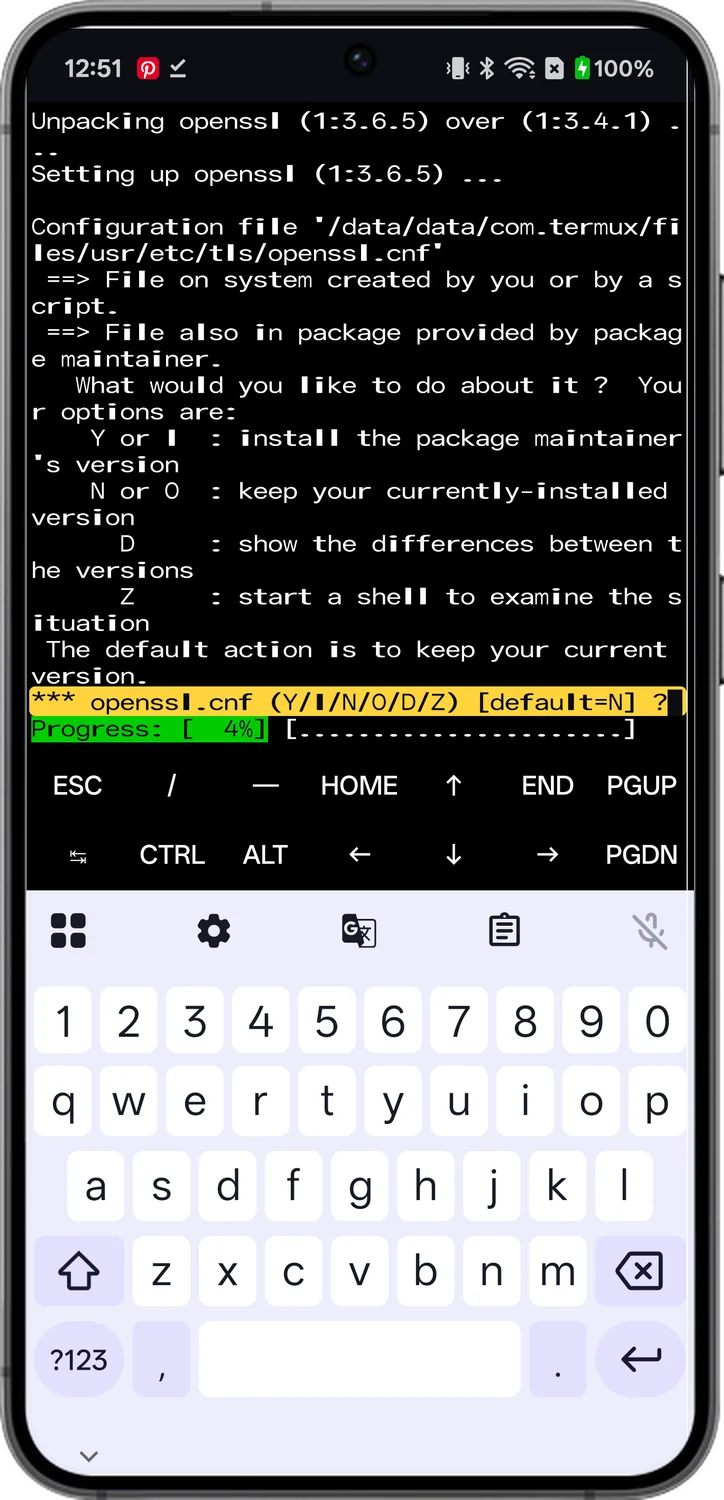
Press Enter when it asks a question
Partway through, it stops and asks what to do about a file, like openssl.cnf. Just press Enter to keep the default. On my phone it asked three times.
- 15
Add the X11 package source
When you see the ~ $ prompt again, run this command. It adds the source the desktop packages come from.
pkg install x11-repo -y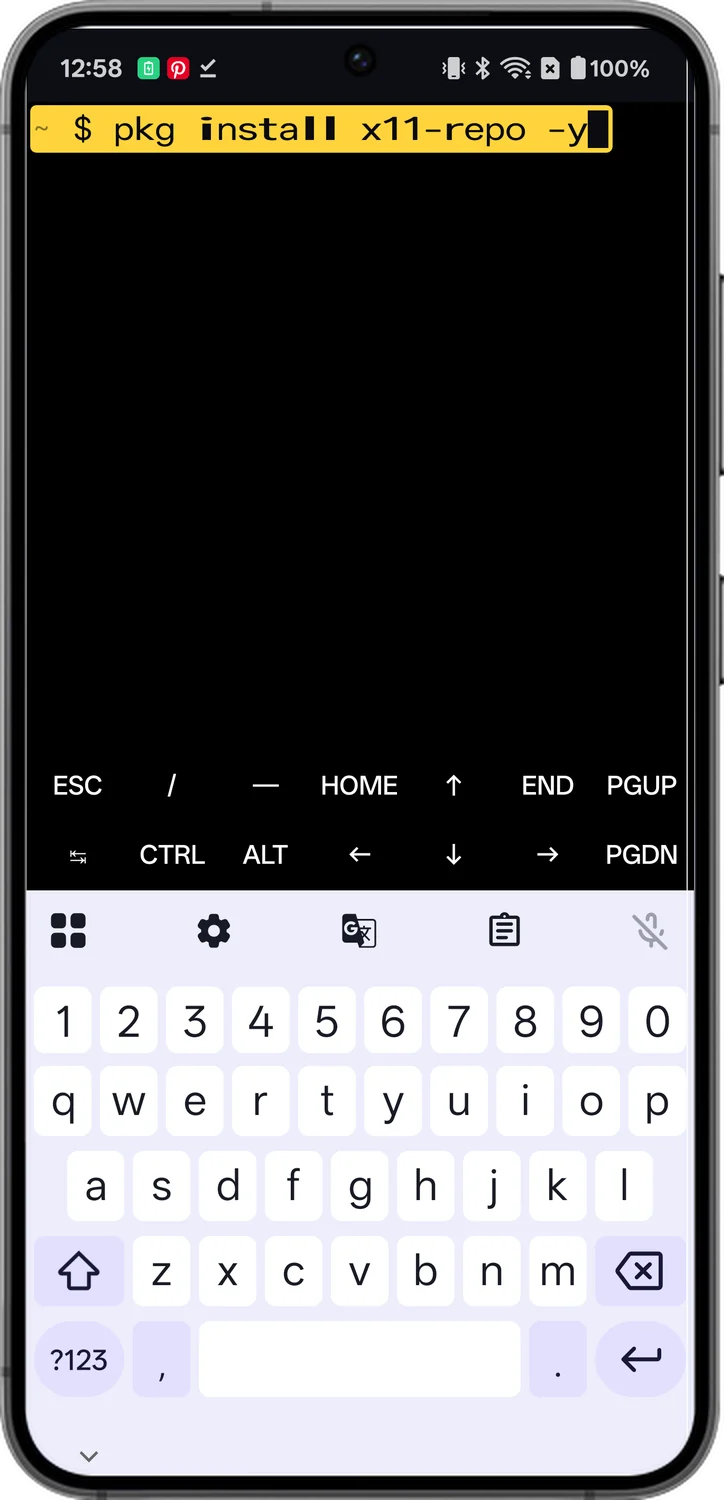
- 16
Install the display server and proot-distro
This installs the server that draws the desktop and proot-distro, the tool that installs Linux for you.
pkg install termux-x11-nightly proot-distro -y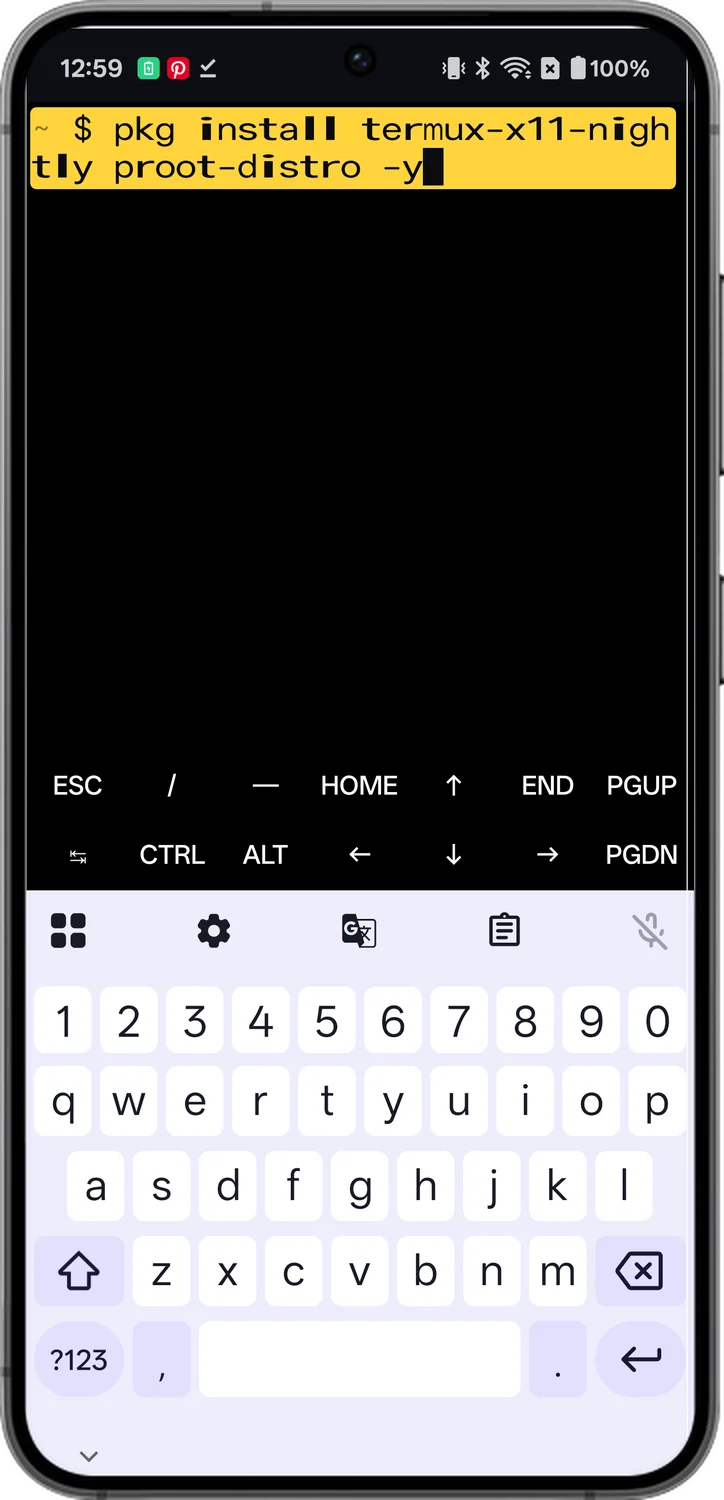
Install Debian Linux
proot-distro installs a real Linux system inside Termux, with no root needed. I'm using Debian, because it's stable and has every app you're likely to want.
- 17
Download Debian
Run this command. It took about a minute on my phone.
proot-distro install debian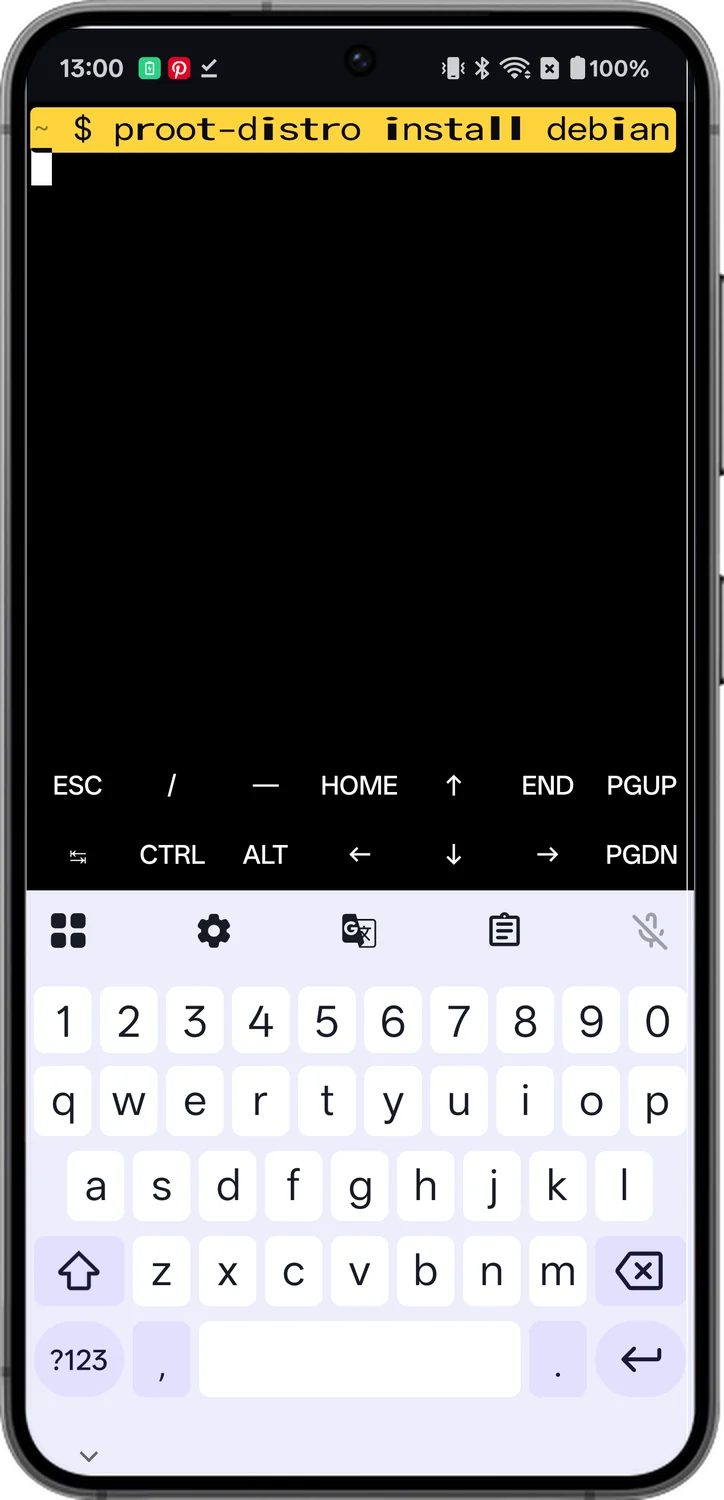
- 18
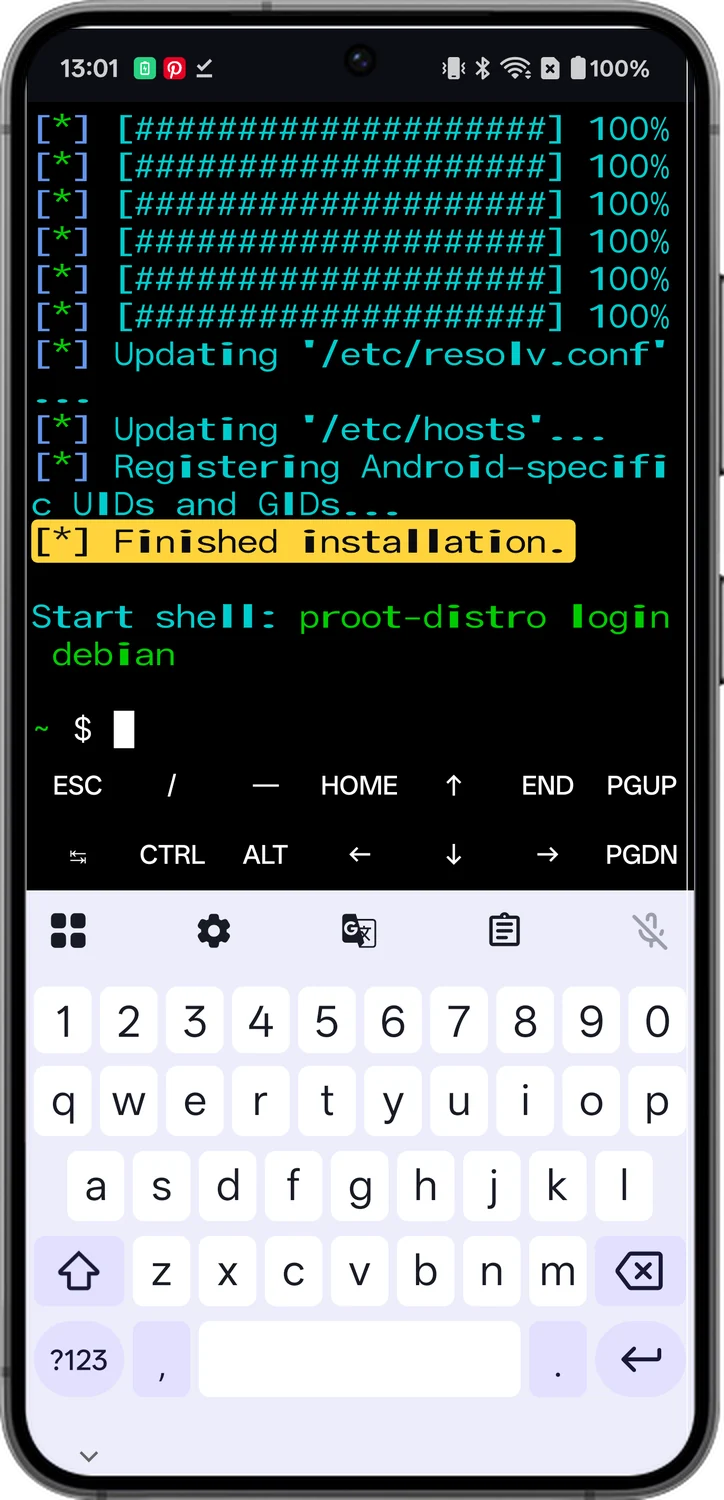
Wait for it to finish
When it says Finished installation, Debian is ready.
- 19
Log in to Debian
Run this command to step inside Debian. The prompt changes to root@localhost:~#, which means you're now in Linux.
proot-distro login debian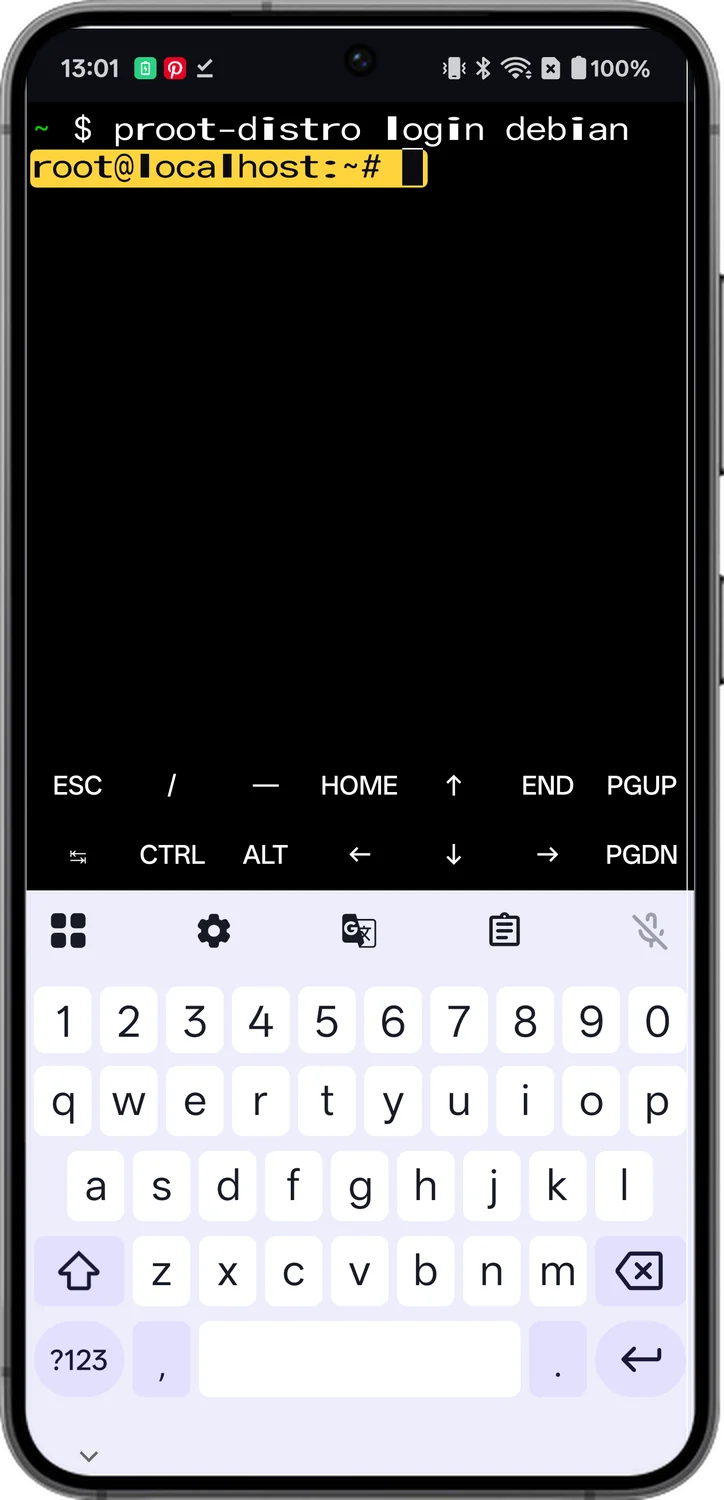
- 20
Update Debian
Run this to bring Debian up to date. It takes a minute or two.
apt update && apt upgrade -y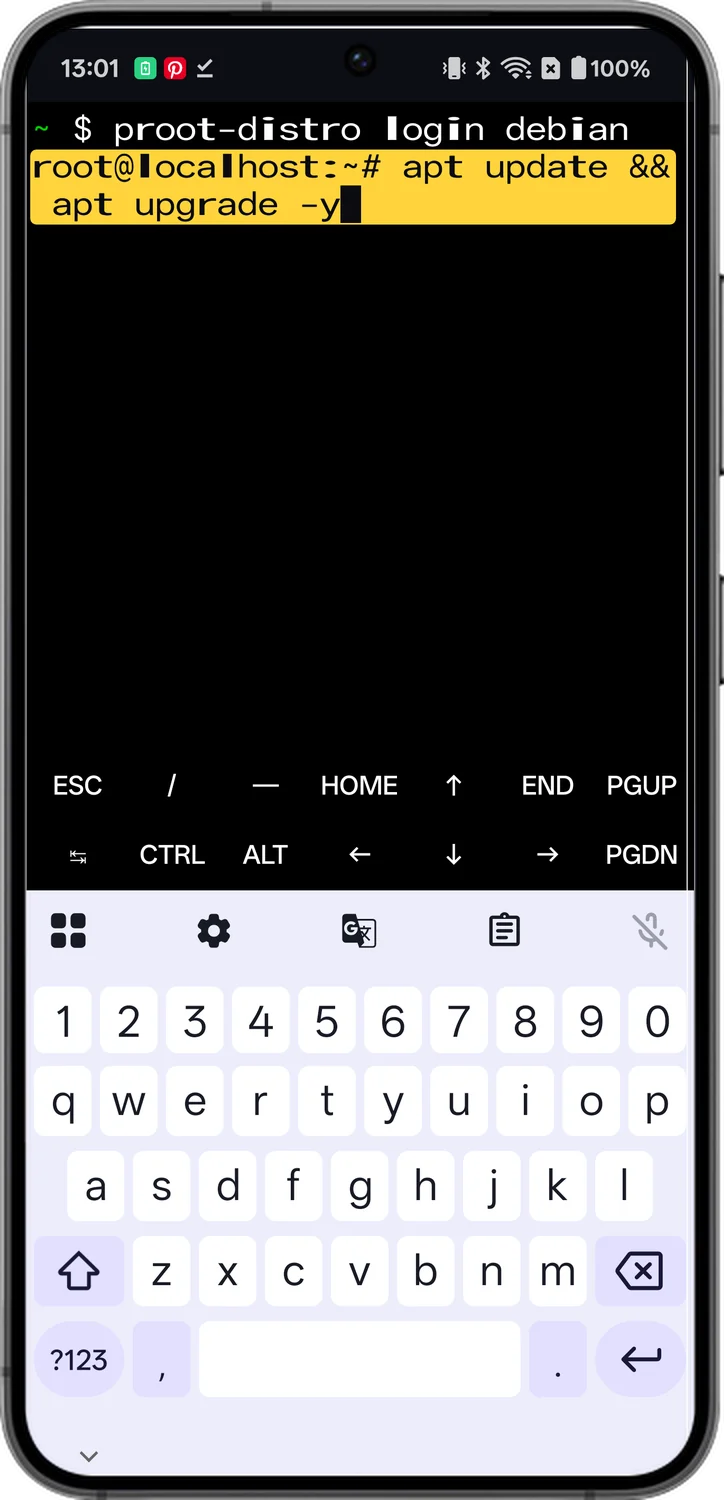
Install the XFCE Desktop
XFCE is a light, classic desktop with a menu, a taskbar and windows. It runs well on a phone. This is the longest part, so plug in your charger.
- 21
Install XFCE
Run this command inside Debian. It downloads about 320 MB, and on my phone the whole install took around 13 minutes. Keep Termux open on the screen while it works.
apt install xfce4 xfce4-terminal dbus-x11 -y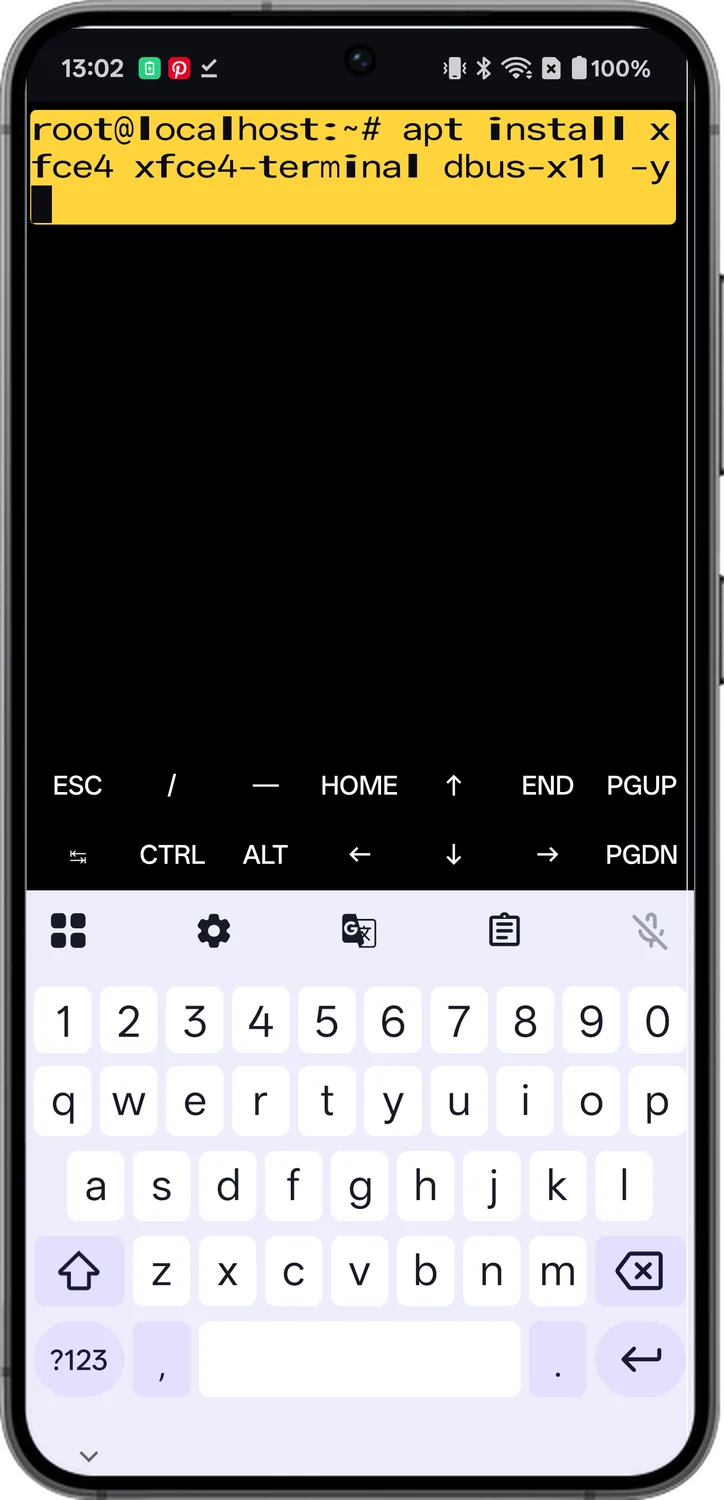
- 22
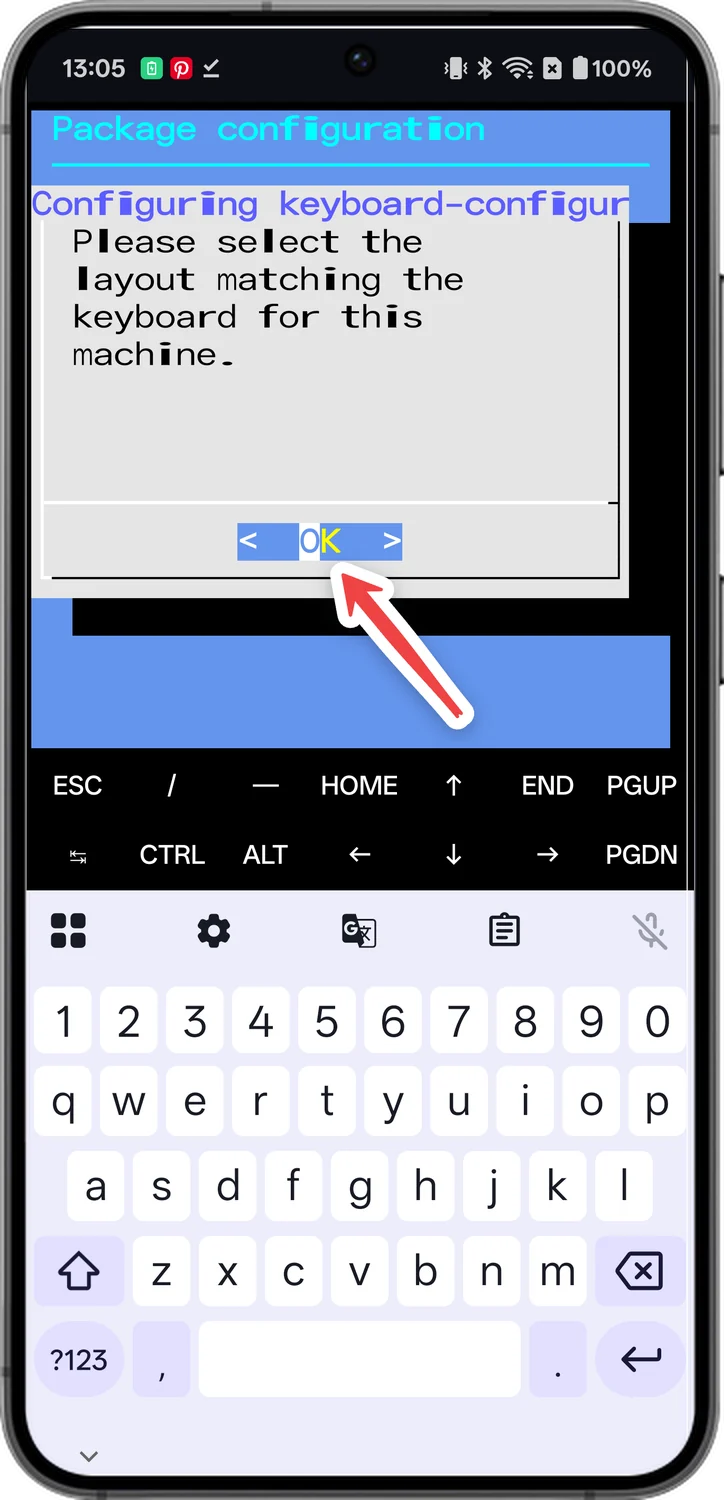
Press Enter on the keyboard screen
A blue screen asks about your keyboard. Press Enter to choose OK.
- 23
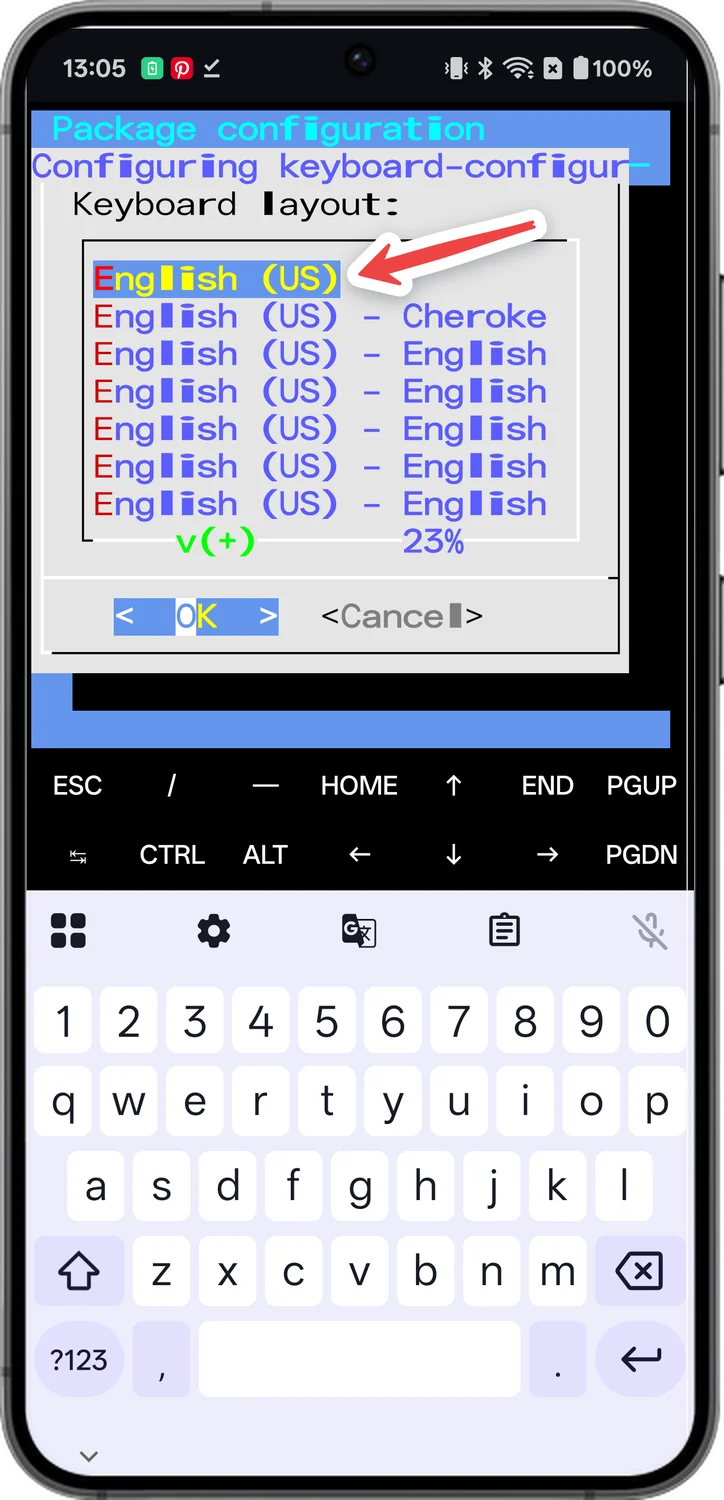
Pick your keyboard layout
English (US) is already selected, so press Enter. To choose another layout, use the arrow keys above the keyboard first.
- 24
Go back to Termux
When you see root@localhost:~# again, the desktop is installed. Type this and press Enter to leave Debian.
exit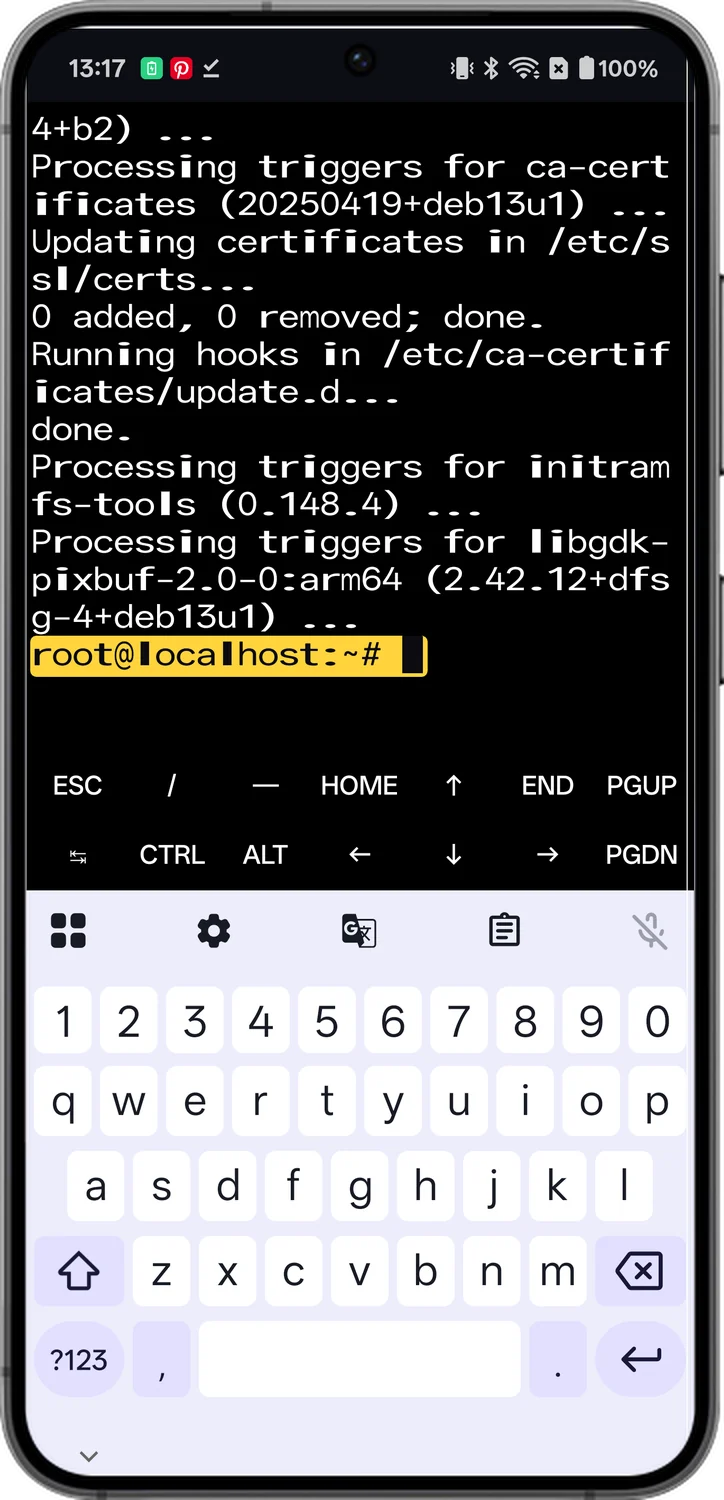
Start the Linux Desktop
Starting the desktop takes a few commands, so we'll save them as one short command called startlinux. You only do this once.
- 25
Create the startlinux command
Copy and paste this whole command into Termux and press Enter. Nothing seems to happen, and that's fine: it just saves the command.
echo 'pkill -9 -f "termux-x11|dbus|xfce|xfconf|gvfs|at-spi|gpg-agent|dconf"; rm -rf $PREFIX/tmp/.X0-lock $PREFIX/tmp/.X11-unix; termux-x11 :0 >/dev/null 2>&1 & sleep 3; am start -n com.termux.x11/.MainActivity >/dev/null 2>&1; proot-distro login debian --shared-tmp -- bash -c "export DISPLAY=:0; dbus-launch --exit-with-session startxfce4"' > $PREFIX/bin/startlinux && chmod +x $PREFIX/bin/startlinux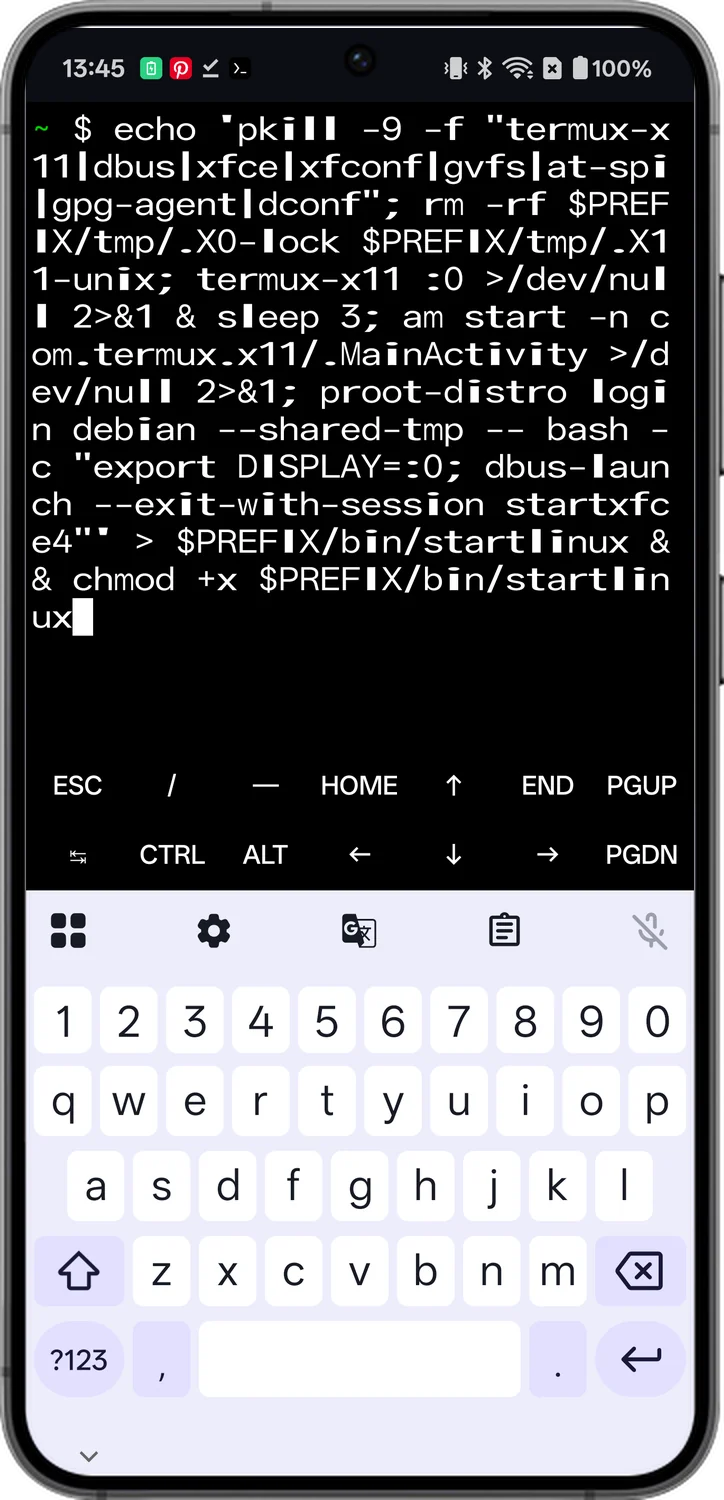
- 26
Start the desktop
Now type this and press Enter. Termux:X11 opens on its own after a few seconds.
startlinux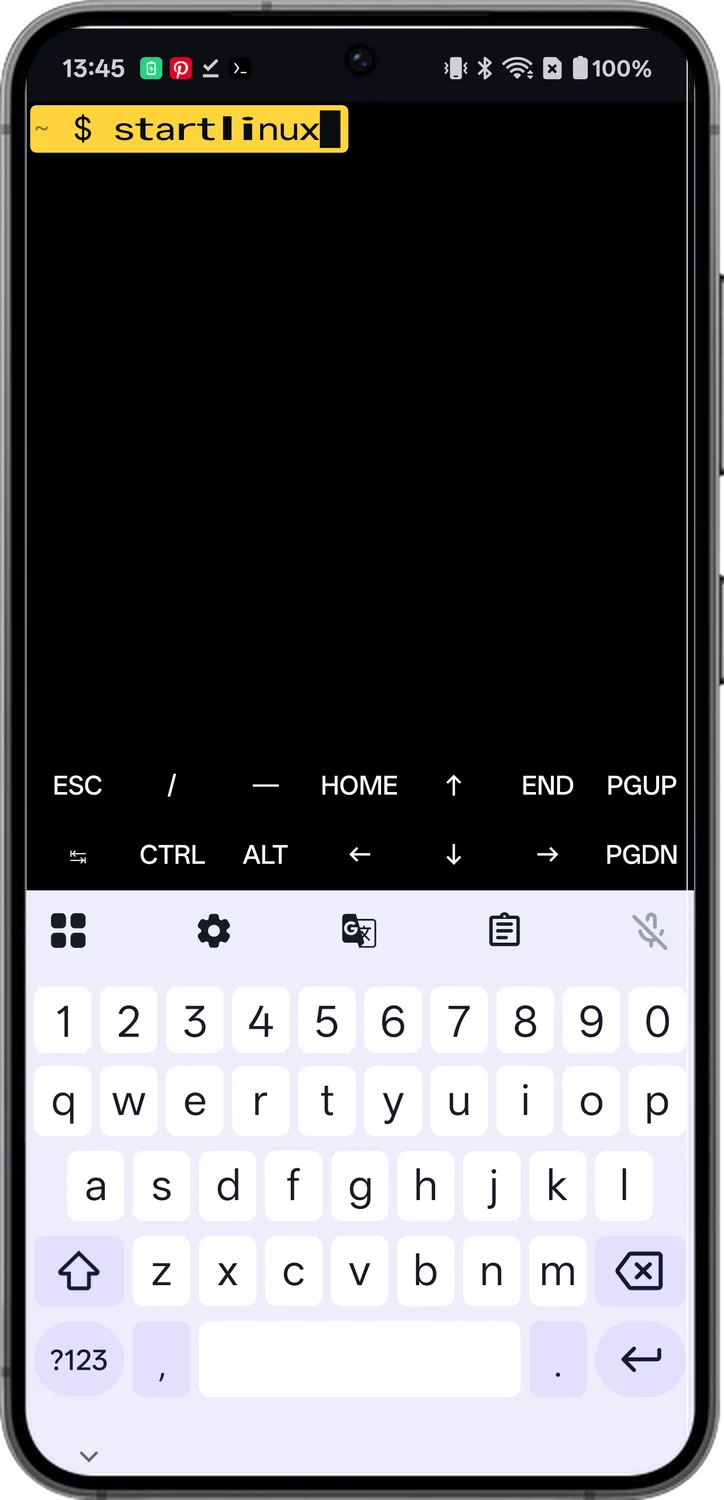
- 27
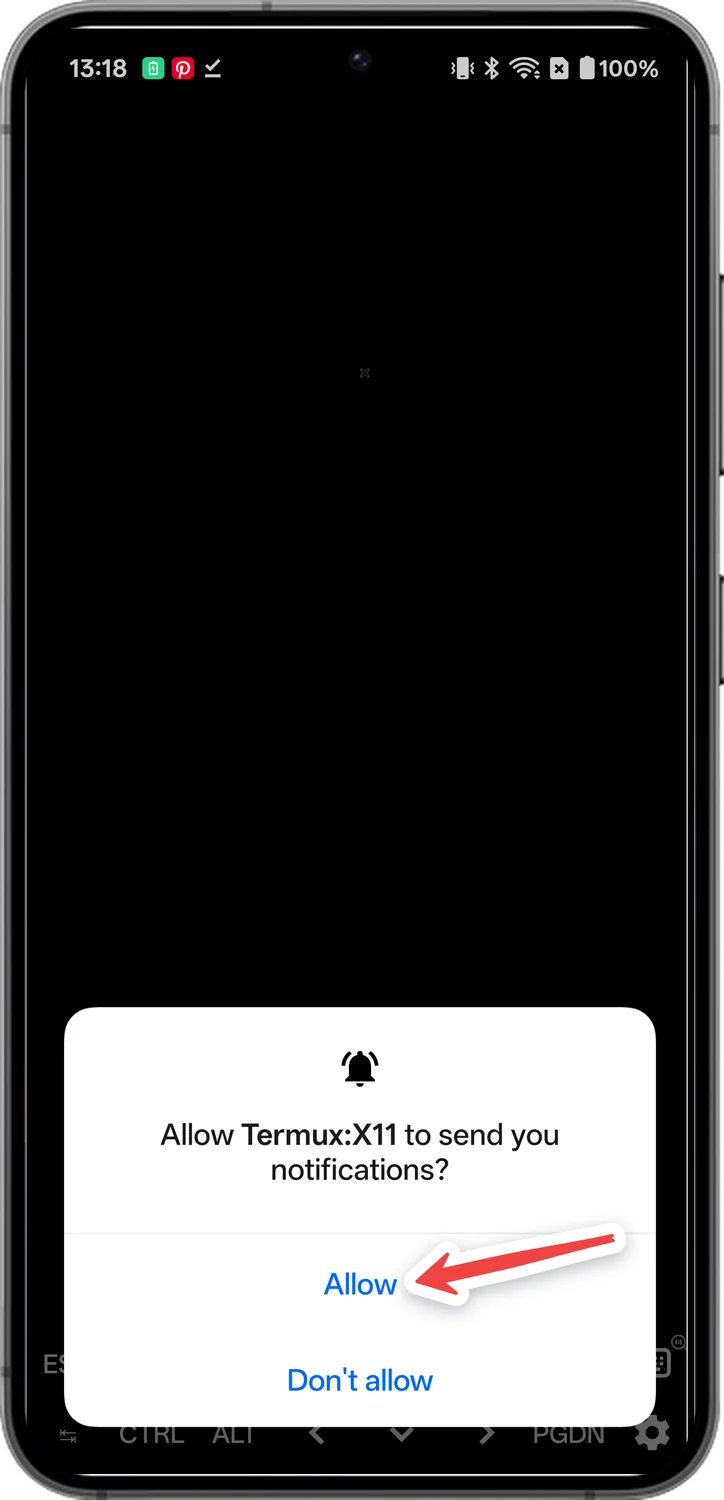
Allow notifications for Termux:X11
Tap Allow. The desktop appears behind this message.
- 28
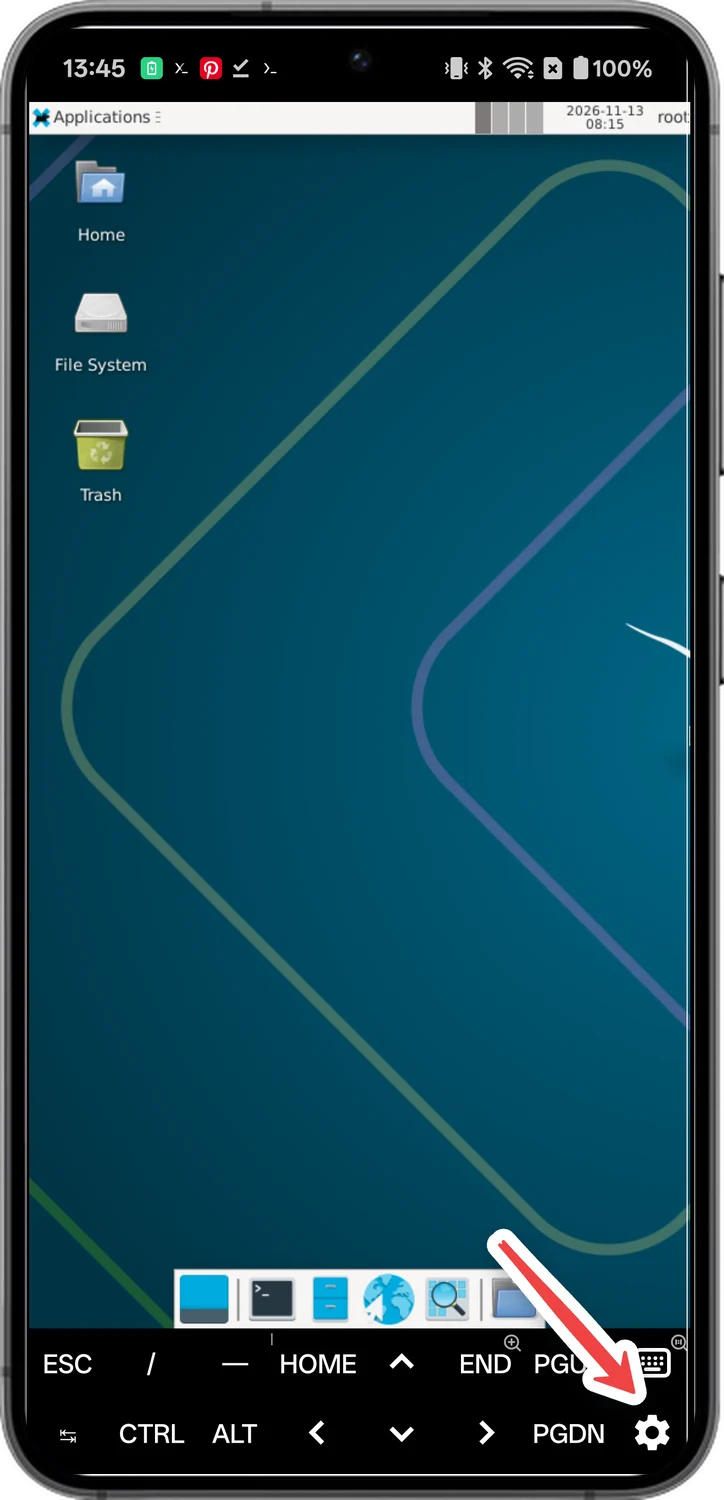
Open the Termux:X11 settings
The first time, everything on the desktop looks tiny. To fix it, tap the gear icon at the bottom right.
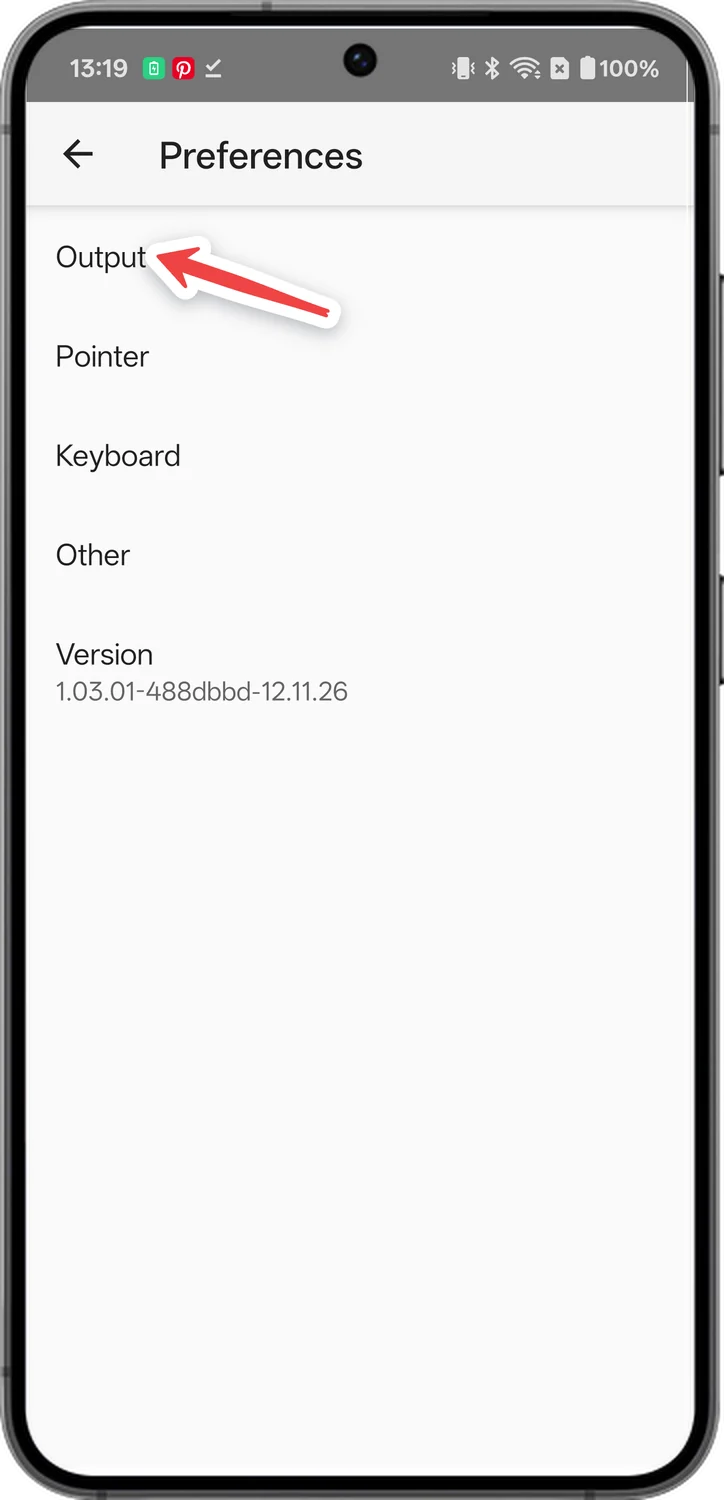
- 29
Open Output
Tap Output.
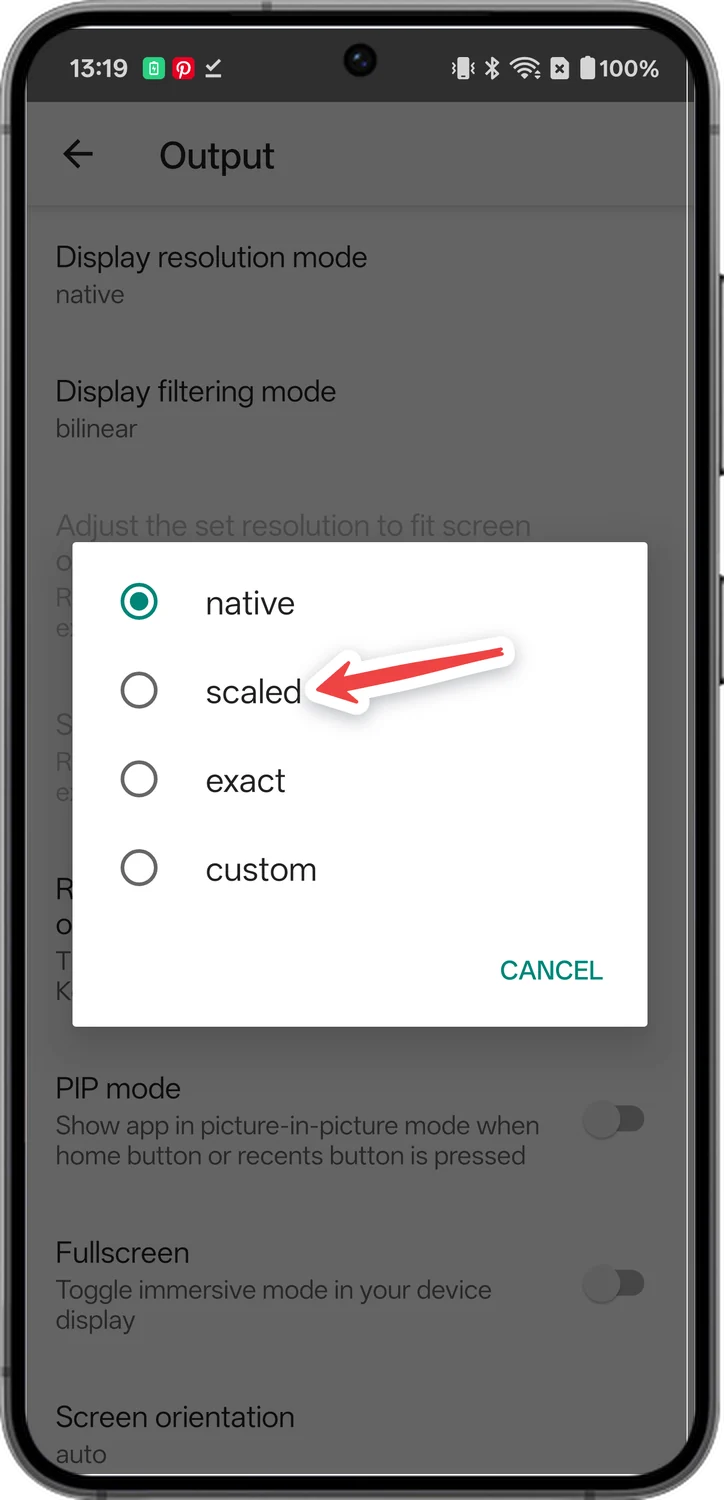
- 30
Choose scaled
Tap Display resolution mode and choose scaled.
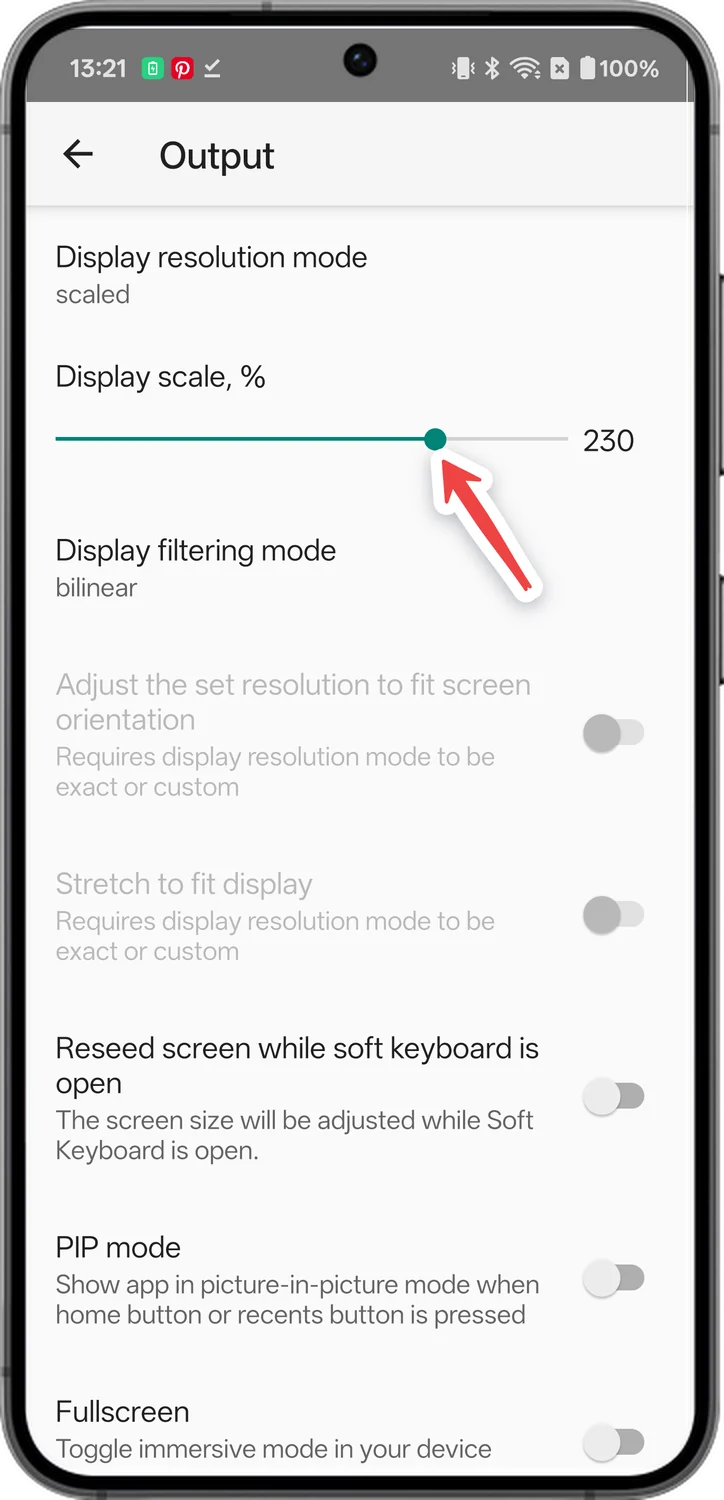
- 31
Make everything bigger
Drag the Display scale slider to about 230. That made text easy to read on my phone. Then go back.
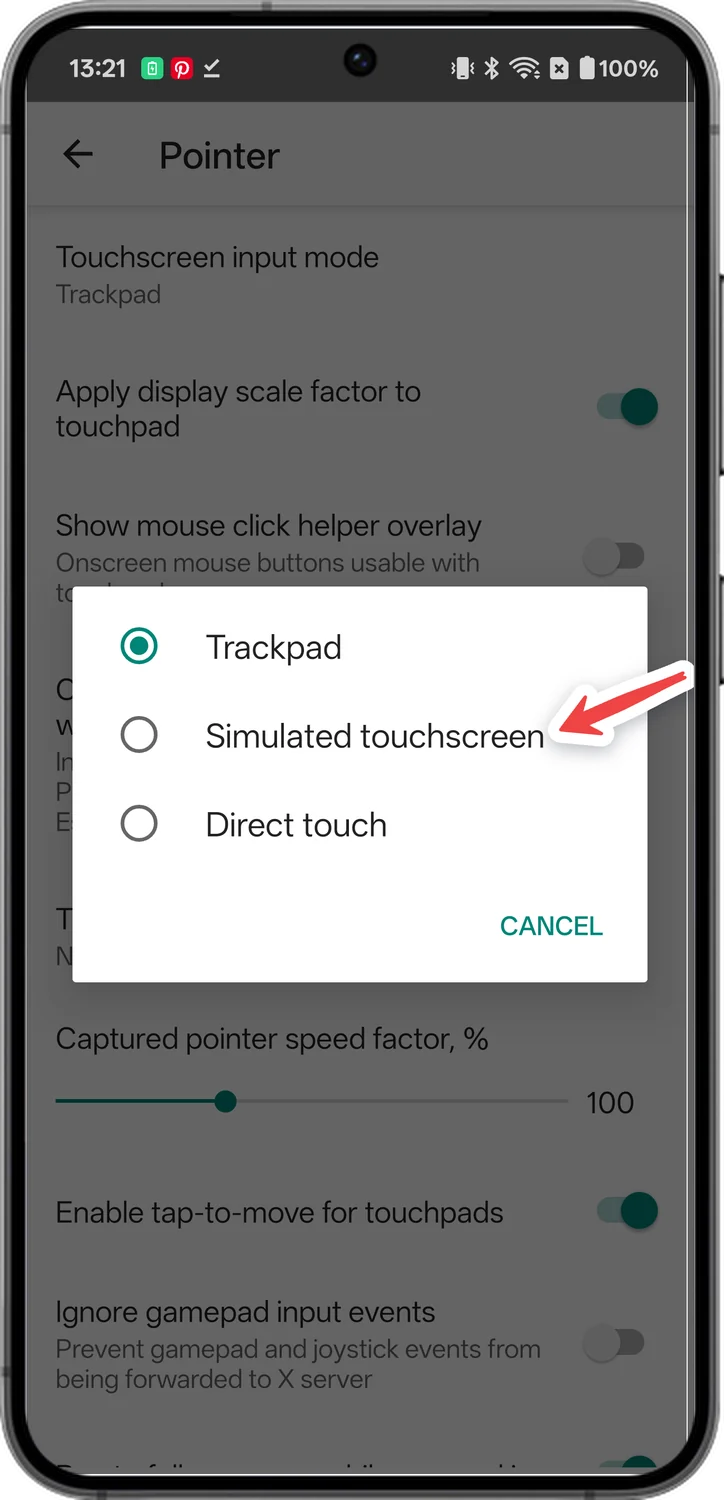
- 32
Make taps work like a touchscreen
Go back, tap Pointer, then Touchscreen input mode, and choose Simulated touchscreen. Now a tap clicks right where your finger is.
Use Linux on Your Phone
That's it, you're running a full Linux desktop. The Applications menu at the top left has everything, just like on a computer. Let's install a real desktop browser to try it.
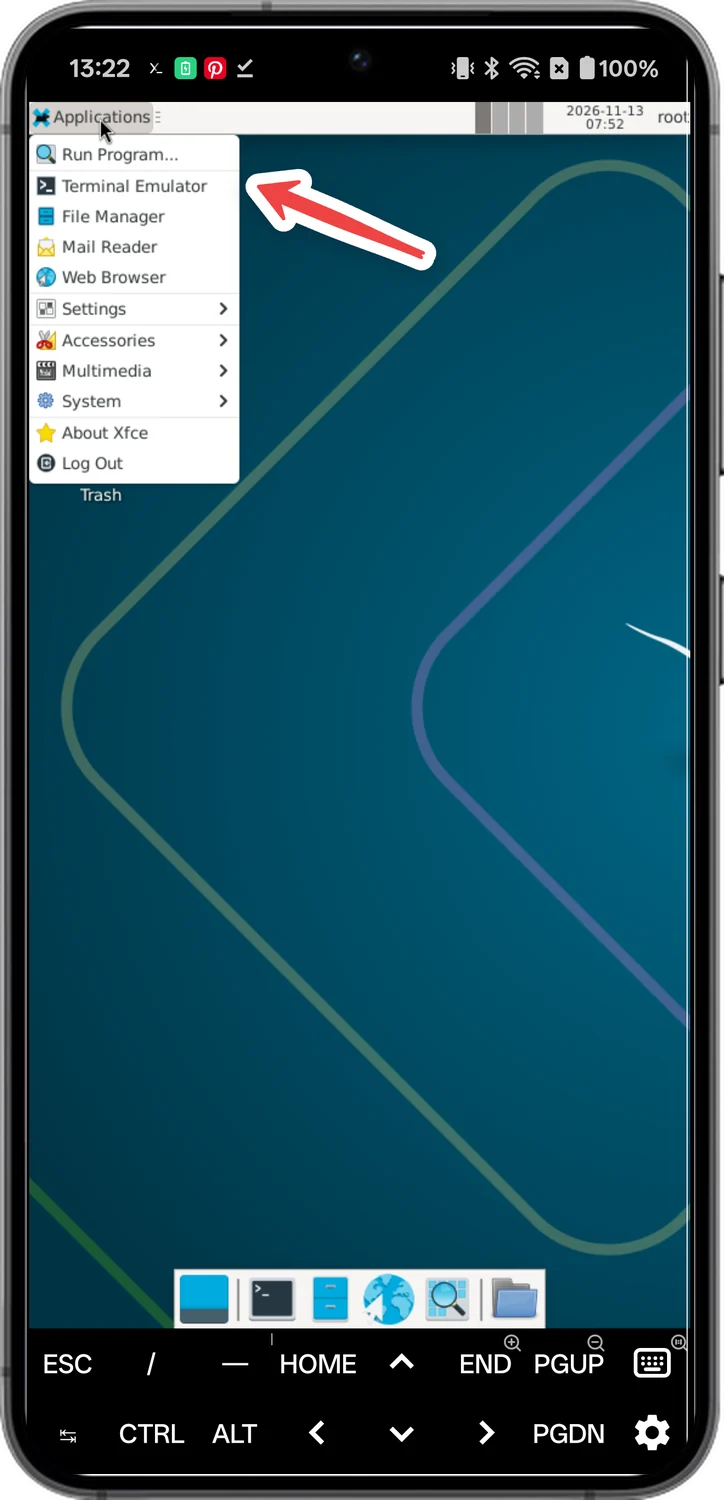
- 33
Open the terminal
Tap Applications at the top left, then Terminal Emulator.
- 34
Install Firefox
Type this in the Linux terminal and press Enter. Tap the keyboard icon at the bottom right if your keyboard is hidden.
apt install firefox-esr -y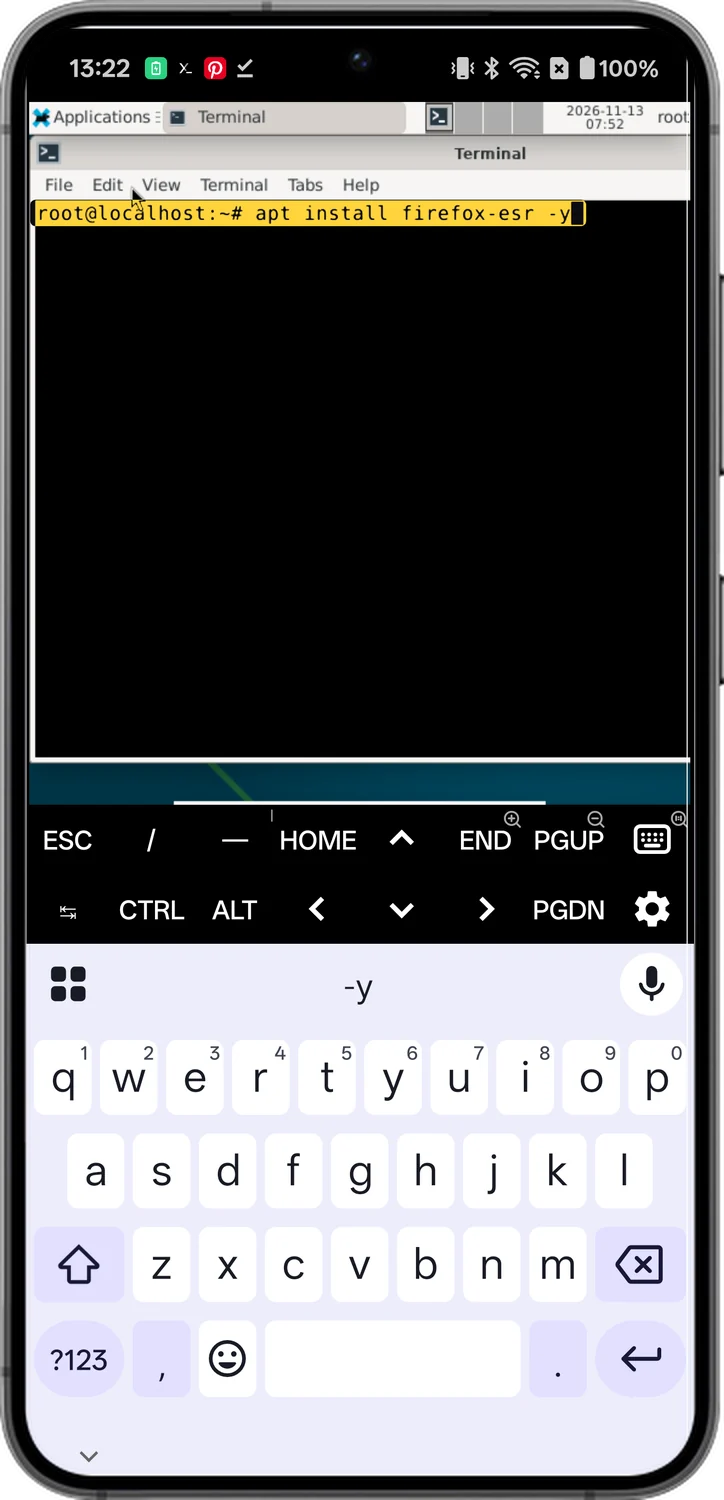
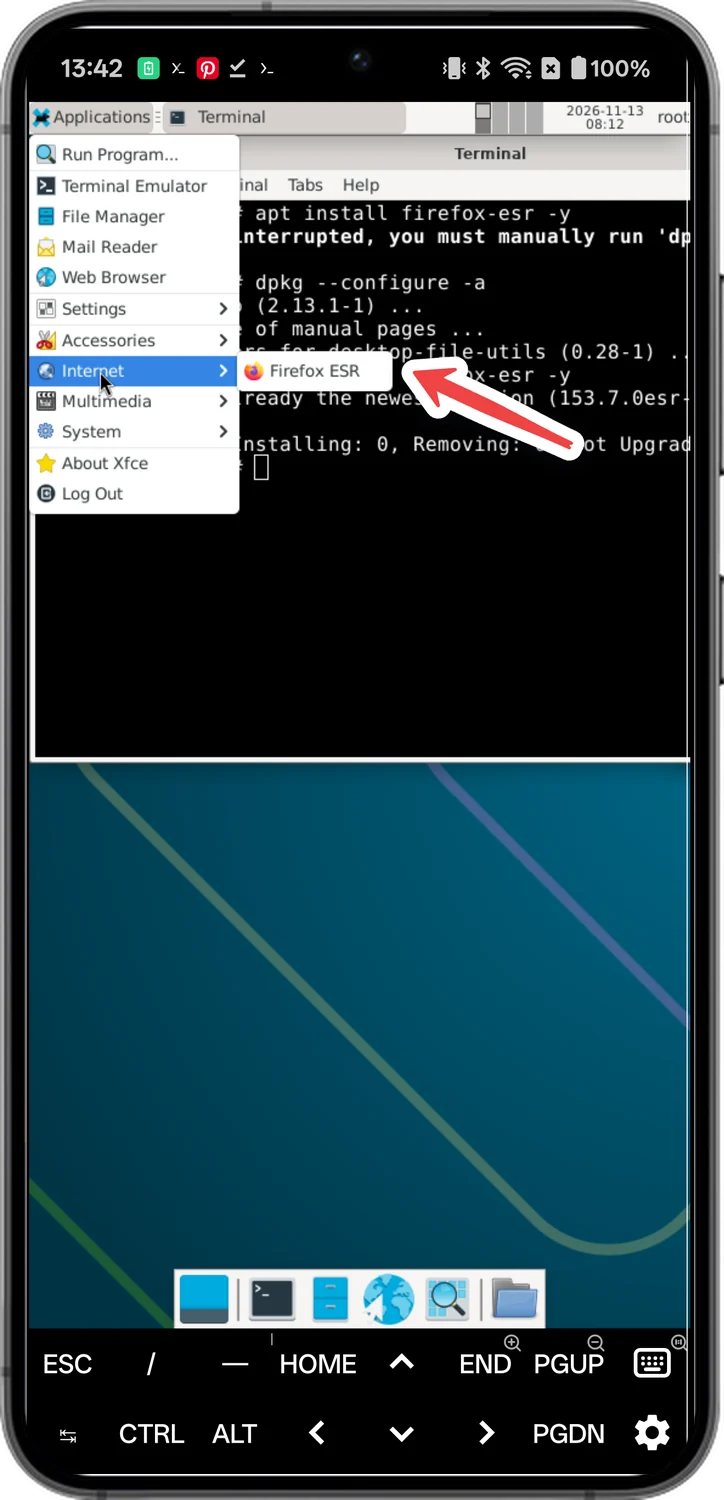
- 35
Open Firefox
When it finishes, tap Applications, then Internet, then Firefox ESR.
- 36
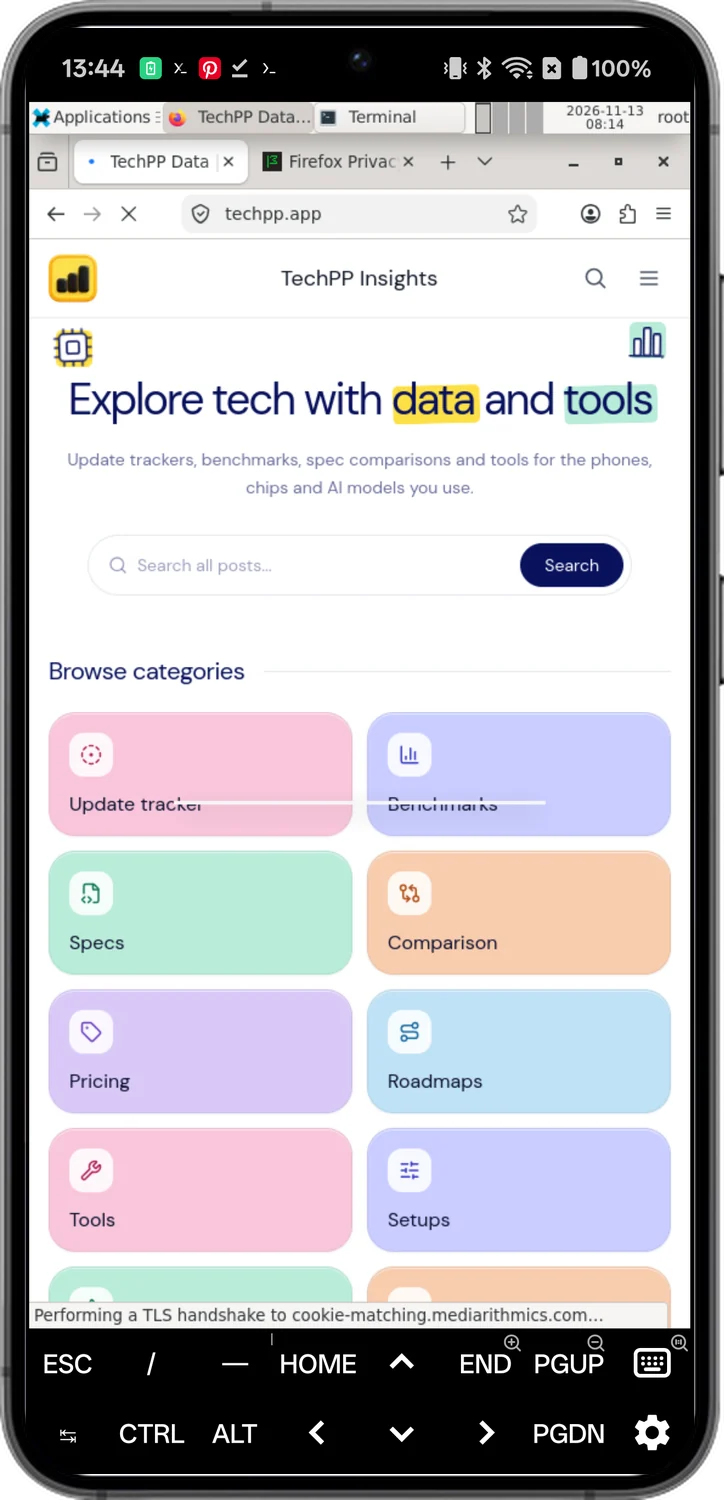
Browse like on a computer
This is the full desktop version of Firefox, running on Linux on my phone. Here it is with techpp.app open.
Stop and Restart the Desktop
When you're done, log out so Linux stops running in the background and stops using your battery.
- 37
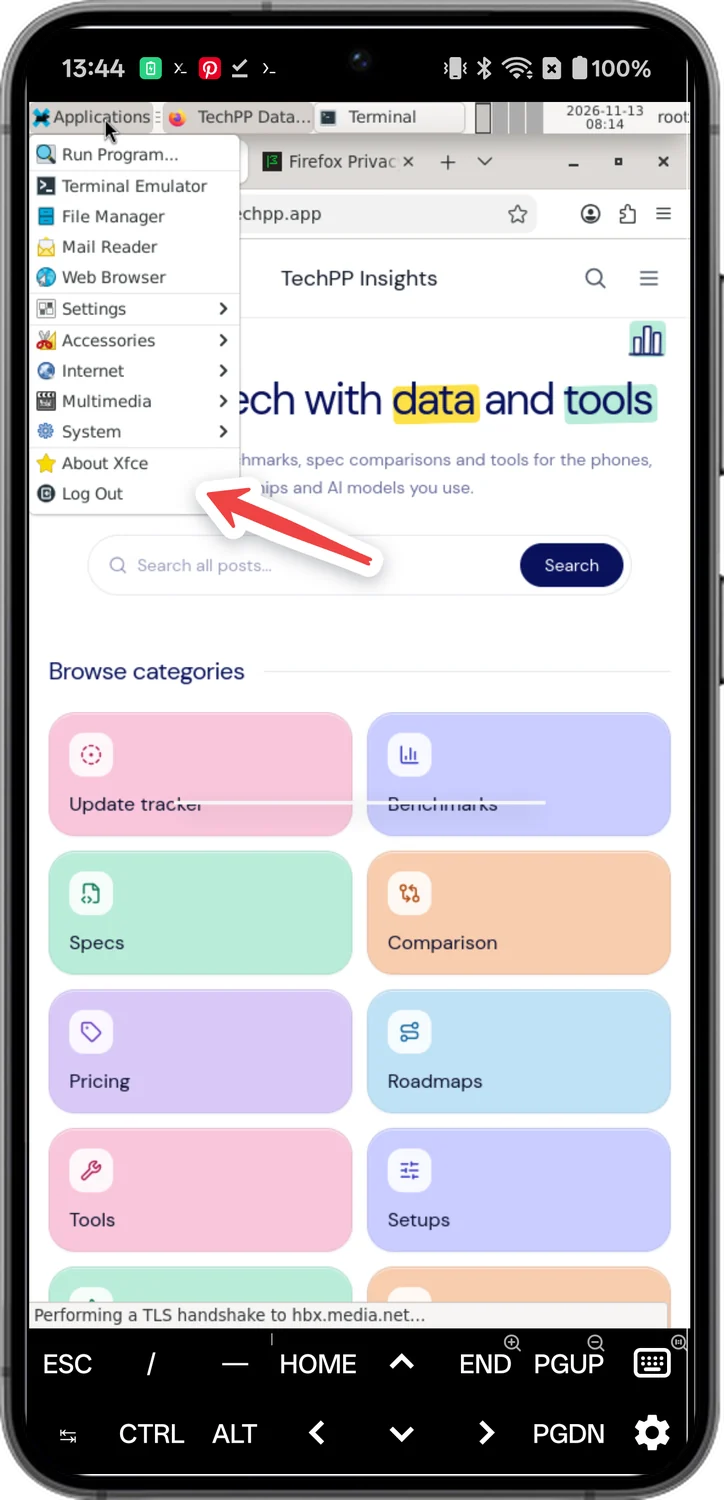
Open Log Out
Tap Applications, then Log Out.
- 38
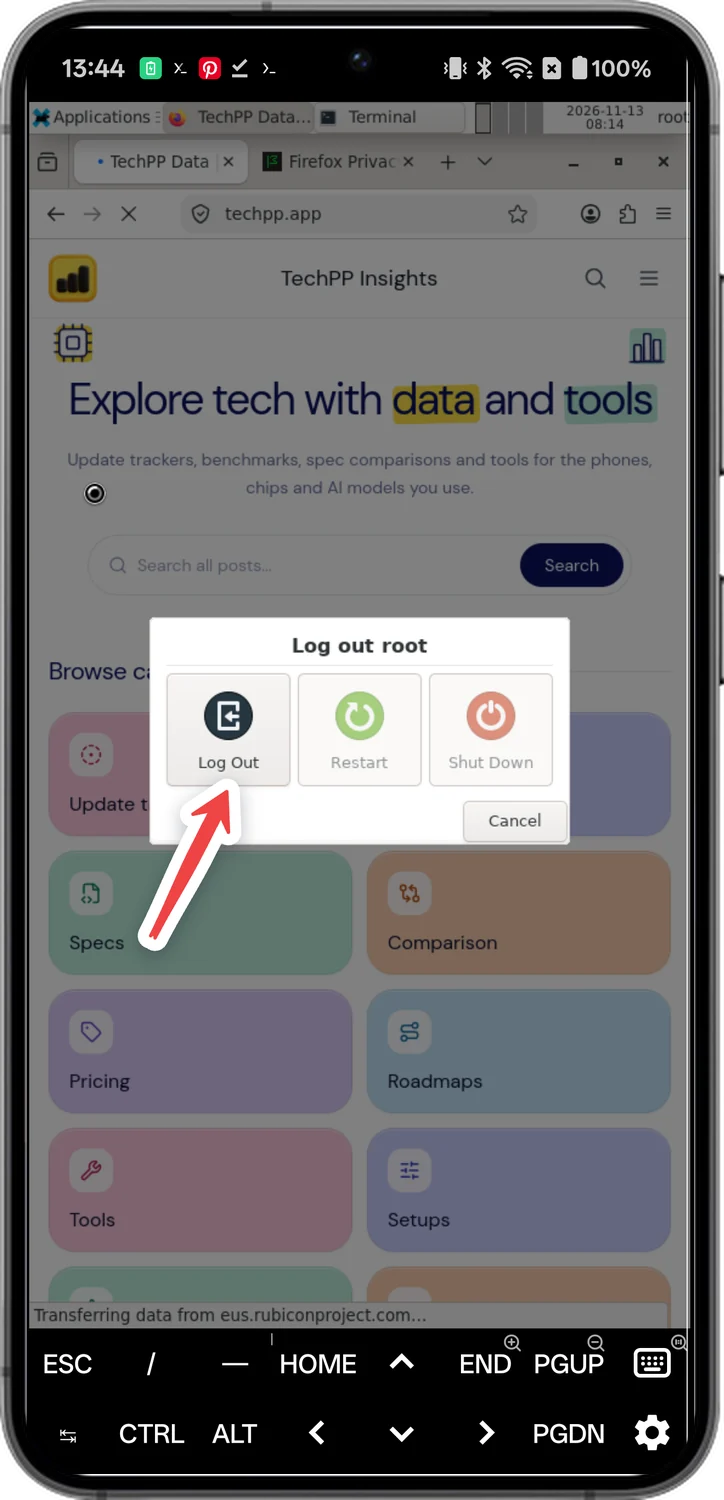
Log out
Tap Log Out. You're back in Termux.
- 39
Start it again any time
Next time, open Termux, type this and press Enter. Your settings and apps are all still there.
startlinux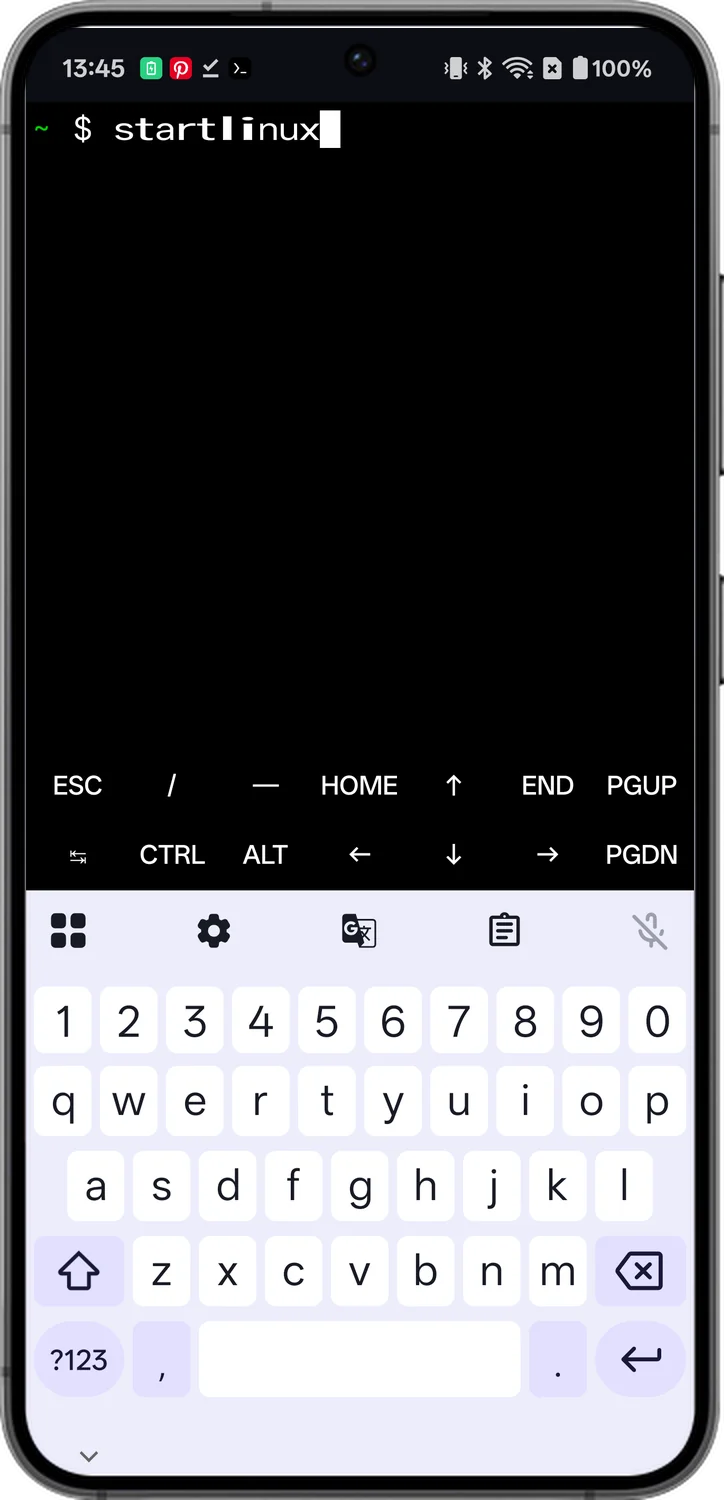
Fix Common Problems
These are the two problems I actually ran into while setting this up, and how to fix them.
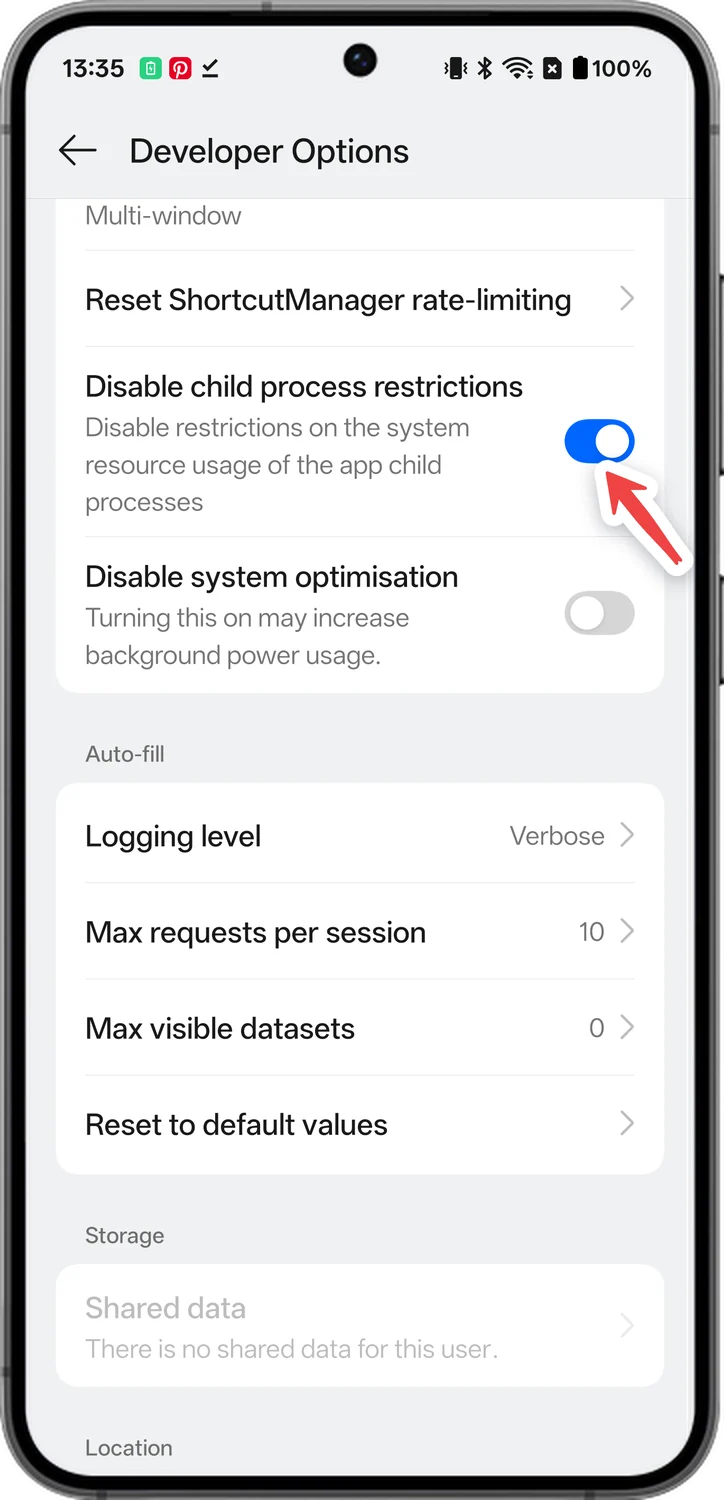
- 40
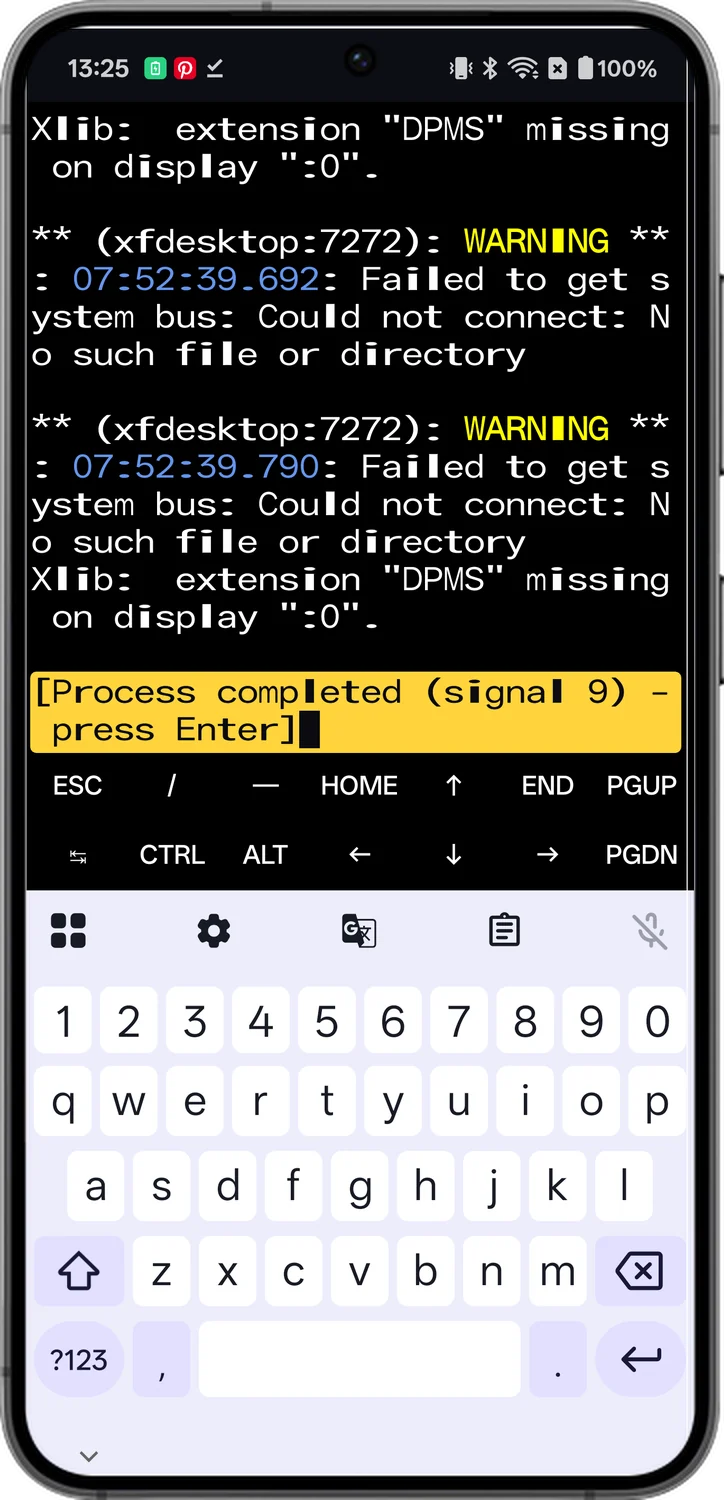
The desktop closes with signal 9
If the desktop suddenly disconnects and Termux says Process completed (signal 9), Android closed it to save resources. This happened to me while Firefox was installing.
- 41
Turn off Android's process limit
Open Settings > Developer options and turn on Disable child process restrictions. No Developer options? Go to Settings > About device, tap Version or Build number seven times, and it appears. Then run startlinux again.
- 42
Fix a stopped install
If an install was cut off, the next one says dpkg was interrupted. Run this command in the Linux terminal to finish the old one, then try again.
dpkg --configure -a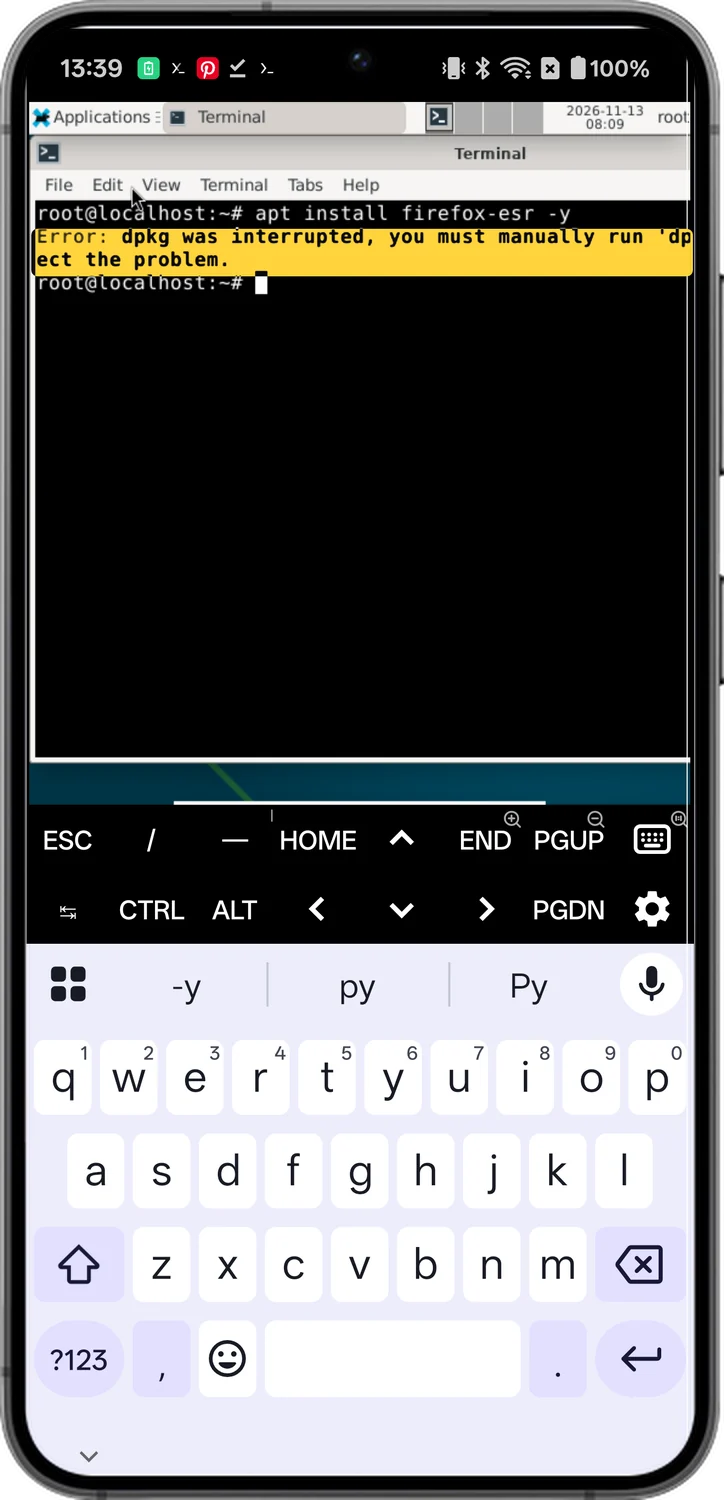
Remove Linux From Your Phone
Changed your mind? Uninstall the Termux and Termux:X11 apps like any other app. That deletes Debian, the desktop and everything you installed inside it, and you get all of that storage back. If you turned on Disable child process restrictions, you can switch it back off in Developer options too.
That's it. You now have a real Linux desktop in your pocket, and starting it again is just one word, startlinux. If you enjoyed using the terminal, you can also learn how to remove bloatware from your Android phone with ADB.
Comments
0Share your thoughts, questions, or feedback about this guide.
Leave a Comment