
How to Connect Gemini (Antigravity CLI) to Instagram Edits on Mac
Instagram Edits is finally available on macOS at the time of writing this article, and it comes with support for MCP tools, so you can pick any AI assistant to edit your Reels.
I've already shared a detailed guide on how to edit Instagram Reels using Claude and Edits on Mac, which covers connecting Edits and using MCP to create Reels with AI. This one specifically covers using Google's Antigravity CLI to edit your Instagram Reels.
Since the Google AI Pro offer is now available to more users, this guide covers everything you need to use Edits' MCP server with Google Antigravity.
5 steps · About 15 minutes · Mac only
Before you begin
Have these ready and the steps go smoothly.
- A Mac with an Apple chip (M1 or newer) on macOS 15.1 or later
- The Edits app for Mac, signed in with your Instagram account (free from edits.instagram.com/desktop)
- A Google account; a personal Gmail account works
- About 15 minutes
Step 1: Install Antigravity CLI
- 1
Open Terminal and check for Antigravity
Press Command + Space, type Terminal and press Return. Click inside the window, paste this command and press Return.
agy --version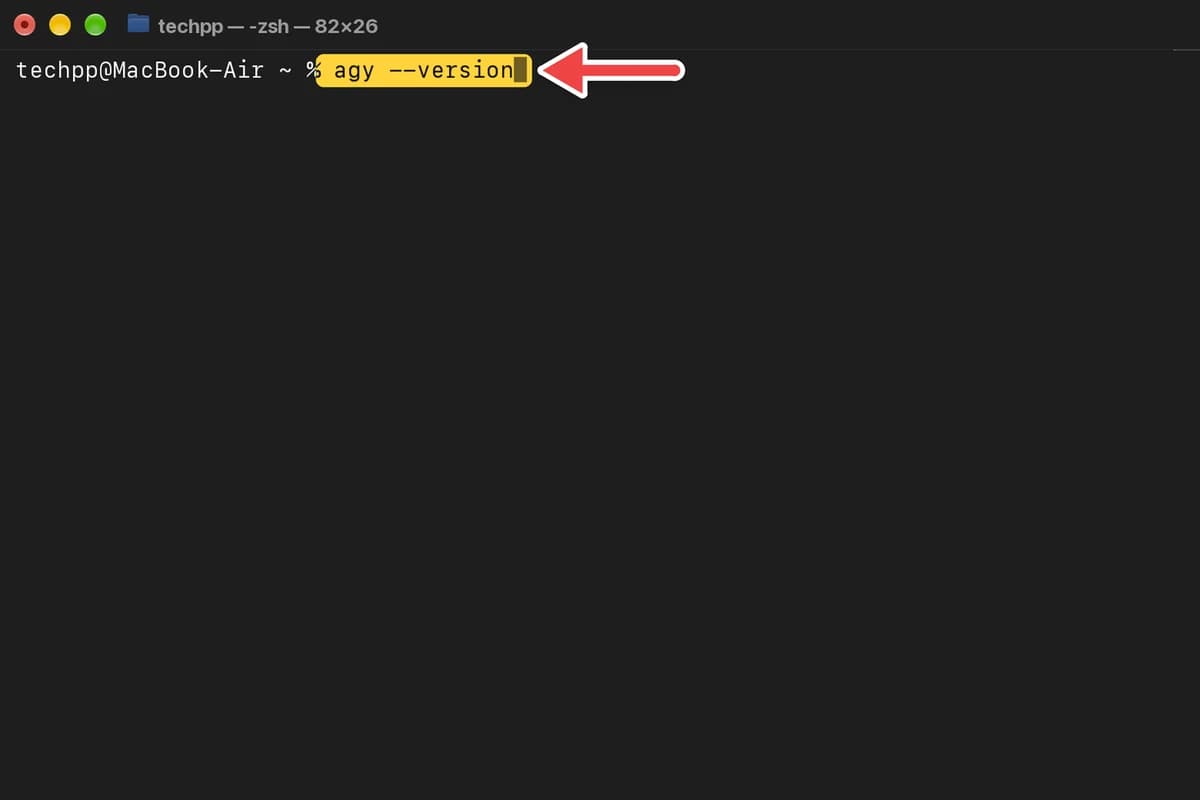
- 2
Check the result
A version number such as 1.5.3 means it's already installed: skip to Step 2. If you see
command not found: agy, do actions 3 to 5.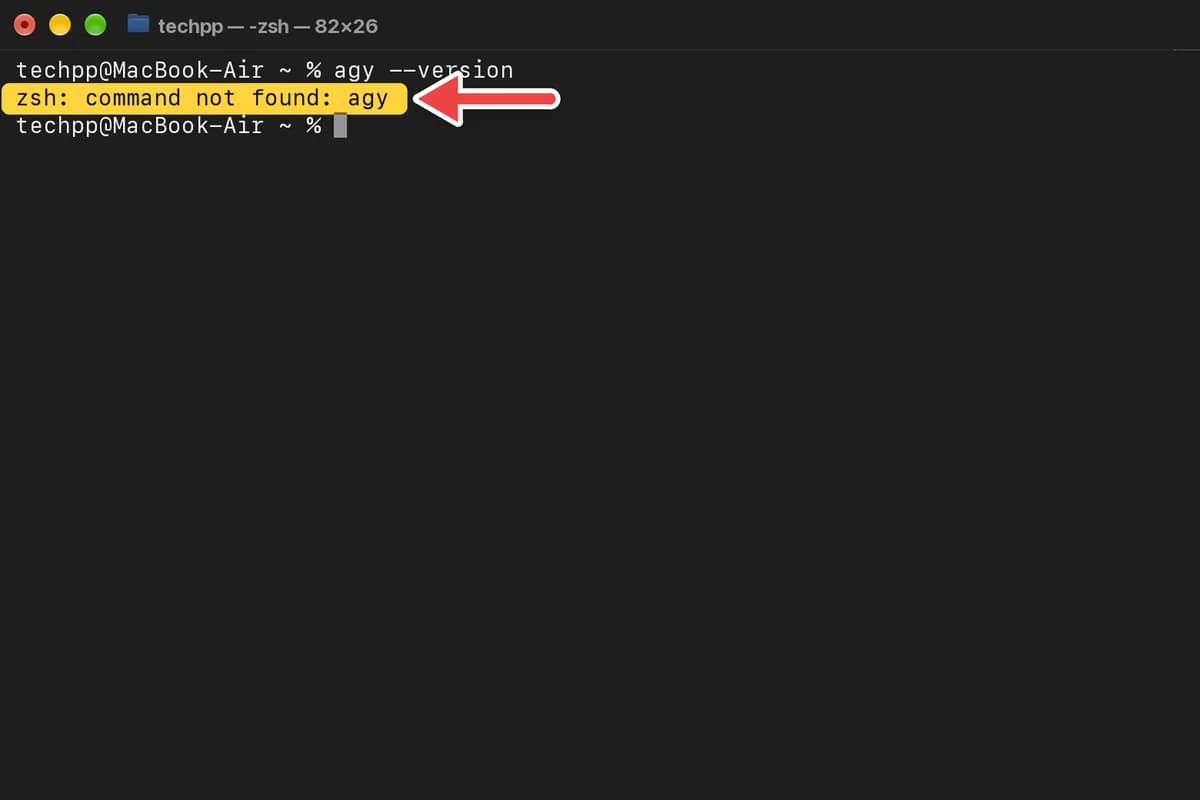
- 3
Install it with Google's install command
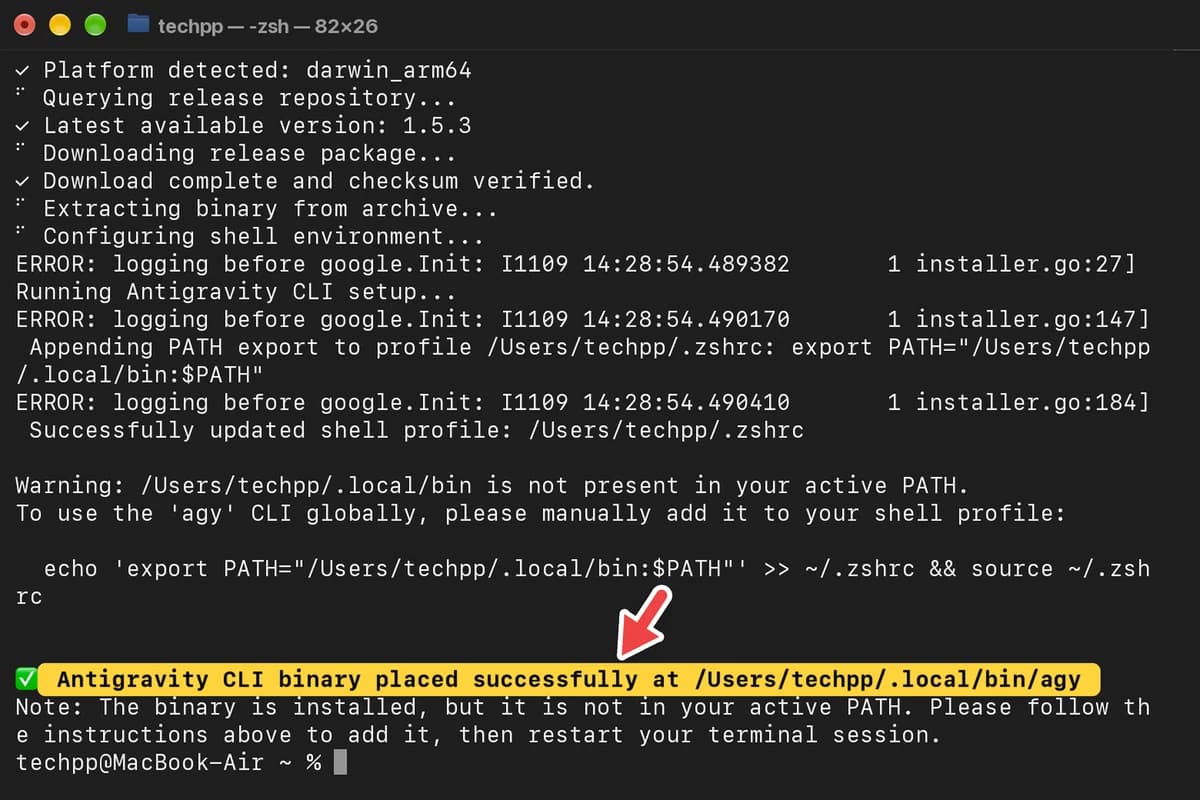
It downloads Antigravity CLI from Google and installs it.
curl -fsSL https://antigravity.google/cli/install.sh | bash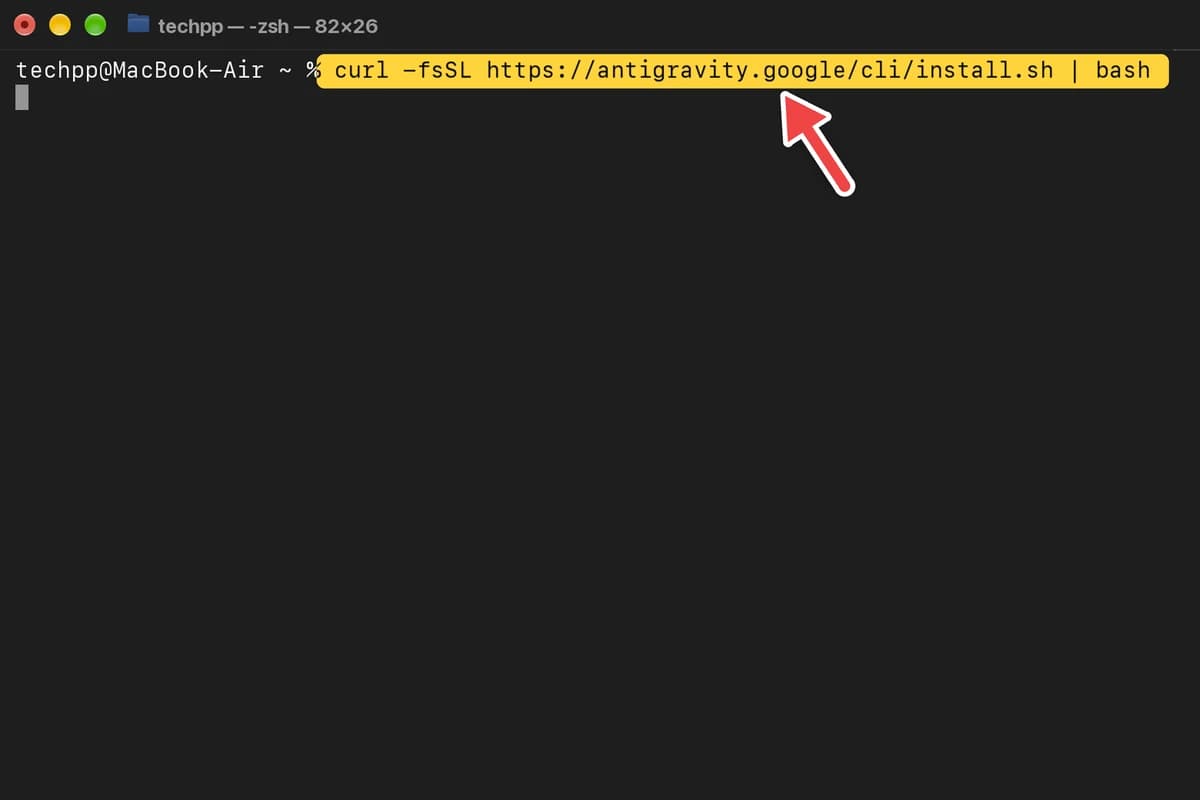
- 4
Wait for it to finish
It takes a few seconds. Lines that start with ERROR: logging before google.Init are normal; ignore them.
- 5
Let Terminal find Antigravity
Nothing appears when it works.
source ~/.zshrc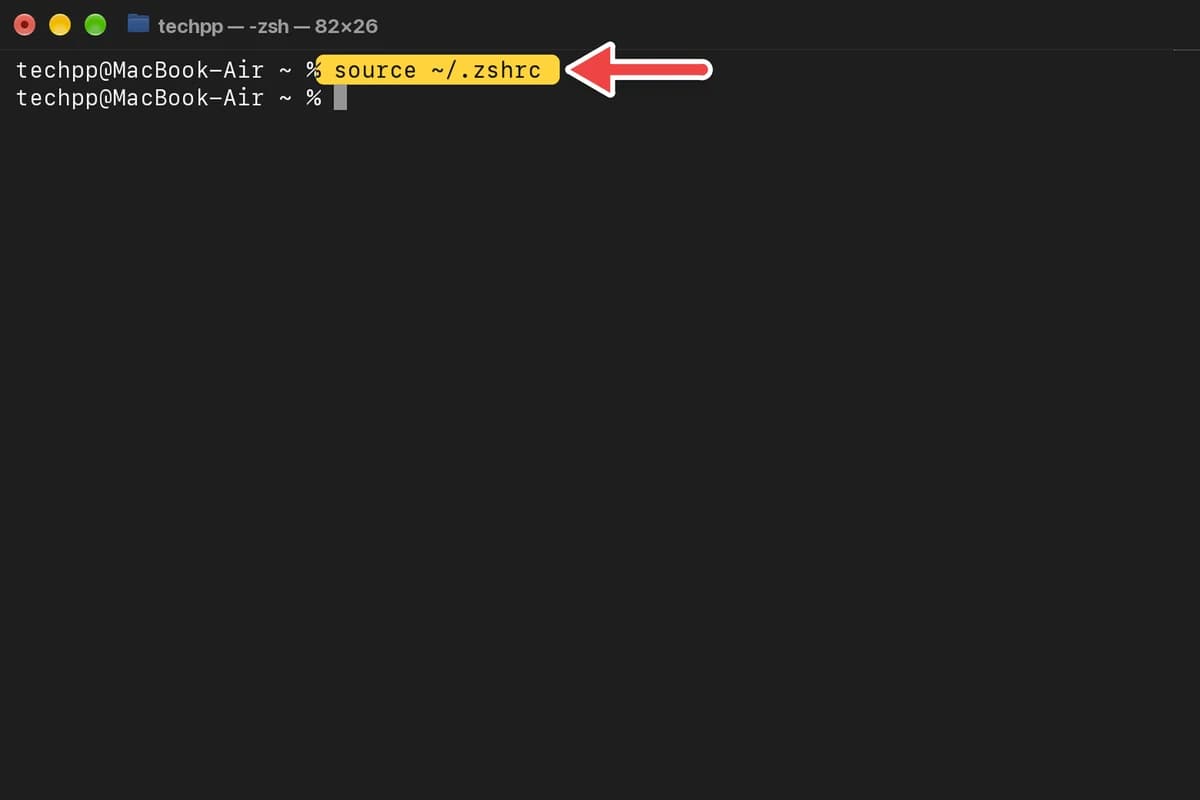
- 6
Check that it works
agy --versionYou should see a version number such as
1.5.3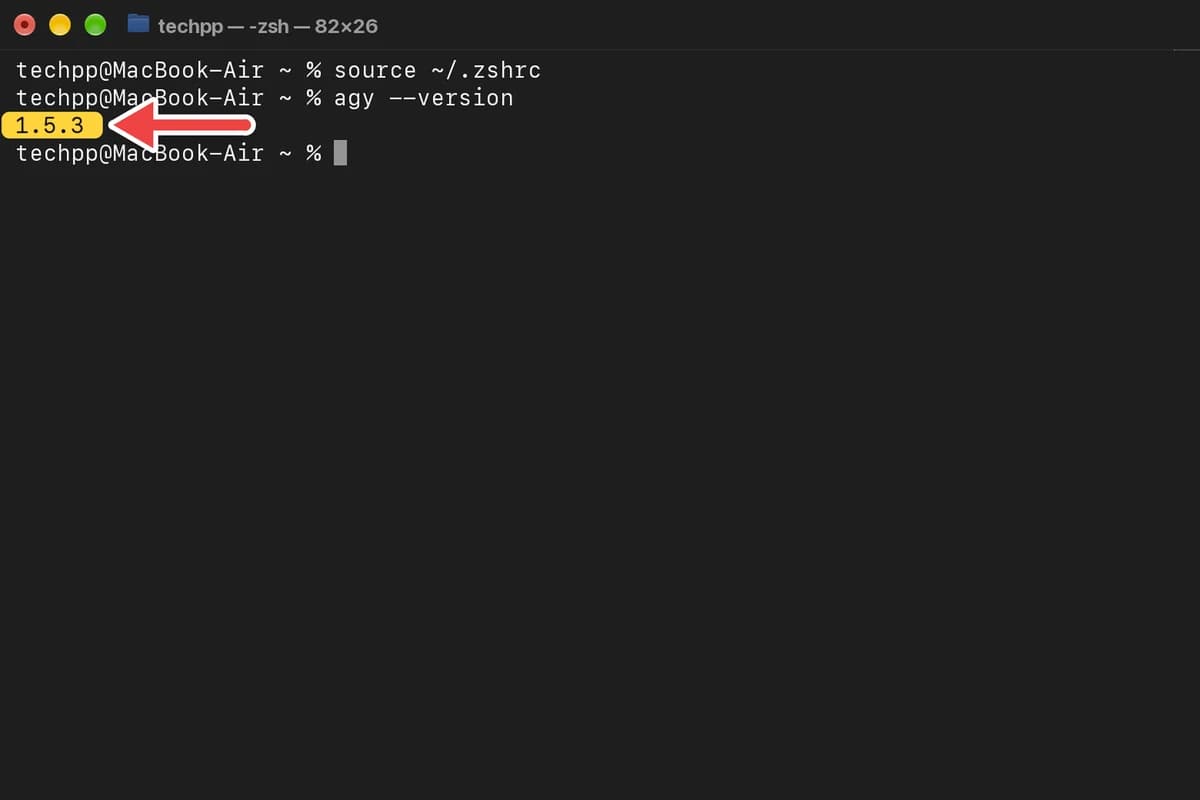
Rather use Claude? See how to install Claude Code on Mac.
Step 2: Turn on the automation server in Edits
- 1
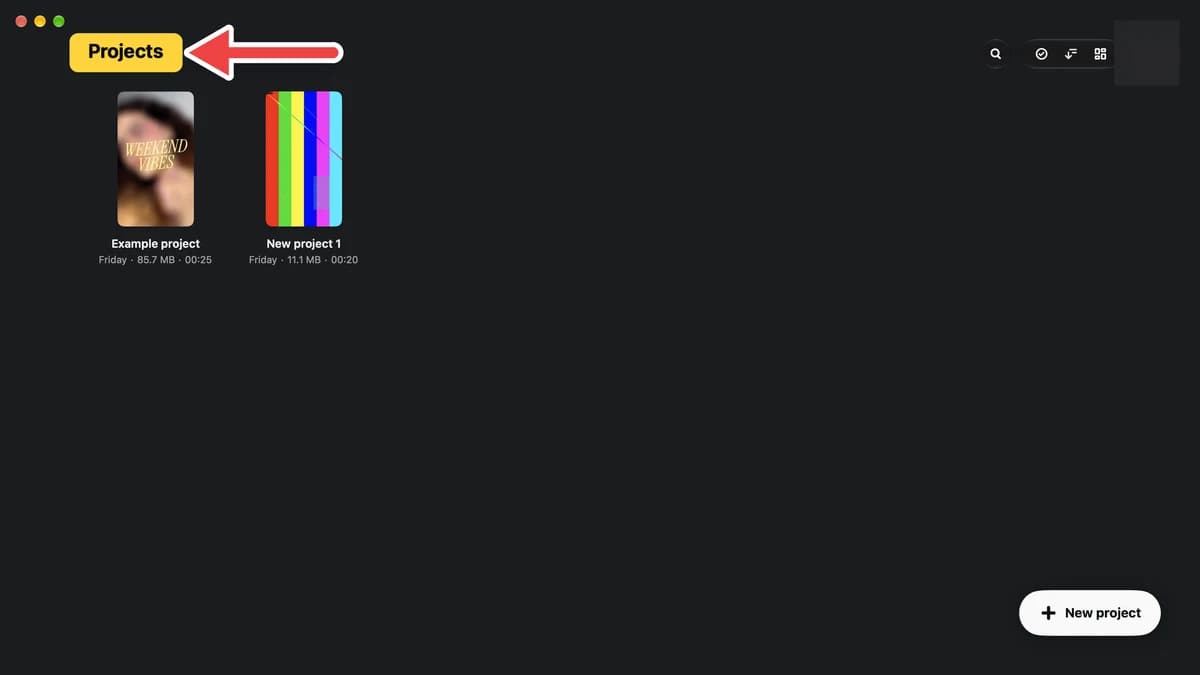
Open the Edits app
Sign in with Instagram if it asks. You'll see your Projects.
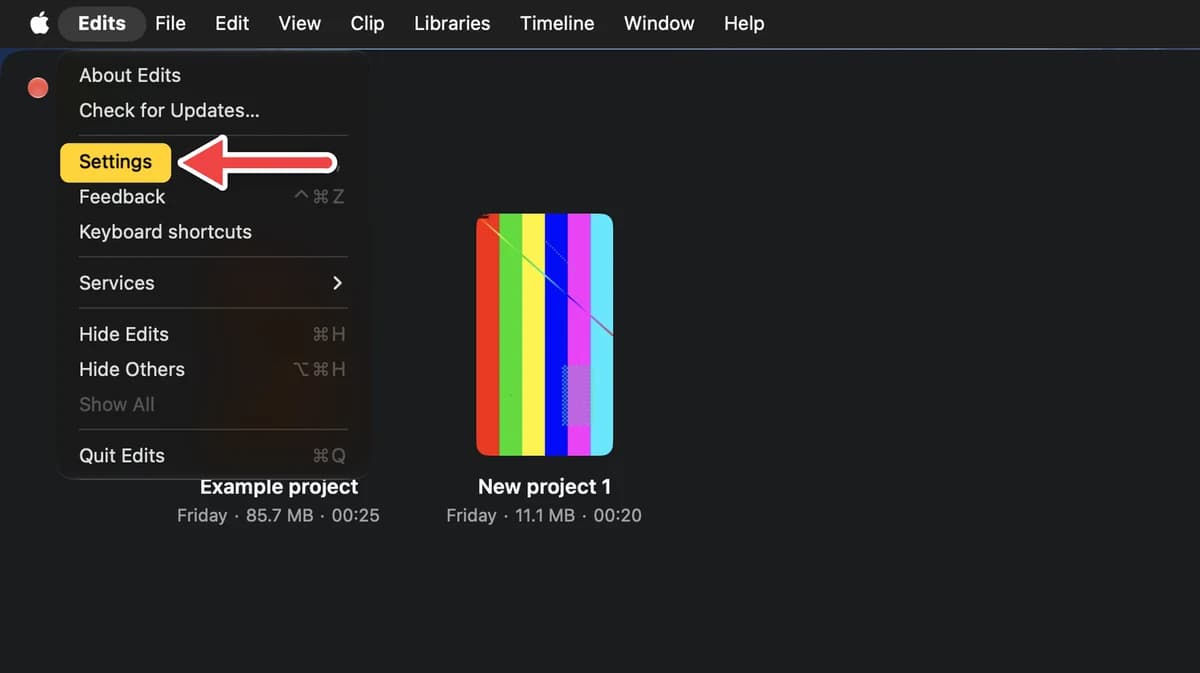
- 2
Click Edits in the menu bar, then Settings
Or press Command + , (comma).
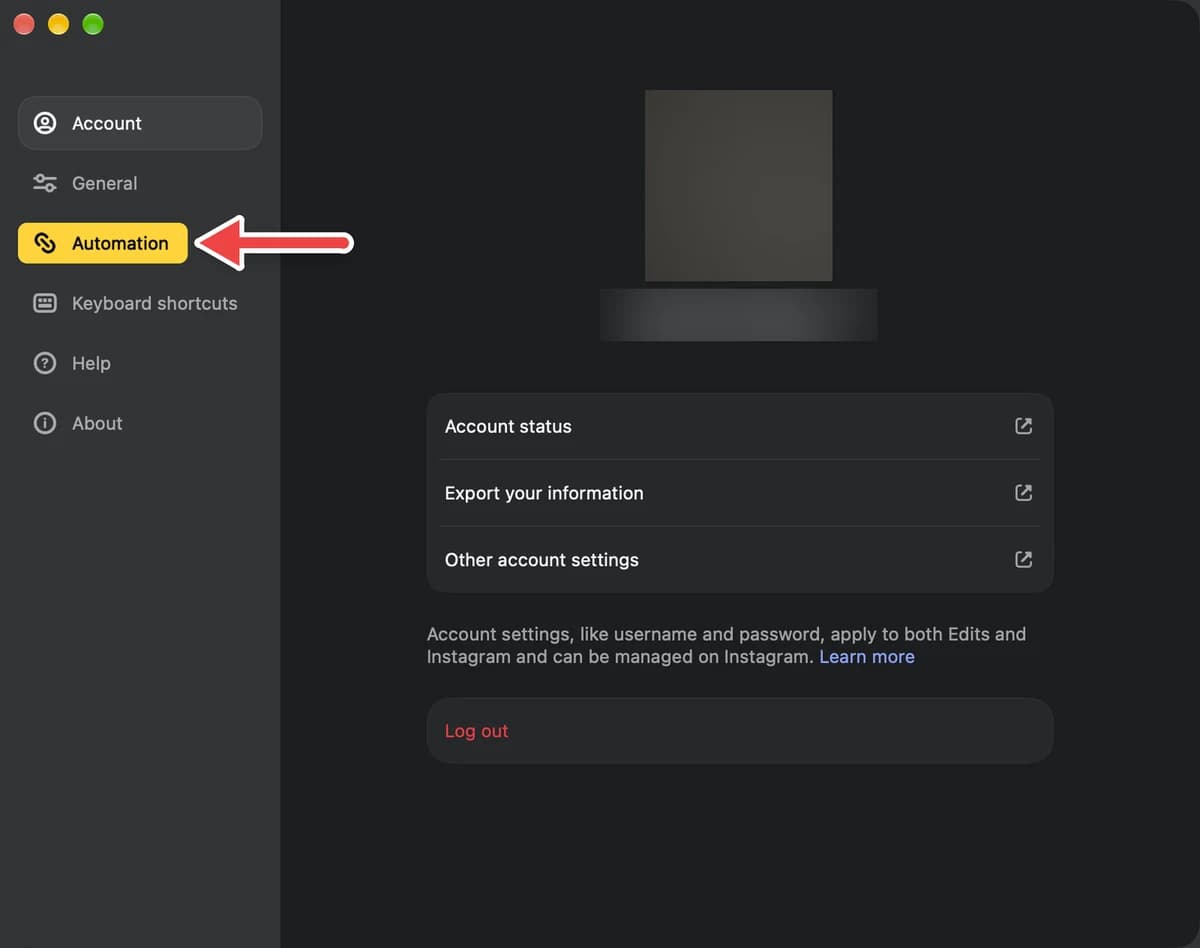
- 3
Click Automation on the left
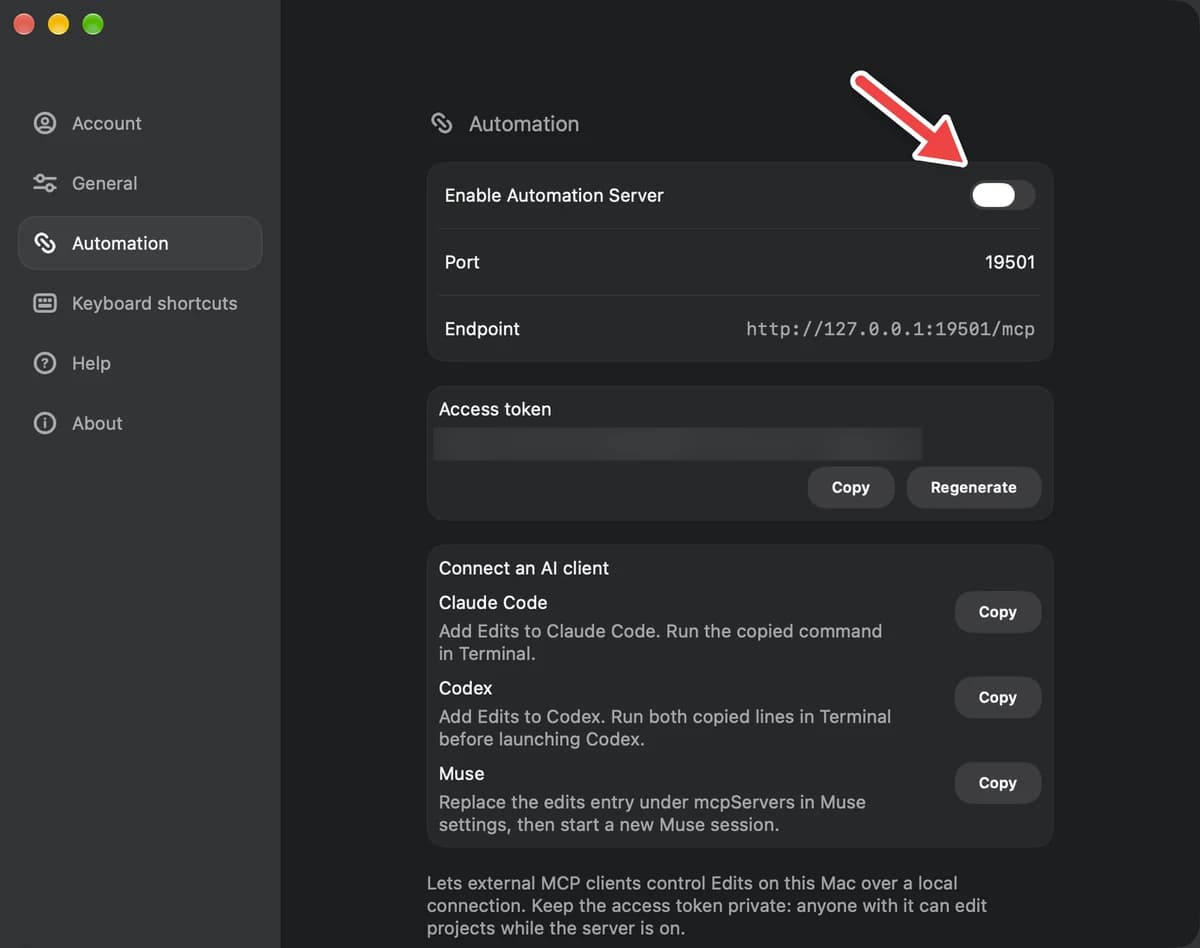
- 4
Turn on Enable Automation Server
Leave Edits open while you use Antigravity. If Edits is closed, Antigravity can't reach it.
Step 3: Connect Antigravity CLI to Edits
Warning: Do these in order. The command reads your Edits access token from the clipboard, so copy the token just before you press Return.
- 1
In Terminal, paste this command but don't press Return yet
Press Command + Tab to switch back to Terminal.
agy mcp add --header "Authorization: Bearer $(pbpaste)" edits http://127.0.0.1:19501/mcp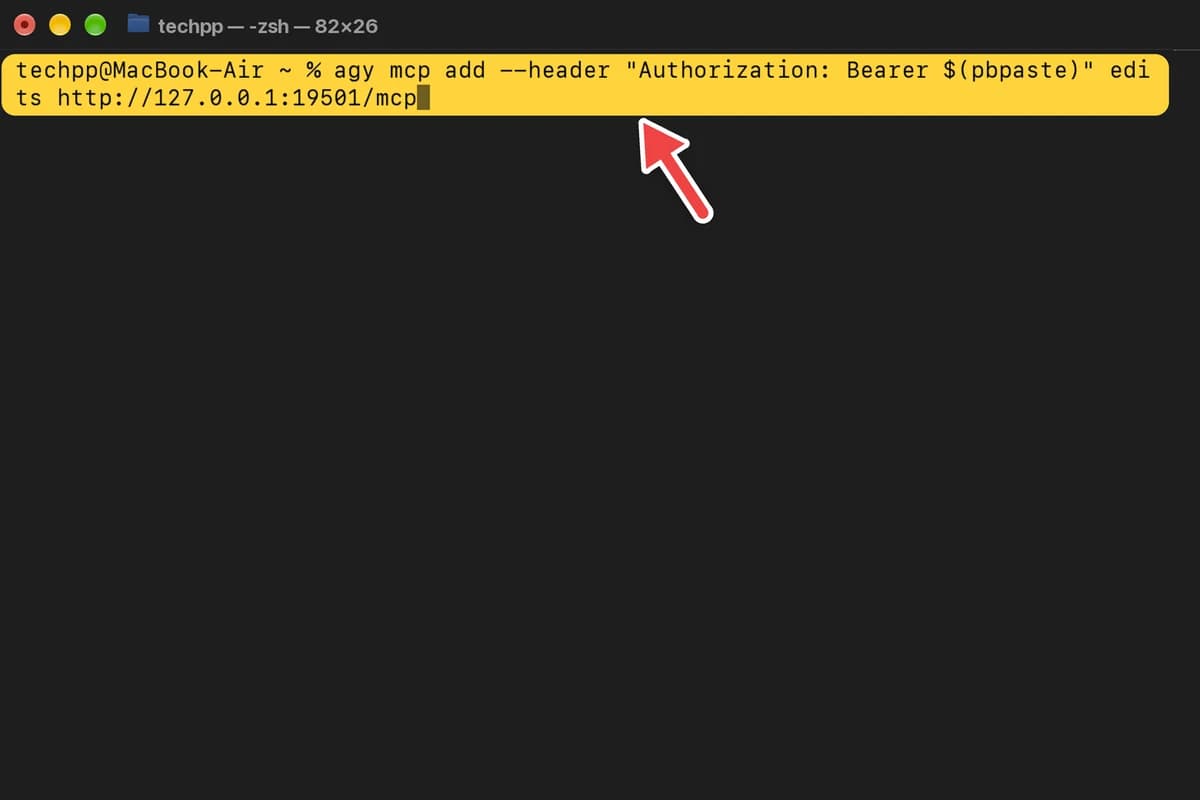
- 2
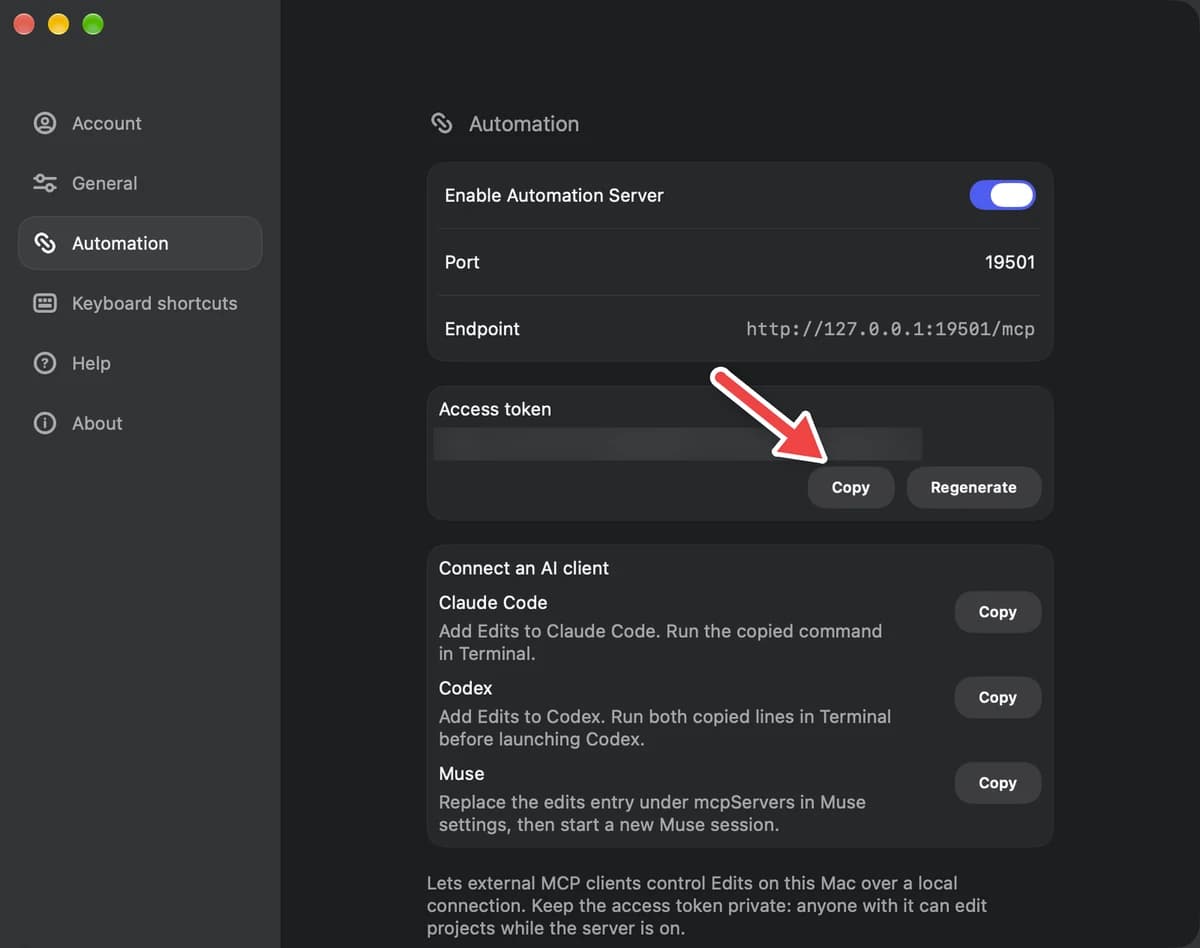
In Edits, click Copy under Access token
Never share this token: anyone who has it can edit your projects while the switch is on.
- 3
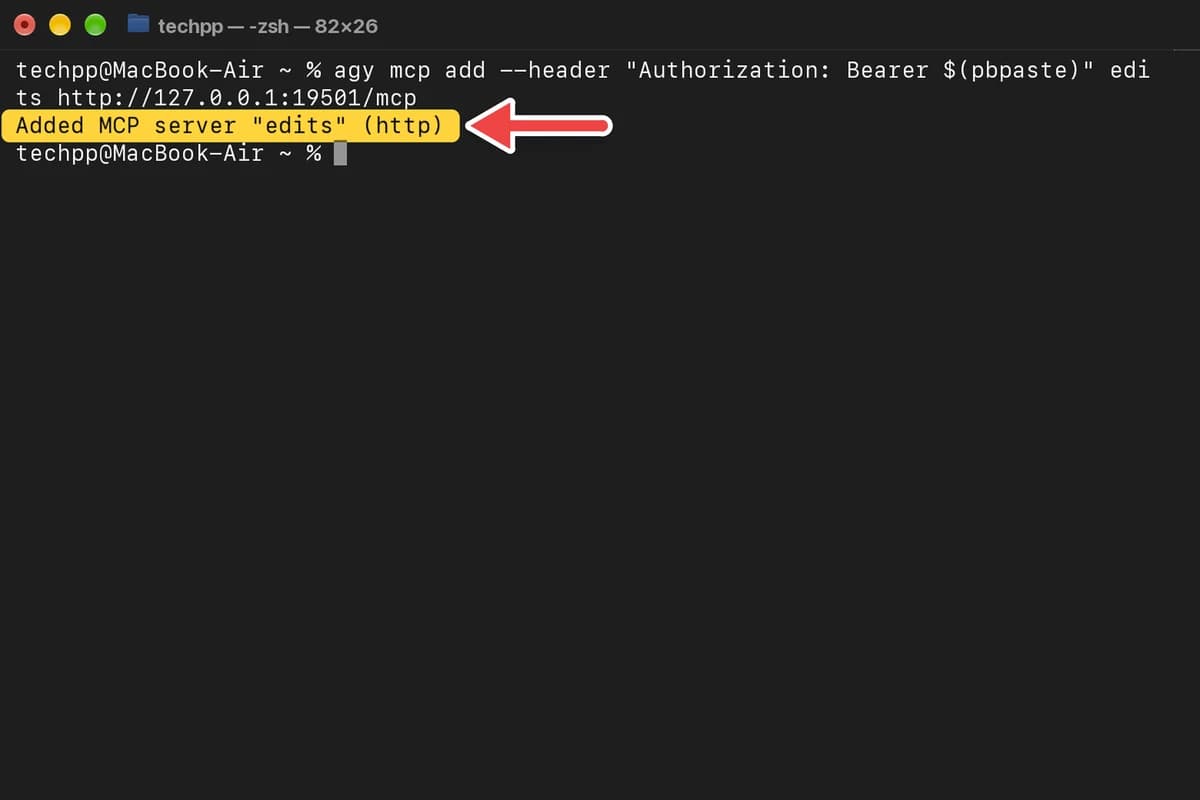
Go back to Terminal and press Return
- 4
Check that the connection is saved
Missing? Repeat actions 1 to 3.
agy mcp listYou should see a line for
editsthat saysenabled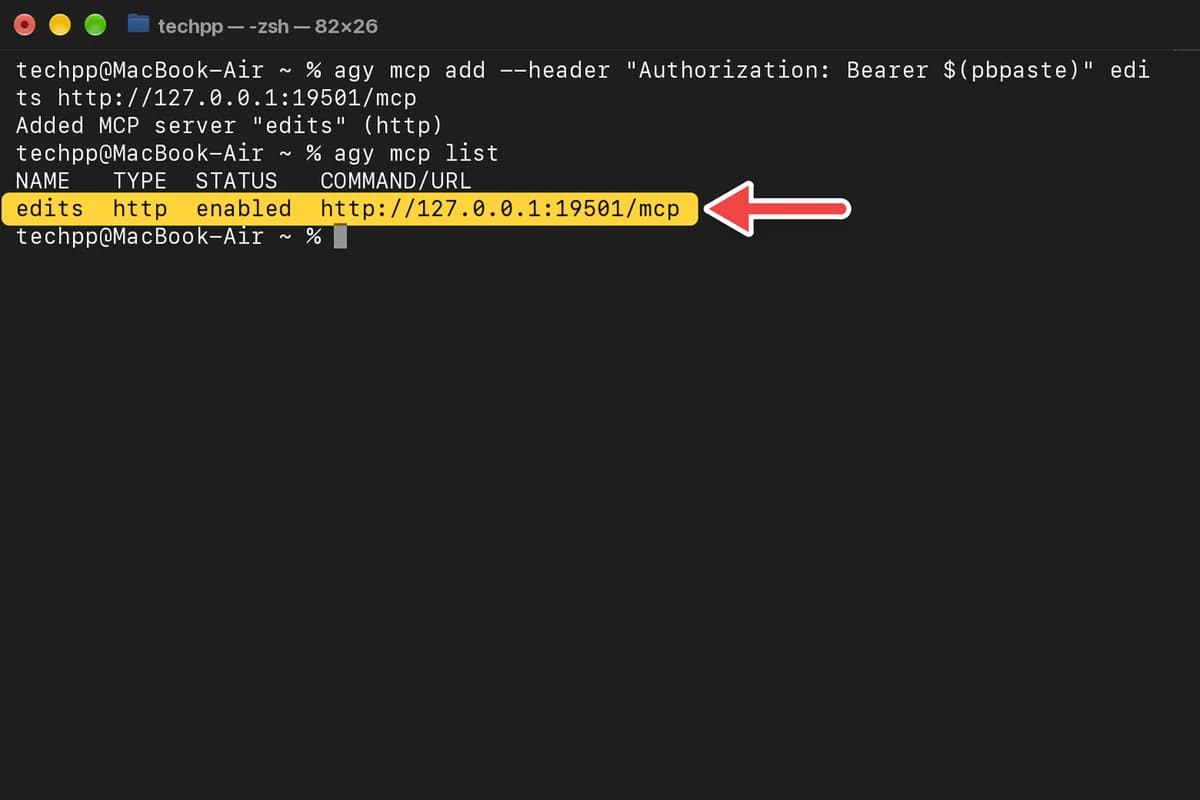
Step 4: Start Antigravity CLI and sign in
- 1
Go to your Movies folder
Antigravity only sees files in the folder you start it from. Videos in Downloads? Use
cd ~/Downloadsinstead.cd ~/Movies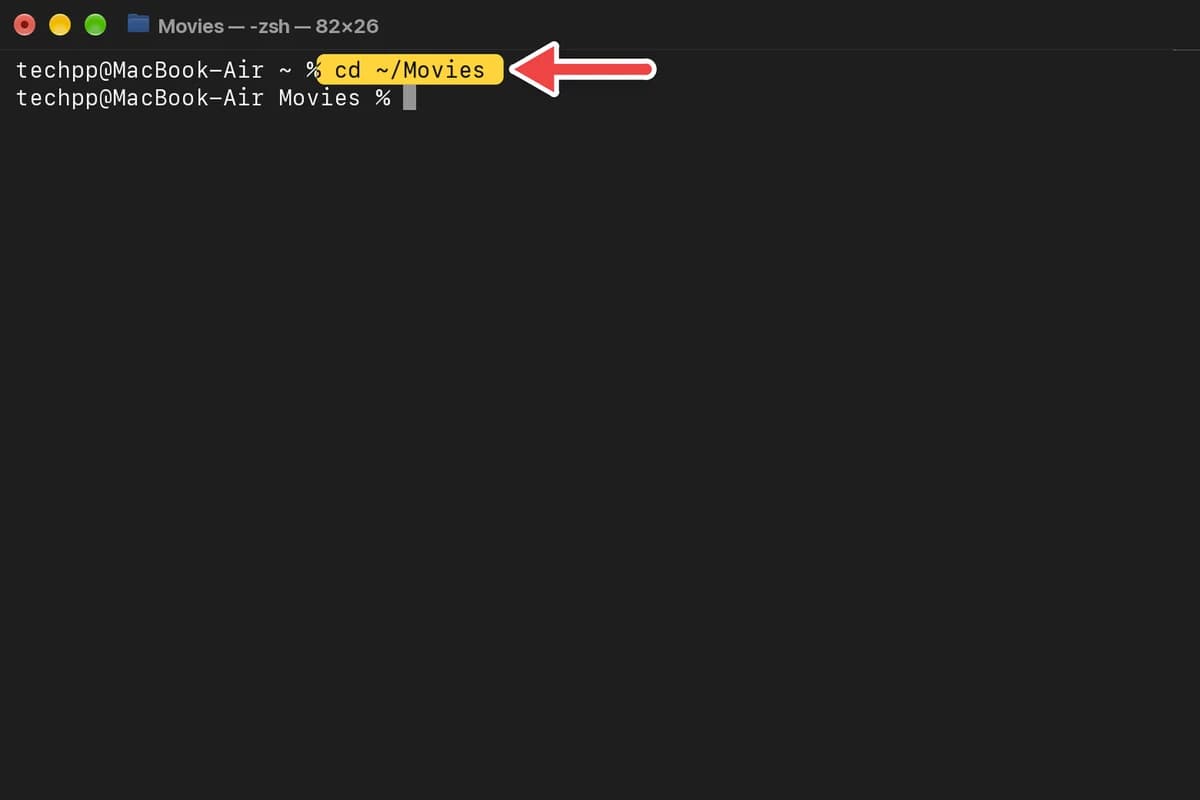
- 2
Start Antigravity CLI
agy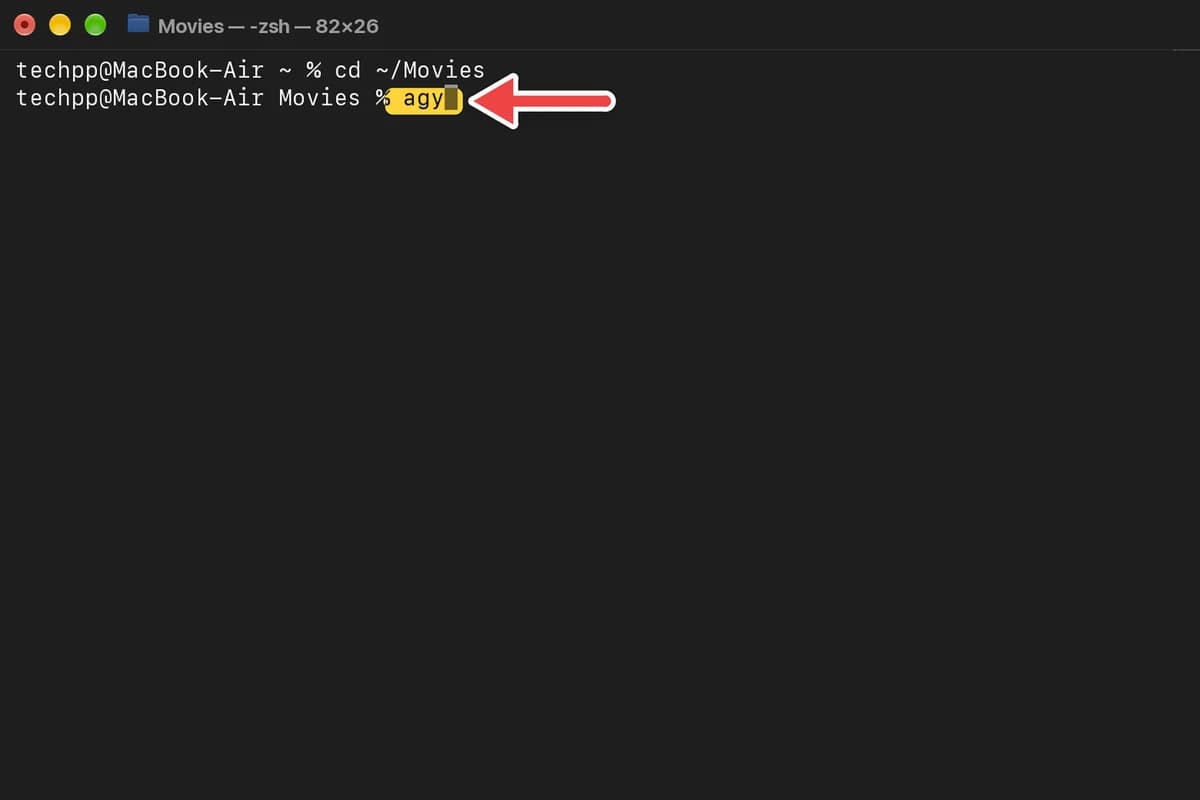
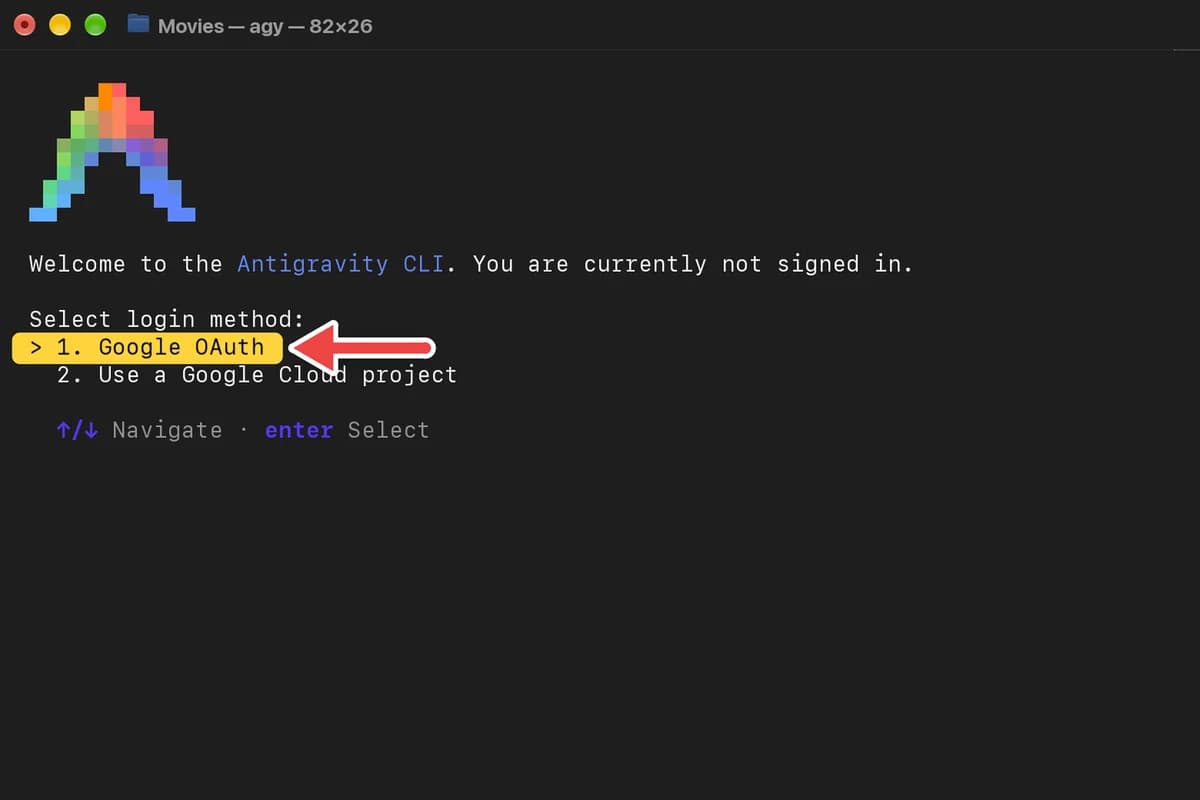
- 3
Press Return to choose Google OAuth
Only the first time you start Antigravity CLI.
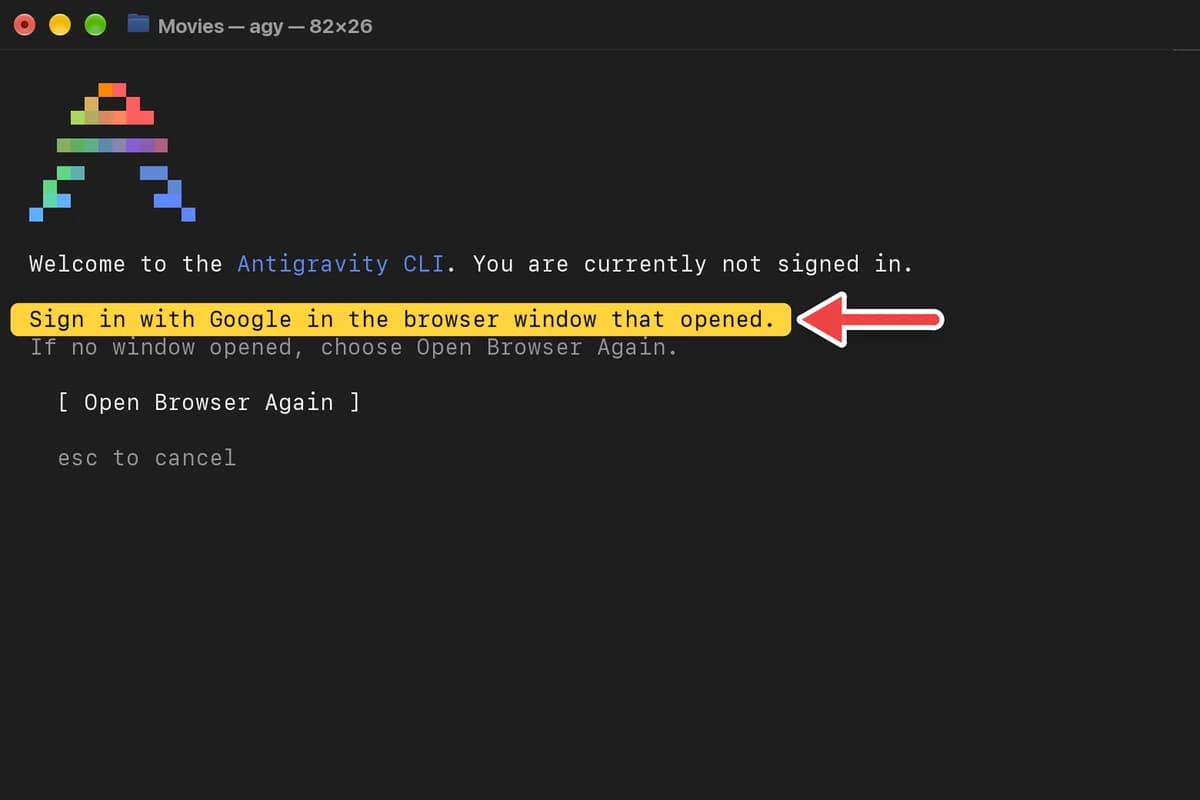
- 4
Sign in with your Google account in the browser window that opens
Only the first time.
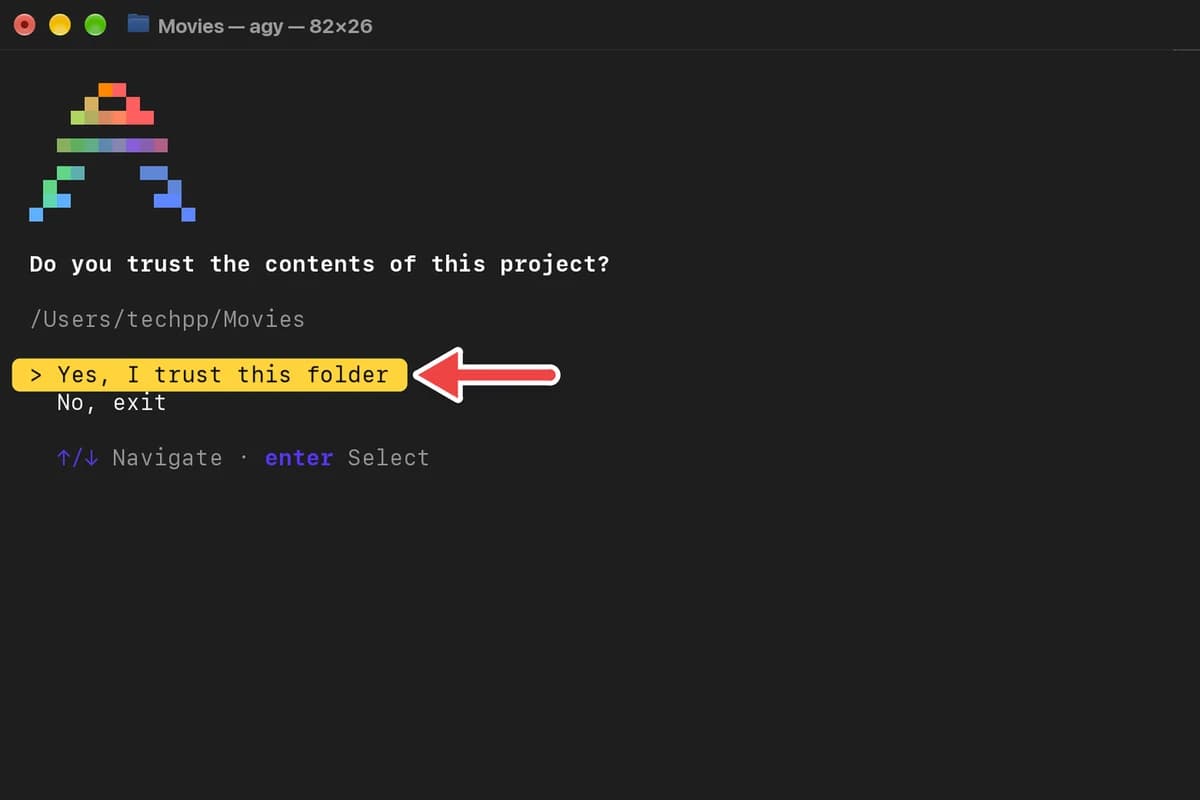
- 5
Trust the folder
Only the first time.
- 6
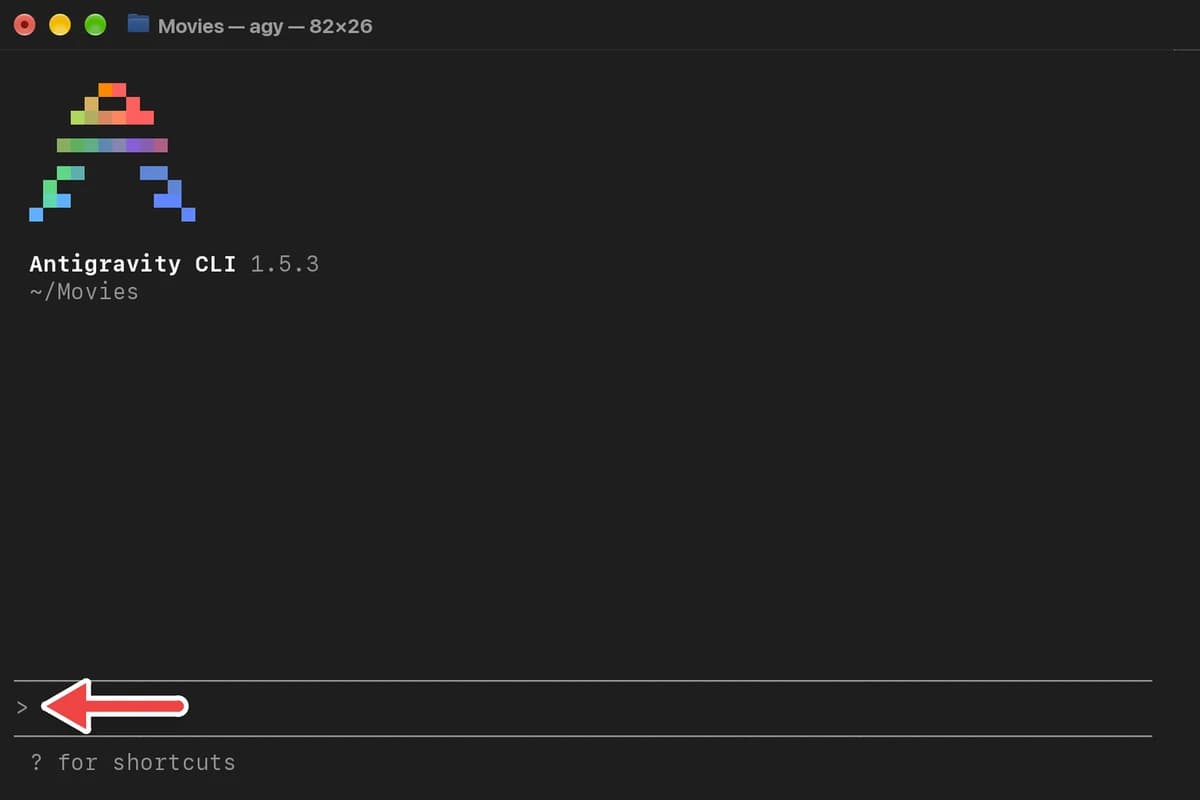
Find the message box
It's the line at the bottom that starts with >. Type your requests there and press Return.
- 7
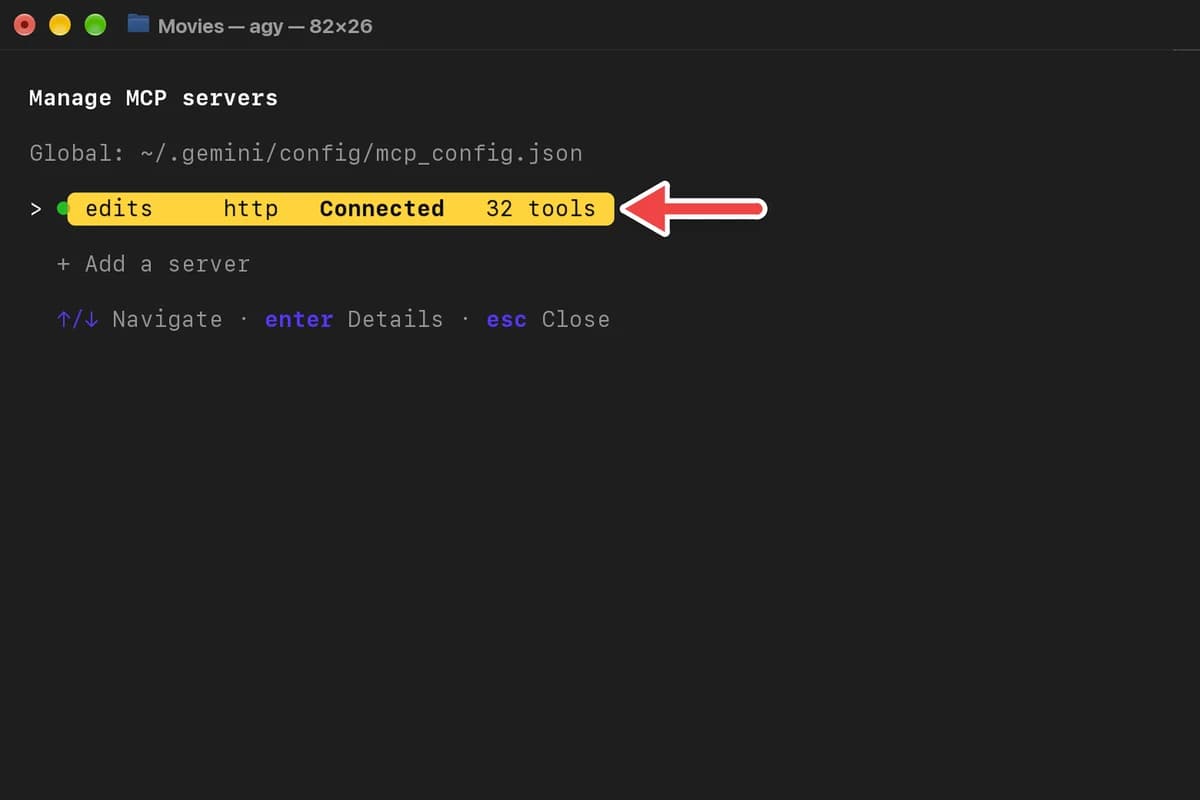
Check that Antigravity can see Edits
edits with a green dot and Connected means it works. Press Esc to close the list.
Paste into Antigravity/mcp
Step 5: Edit a Reel with Antigravity CLI
- 1
Put your clips in one folder inside Movies
Here it's a folder called Coffee clips with five short videos. Keep Edits open to watch the changes.
- 2
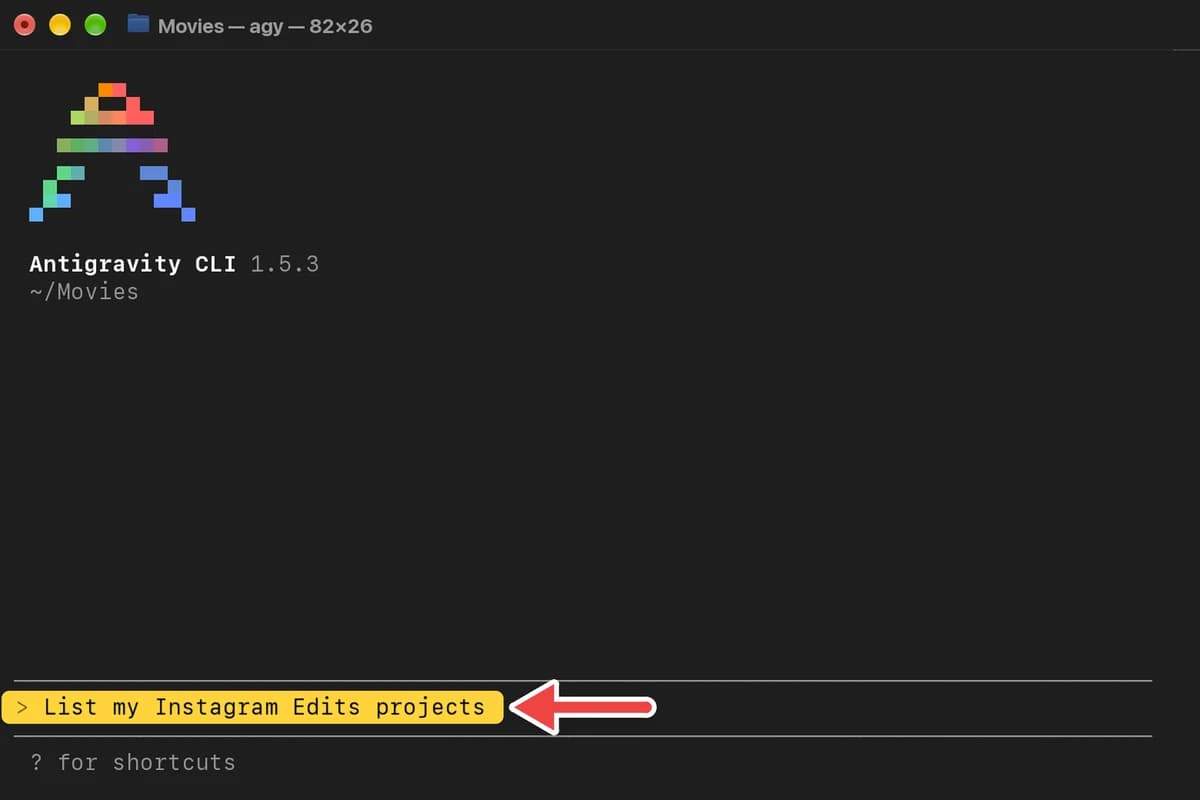
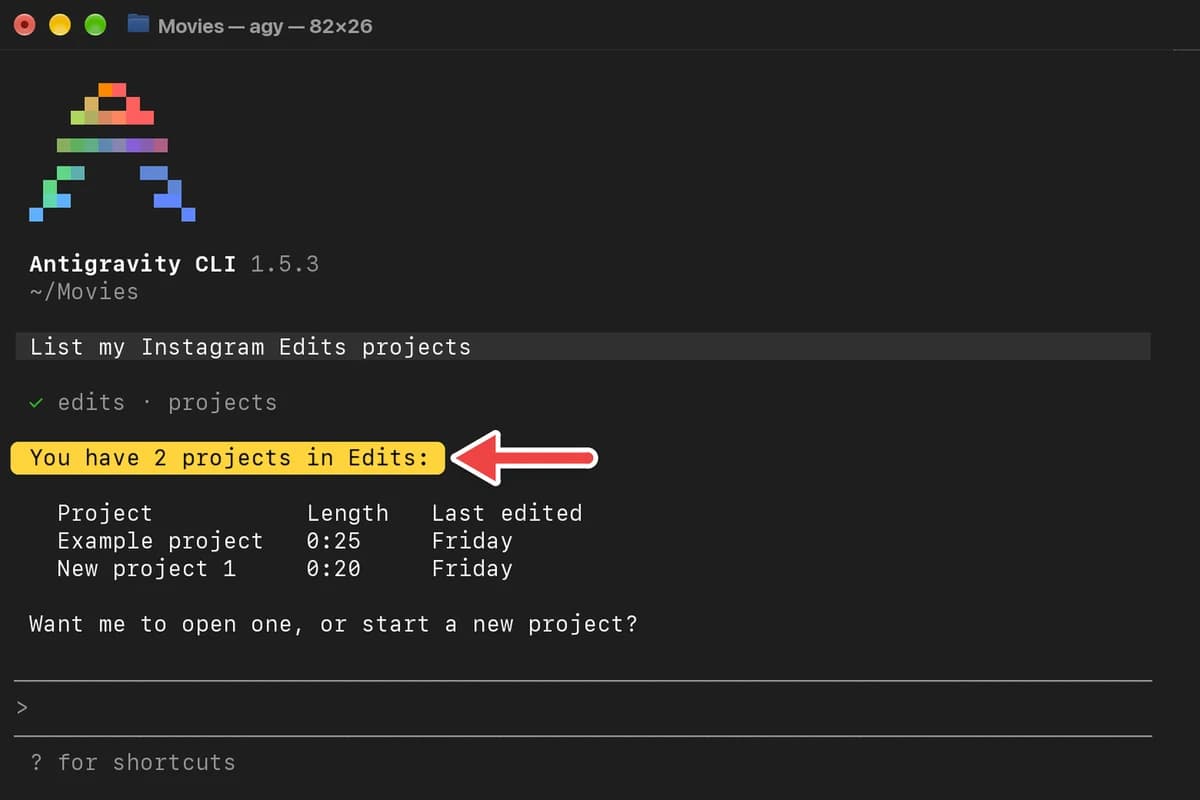
Ask Antigravity to list your Edits projects
Paste into AntigravityList my Instagram Edits projects
- 3
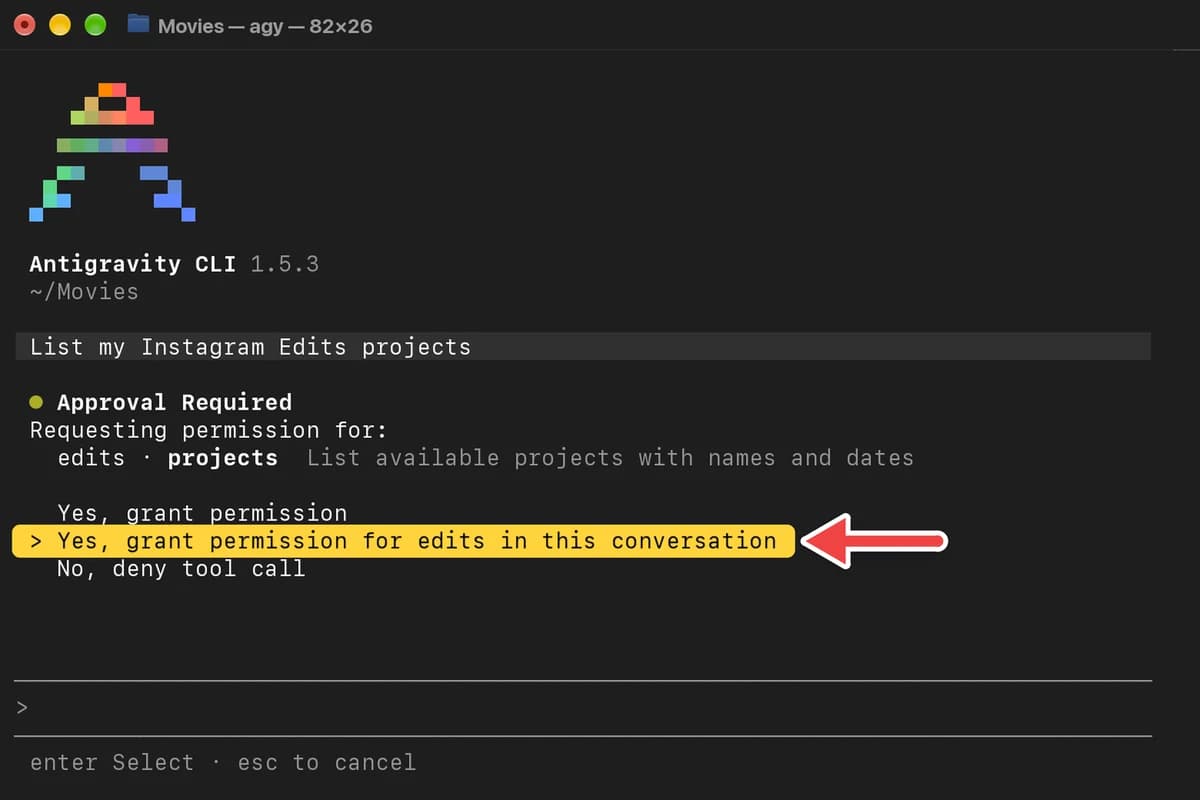
Give Antigravity permission to use Edits
Press the down arrow once to pick Yes, grant permission for edits in this conversation, then press Return.
- 4
Check the list of projects
If you see your Edits projects, the connection works.
- 5
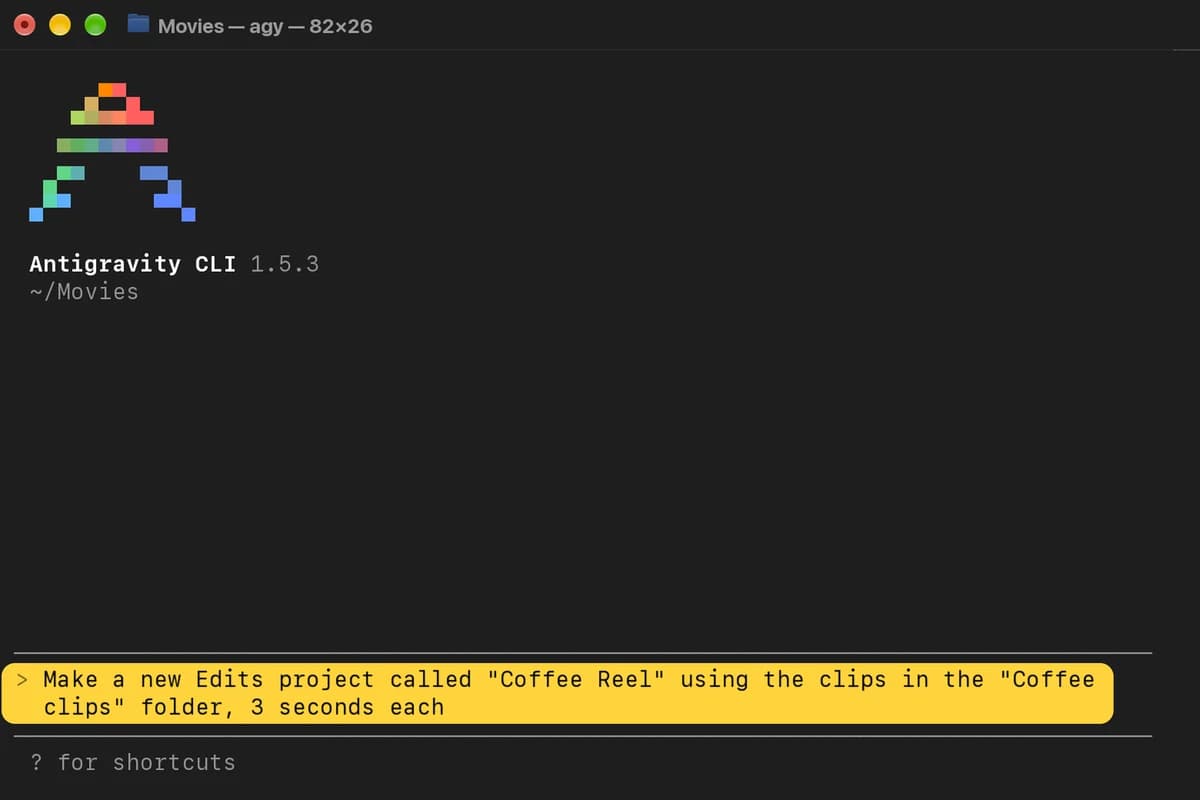
Ask Antigravity to make a new project
Change Coffee clips to your folder's name. If it asks for permission again, choose the same option as in action 3.
Paste into AntigravityMake a new Edits project called "Coffee Reel" using the clips in the "Coffee clips" folder, 3 seconds each
- 6
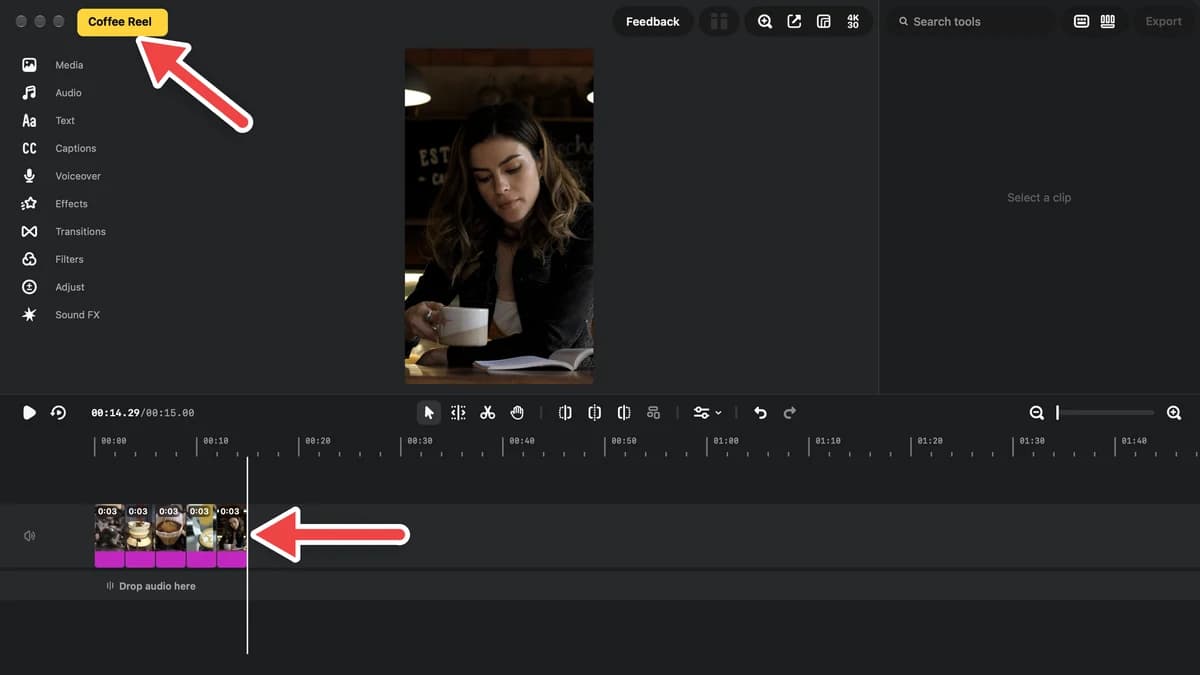
Check the new project in Edits
In about a minute, Coffee Reel opens with your clips on the timeline.
- 7
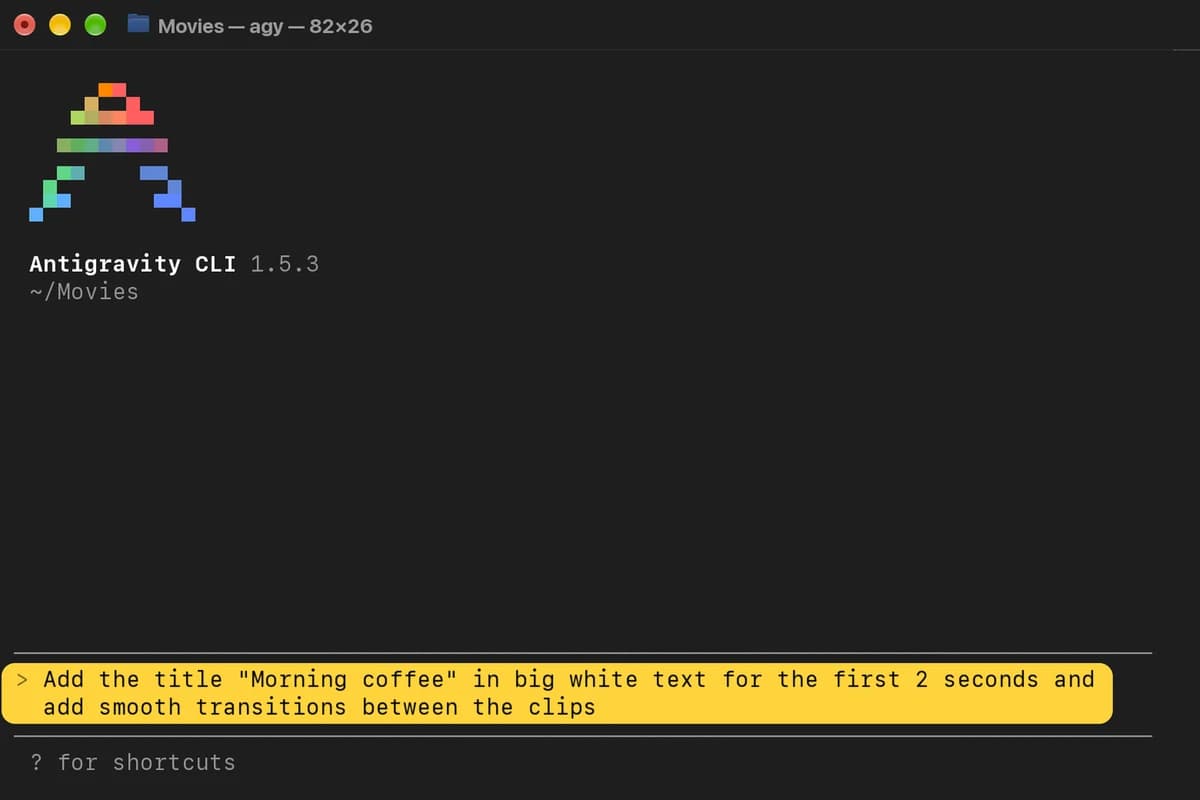
Ask Antigravity to add a title and transitions
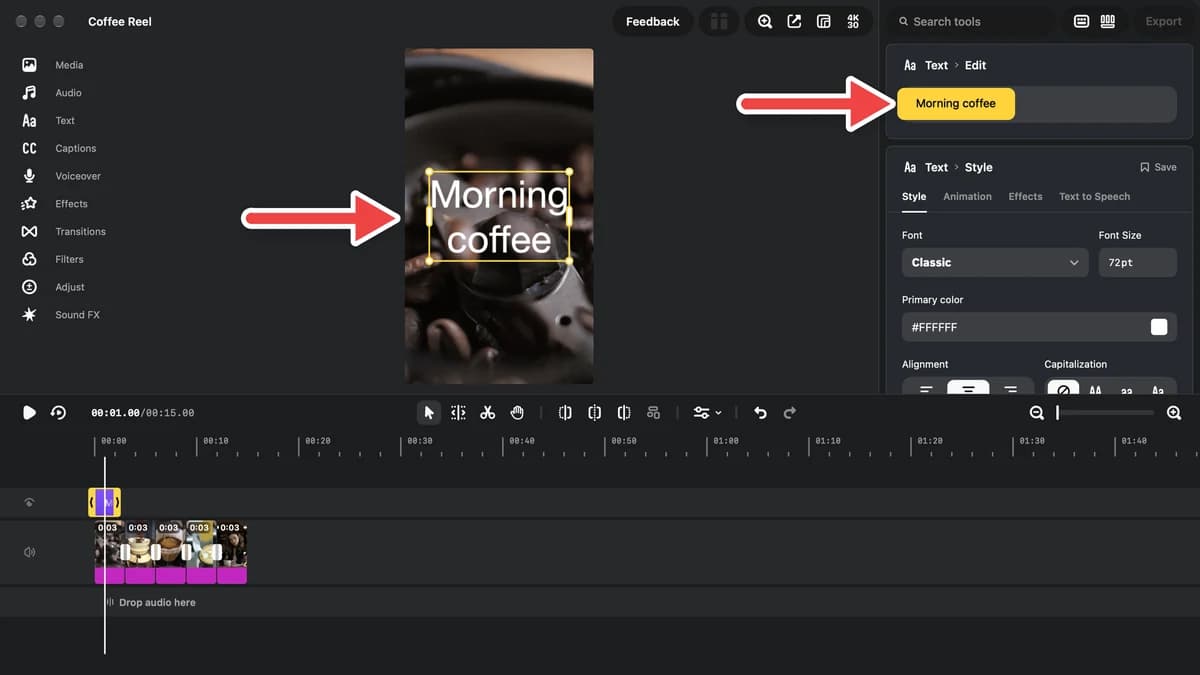
Paste into AntigravityAdd the title "Morning coffee" in big white text for the first 2 seconds and add smooth transitions between the clips
- 8
Check the title in Edits
Press play in Edits to watch it.
- 9
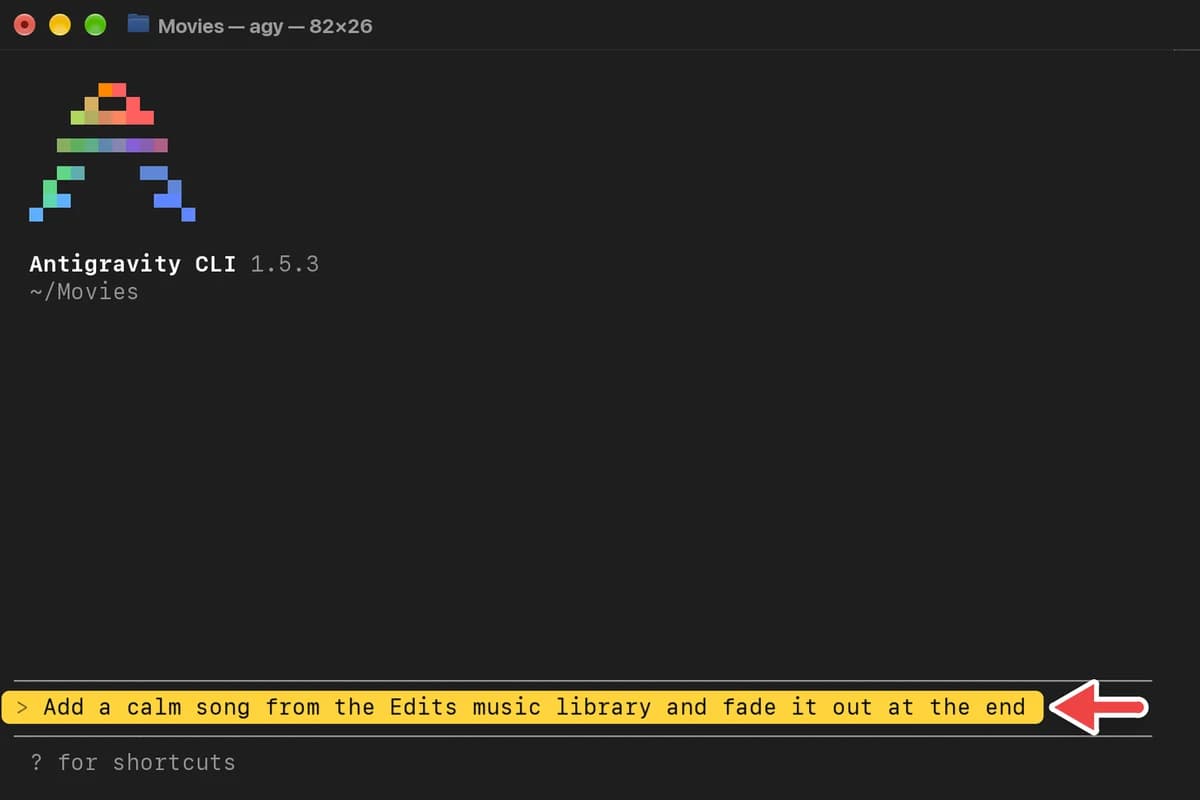
Ask Antigravity to add music
Edits library songs are cleared for Instagram, but may be flagged on other sites.
Paste into AntigravityAdd a calm song from the Edits music library and fade it out at the end
- 10
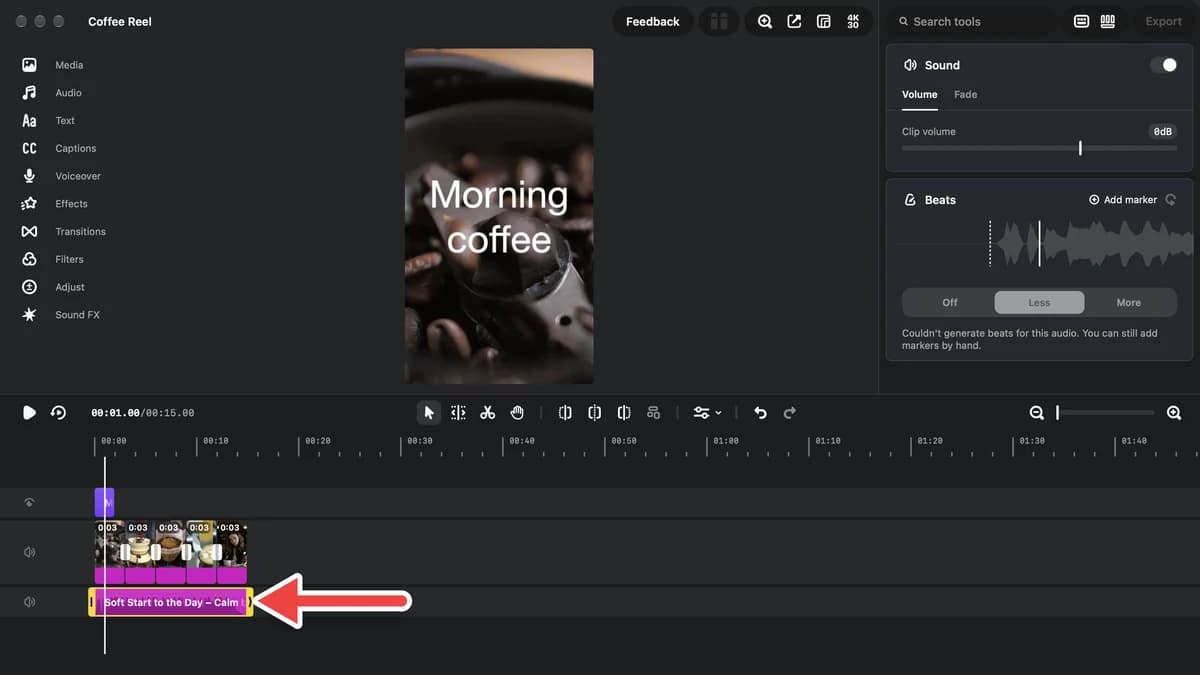
Check the music track in Edits
A music track now runs under your clips.
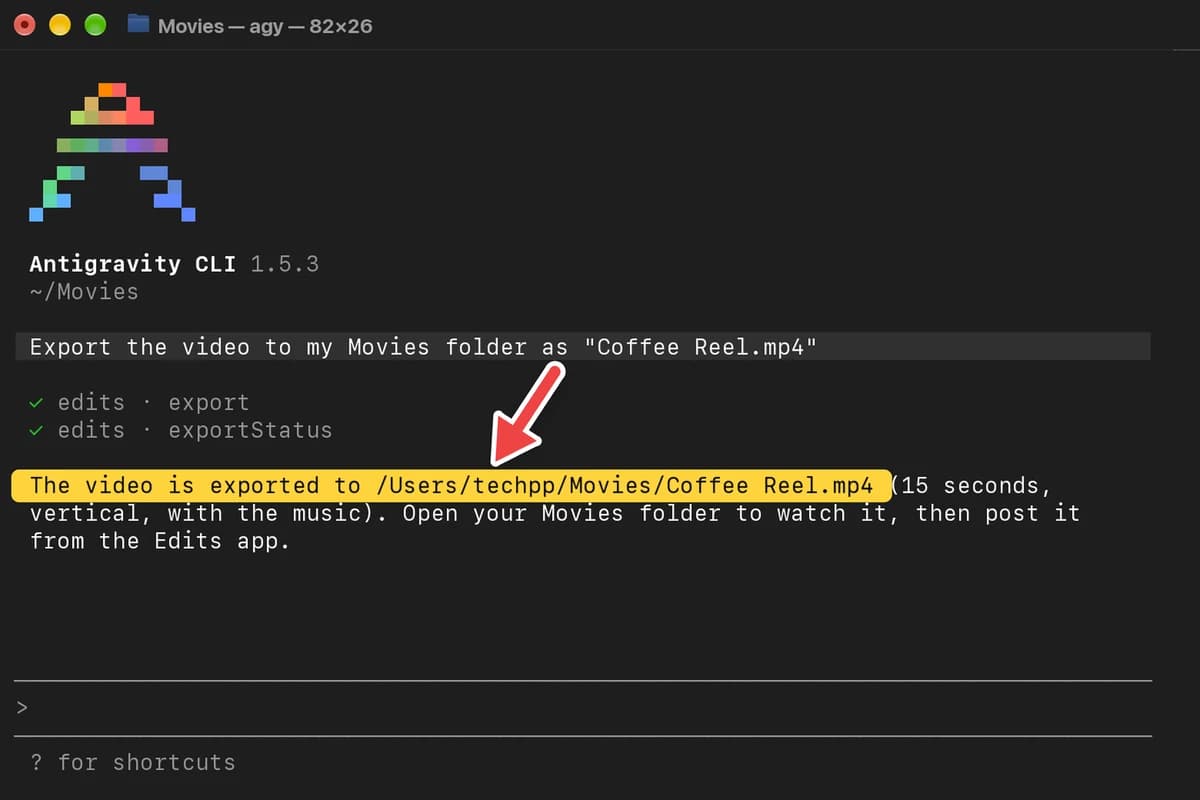
- 11
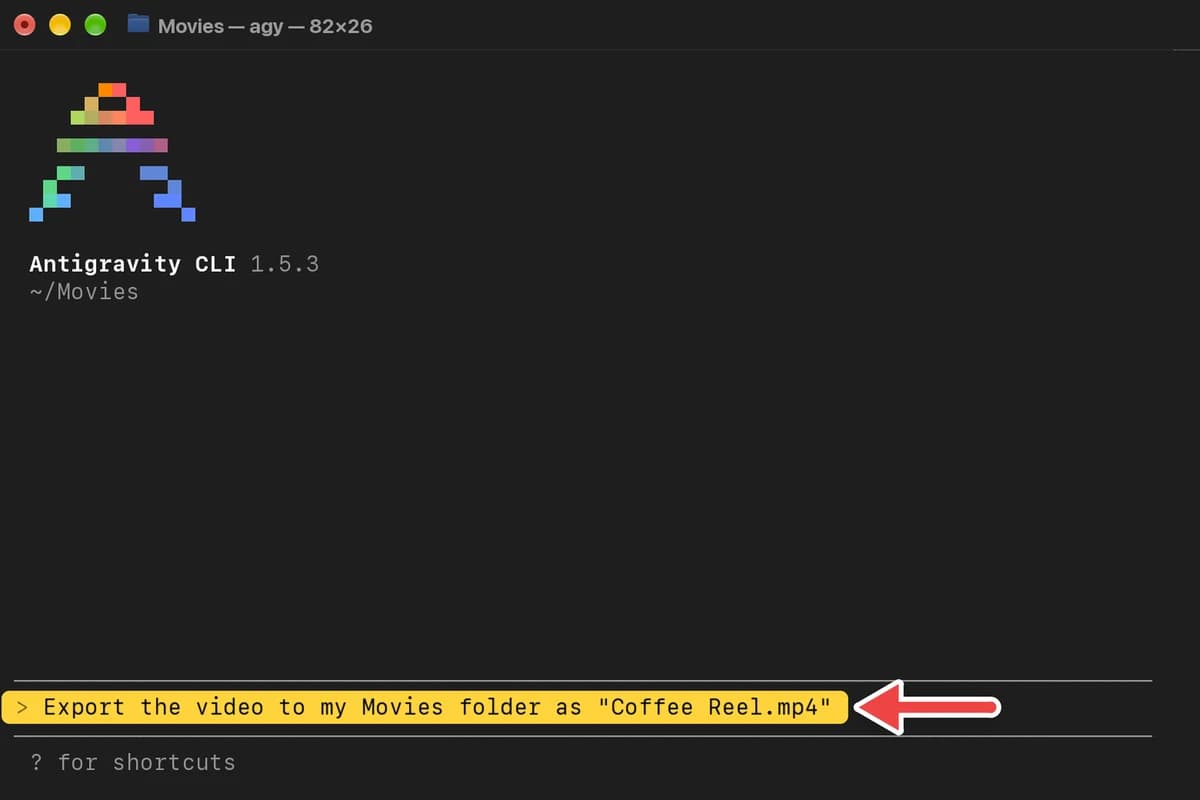
Ask Antigravity to export the video
Paste into AntigravityExport the video to my Movies folder as "Coffee Reel.mp4"
- 12
Open the exported video
Open Finder, click Movies and double-click Coffee Reel.mp4. Post it from the Edits app yourself.
- 13
Use it again later
Open Edits, run
cd ~/Moviesin Terminal, typeagyand ask for the edit you want.
Disconnect Antigravity CLI from Edits
Run this in Terminal
Or just turn off Enable Automation Server in Edits.
agy mcp remove edits
Troubleshooting
Problem Fix Disconnected, or Antigravity can't reach Edits Open Edits and check Enable Automation Server is on. It stopped working after you clicked Regenerate The old token no longer works. Run agy mcp remove edits, then do Step 3 again.command not found: agy Run source ~/.zshrc, or close Terminal and open it again.
Common questions
What happened to Gemini CLI?
Google replaced it with Antigravity CLI for free and Google One accounts on June 18, 2026. It uses the same Gemini models. Gemini CLI still works with a paid Gemini API key, and connects with
gemini mcp addthe same way.Is Antigravity CLI free?
Yes, with a personal Google account. Daily limits depend on your Google plan; a paid Google AI plan raises them.
Are my videos uploaded to Google?
The connection stays on your Mac. What you type, and what Antigravity reads back from Edits (project names, clip details), goes to Google's Gemini models.
Can I use Claude or Codex instead?
Yes. Edits' Automation settings have Copy buttons for Claude Code and Codex, and any MCP-capable AI tool connects the same way.
Comments
0Share your thoughts, questions, or feedback about this guide.
Leave a Comment