
How a camera works
From choosing a lens to the photo on your card. You can drag any picture to move it and tap the parts to work them.
Step 1
What a camera does
Every camera does three things: a lens gathers light, the aperture and shutter let a measured amount reach the sensor, and the sensor turns it into a picture. Here the parts sit in a row, in the order the light meets them.
Step 2
Inside a real camera
The same parts, packed into a mirrorless camera, the most common kind today. DSLRs add a mirror for an optical viewfinder, and phones shrink it all into a module a few millimetres thick.
Step 3
Choosing a lens
The focal length decides how much of the scene fits in the frame. Short lenses see wide, and long ones see a narrow slice that brings far things closer.
- Ultra-wide 14–20 mm
- Landscapes, buildings and small rooms.
- Wide 24–35 mm
- Everyday photos. Most phone cameras are about 24 mm.
- Standard 50 mm
- Close to what your eyes take in.
- Portrait 85–135 mm
- Flattering faces with a soft background.
- Telephoto 200–600 mm
- Sport and wildlife from far away.
- Macro 60–105 mm
- Small things, shown life-size.
- Fisheye 8–15 mm
- Up to 180°, with curved lines.
A prime has one focal length, and a zoom covers a range. Phones switch between two or three fixed cameras instead.
Step 4
Focus: making the picture sharp
Drag the lens to try it yourself.
The curved glass bends light from each point of the scene back to a point. When those points land on the sensor, the photo is sharp. Focusing just moves the glass, and autofocus does it with a tiny motor.
Step 5
Aperture: how much light gets in
Tap the iris to try it yourself.
A ring of blades opens and closes a hole. The f-number is the focal length divided by the hole's width, so f/2.8 is big and f/16 is tiny. Each stop halves the light, and a smaller hole keeps more of the scene sharp.
Step 6
Shutter: how long the light gets in
Tap the shutter to try it yourself.
Two curtains set how long light reaches the sensor: one opens, the other closes. 1/1000 s freezes motion and 1/30 s lets it blur. Phones do the same thing electronically.
Step 7
Sensor and ISO: turning light into numbers
Tap the shutter to try it yourself.
Millions of pixels each measure the light that lands on them, under red, green or blue filters. A bigger sensor gathers more light. ISO amplifies the readings, which brightens the photo but adds noise.
Step 8
Processor and card: turning readings into a photo
Tap the shutter to try it yourself.
The processor fills in the colours, fixes white balance and noise, and saves a JPEG to the card. A RAW file keeps the untouched readings for editing later.
Step 9
Putting it together
Turn your phone sideways to see the whole camera bench.

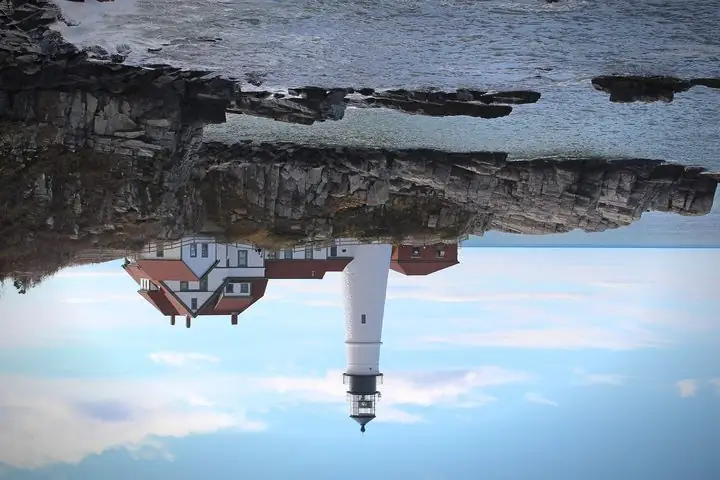
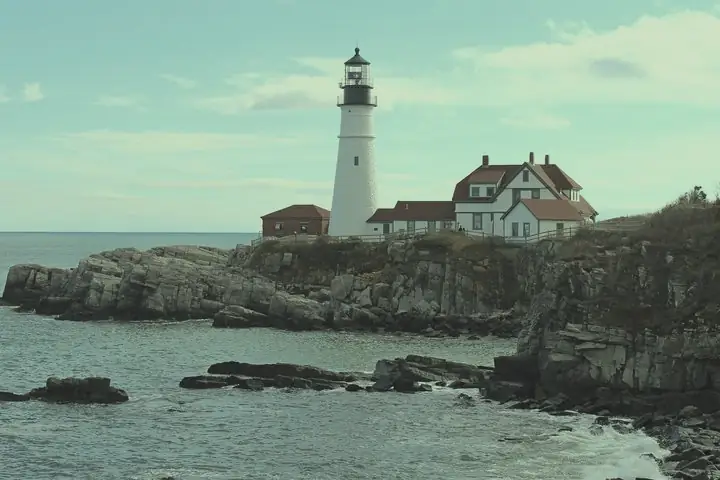

Scene 1 of 8
Light from the scene is focused by the lens, measured by the aperture and shutter, caught by the sensor and turned into a photo. Aperture, shutter speed and ISO together set how bright it is, and each has a side effect: depth of focus, motion blur and noise.
Was this article helpful?
Comments
0Share your thoughts, questions, or feedback about this guide.