
ColorOS 17 Camera UI Explained
Oppo has recently announced the global rollout timeline for ColorOS 17. However, this time is different. After sunsetting Realme OS and OxygenOS, both OnePlus and Realme smartphones will also get ColorOS 17.
While this isn't any drastic shift from Realme or OxygenOS, if you are a beginner and confused about what the various camera icons and symbols mean on ColorOS 17, this is a guide for you.
Photo mode
How to get here: CameraPHOTO
The camera opens in Photo mode. The controls at the top change the shot, the ones at the bottom change the lens, the look and the mode.
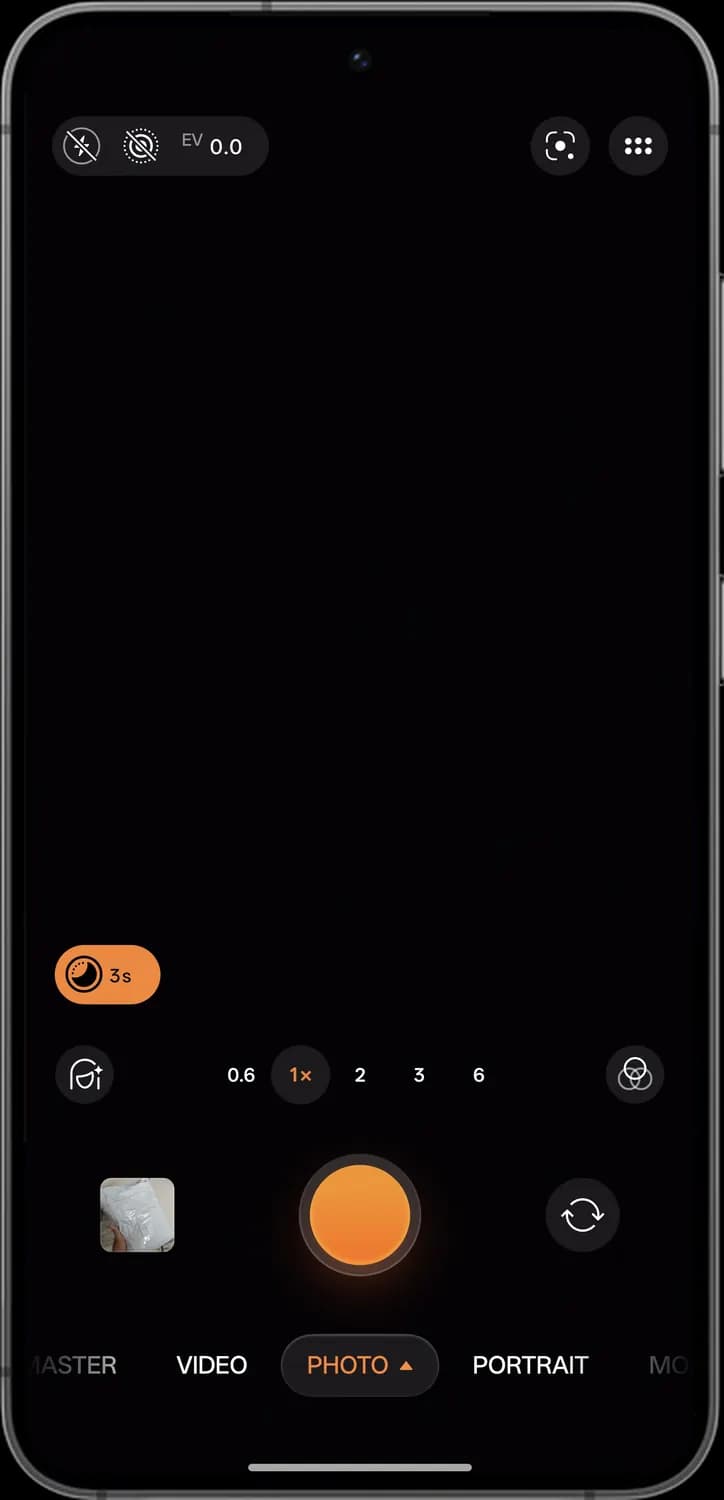
Top bar

Flash
Turns the flash on, off or to auto. The line through it means it is off.

Live Photo
Records a second or two of motion and sound around each photo. The line through it means it is off.
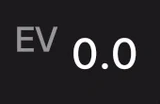
Exposure (EV)
Makes the photo brighter or darker. 0.0 is the camera's own choice.

Scanner
Opens the scanner for documents, translating text and QR codes.

Quick settings
Opens more controls such as aspect ratio, HDR and the timer.
Quick settings
How to get here: CameraPHOTOQuick settings
Tap the four-dot button at the top right, or swipe up on the viewfinder, to open these controls. The tiles change with the mode you are in.
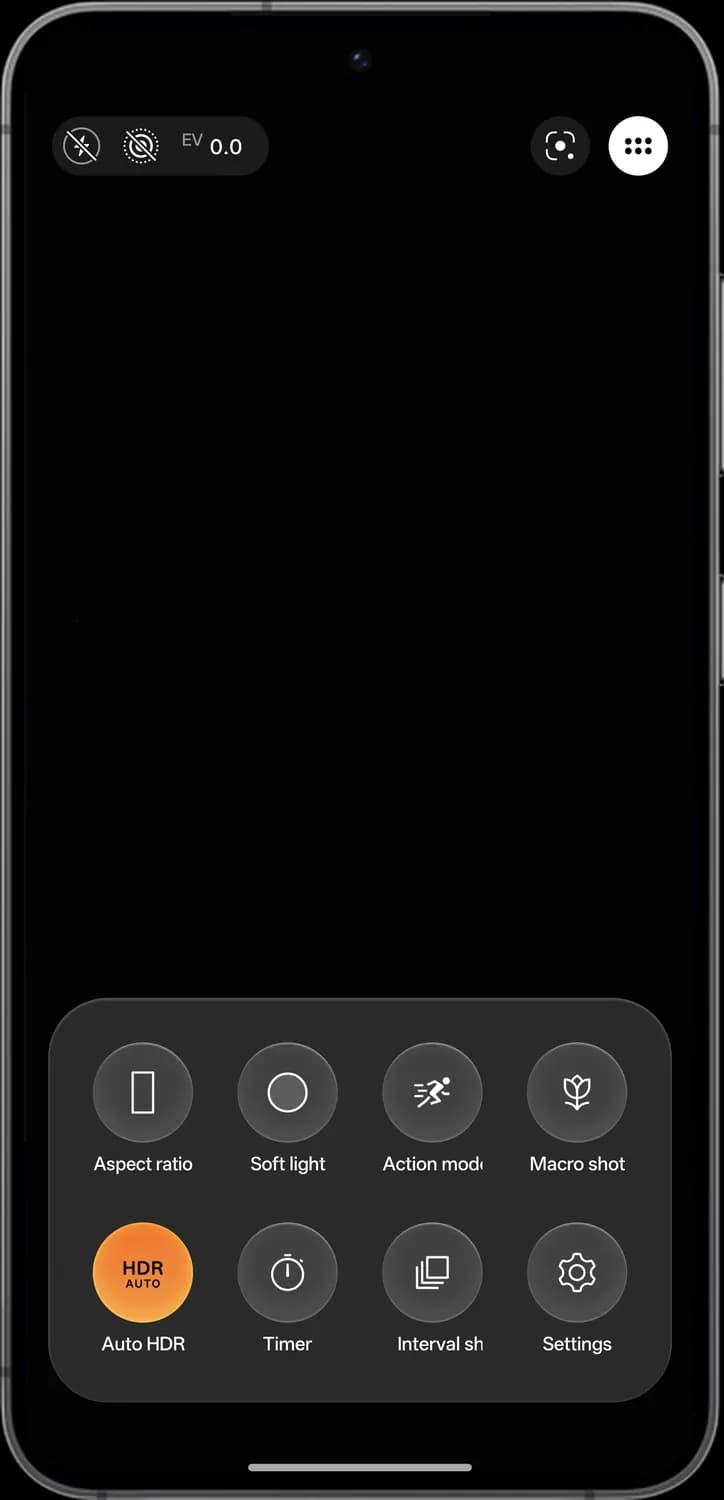

Quick settings
Highlighted while the panel is open. Tap again to close it.

Aspect ratio
The photo's shape, such as 4:3, 16:9, 1:1 or full screen.

Soft light
Gives people a softer, more flattering look.

Action mode
A faster shutter for things that move, such as kids, pets and sports.
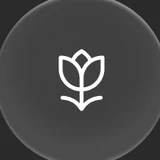
Macro shot
Focuses on things very close to the lens, such as flowers or text.

Auto HDR
Blends several exposures so bright skies and dark shadows both keep detail. Auto turns it on when needed.
Timer
Waits a few seconds before taking the photo.

Interval shot
Takes photos one after another at a set interval.

Settings
All camera settings.
Portrait mode
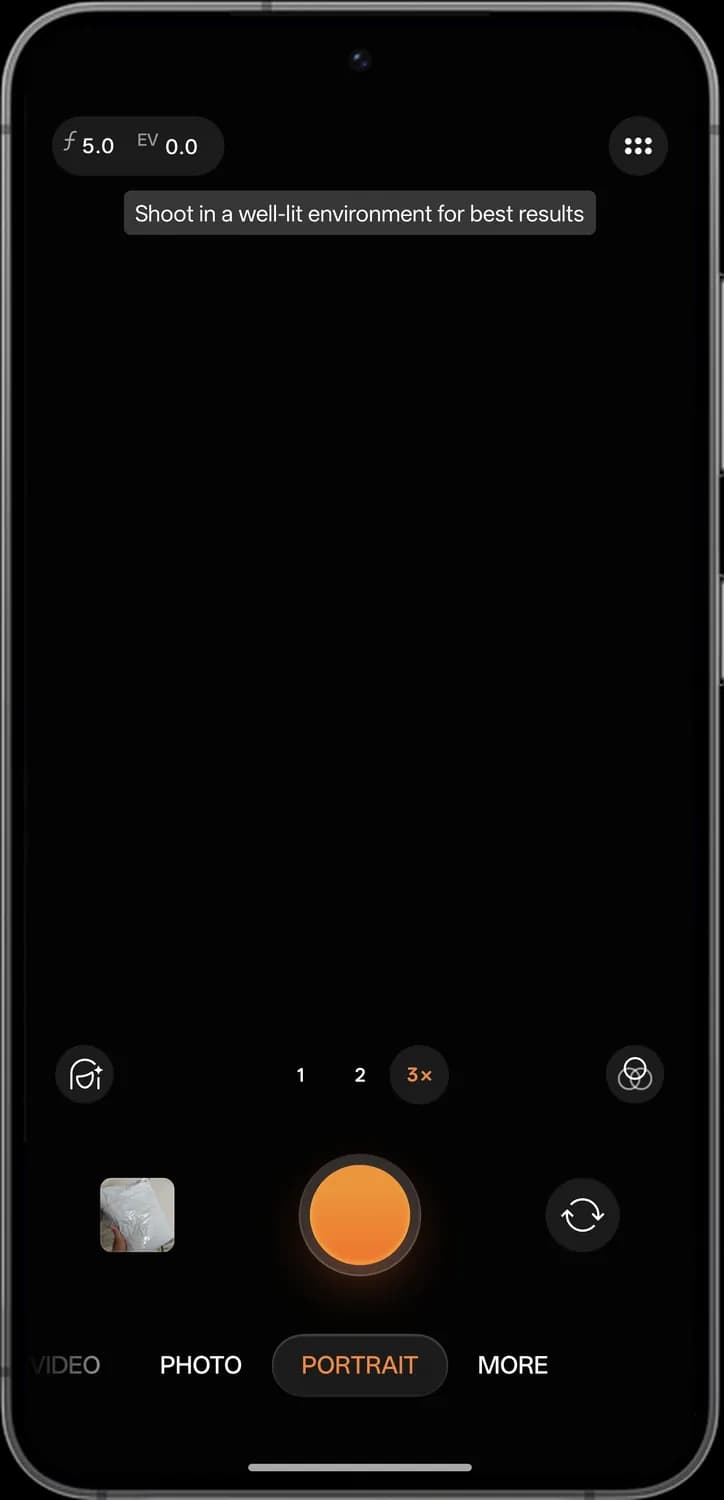
How to get here: CameraPORTRAIT
Portrait mode blurs the background behind people, like a camera with a wide aperture.
Aperture
How strong the background blur is. A lower f number blurs more.
Exposure (EV)
Makes the photo brighter or darker.

Tip
Portrait mode works best with plenty of light.

Portrait lenses
1, 2 and 3x. The longer lenses flatter faces and blur more.
Video mode
How to get here: CameraVIDEO
Video mode has the same layout as Photo, with a red record button and video settings at the top.
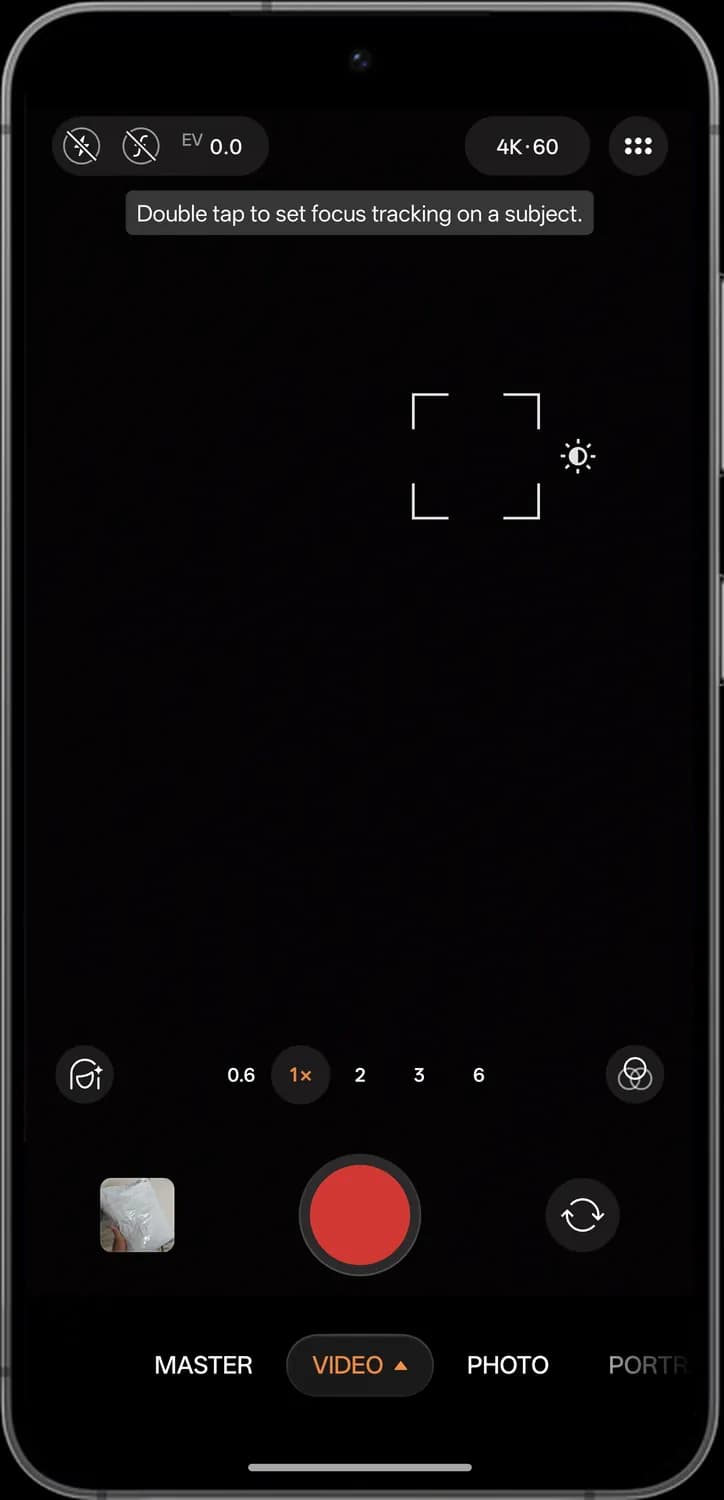

Video background blur
Blurs the background behind people in videos. The line through it means it is off.
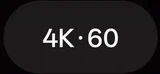
Resolution and frame rate
4K at 60 frames per second here. Tap to change it.

Focus tracking tip
Double-tap a subject to keep it in focus as it moves.

Focus box
Where the camera is focusing. Tap anywhere to move it.
Brightness
Drag the sun up or down to make the video brighter or darker.

Record
Starts and stops recording.
Master mode
How to get here: CameraMASTER
Master mode is for people who want more control and natural-looking photos.
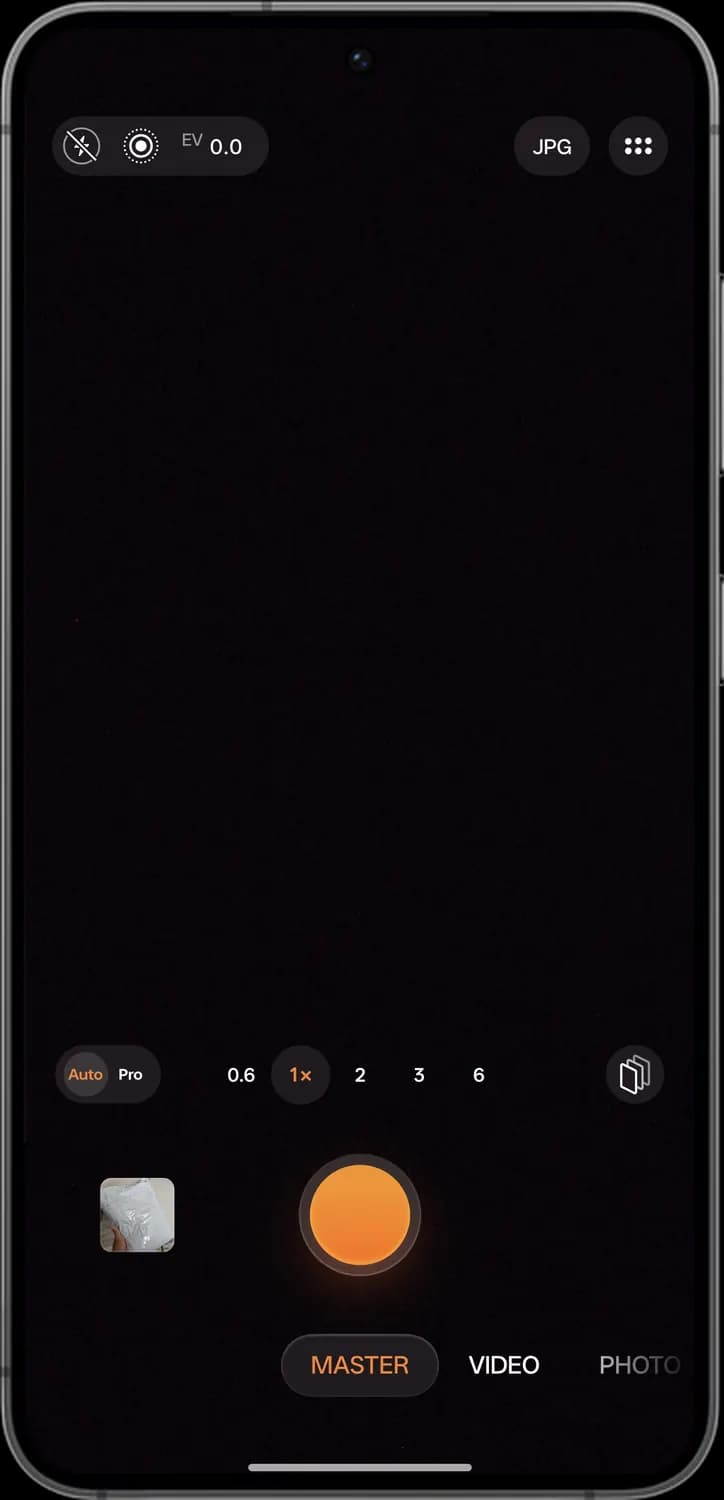

Live Photo on
The same Live Photo switch. Without the line, it is on.
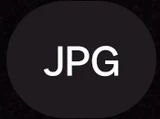
File format
JPG here. Tap to switch to RAW, which keeps more detail for editing later.
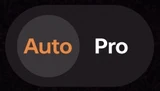
Auto or Pro
Auto lets the camera decide. Pro lets you set ISO, shutter speed, focus and white balance yourself.

Styles
Colour and tone looks for Master mode.
More modes
How to get here: CameraMORE
Swipe the mode bar to MORE to see every other mode. Tap one to switch to it.
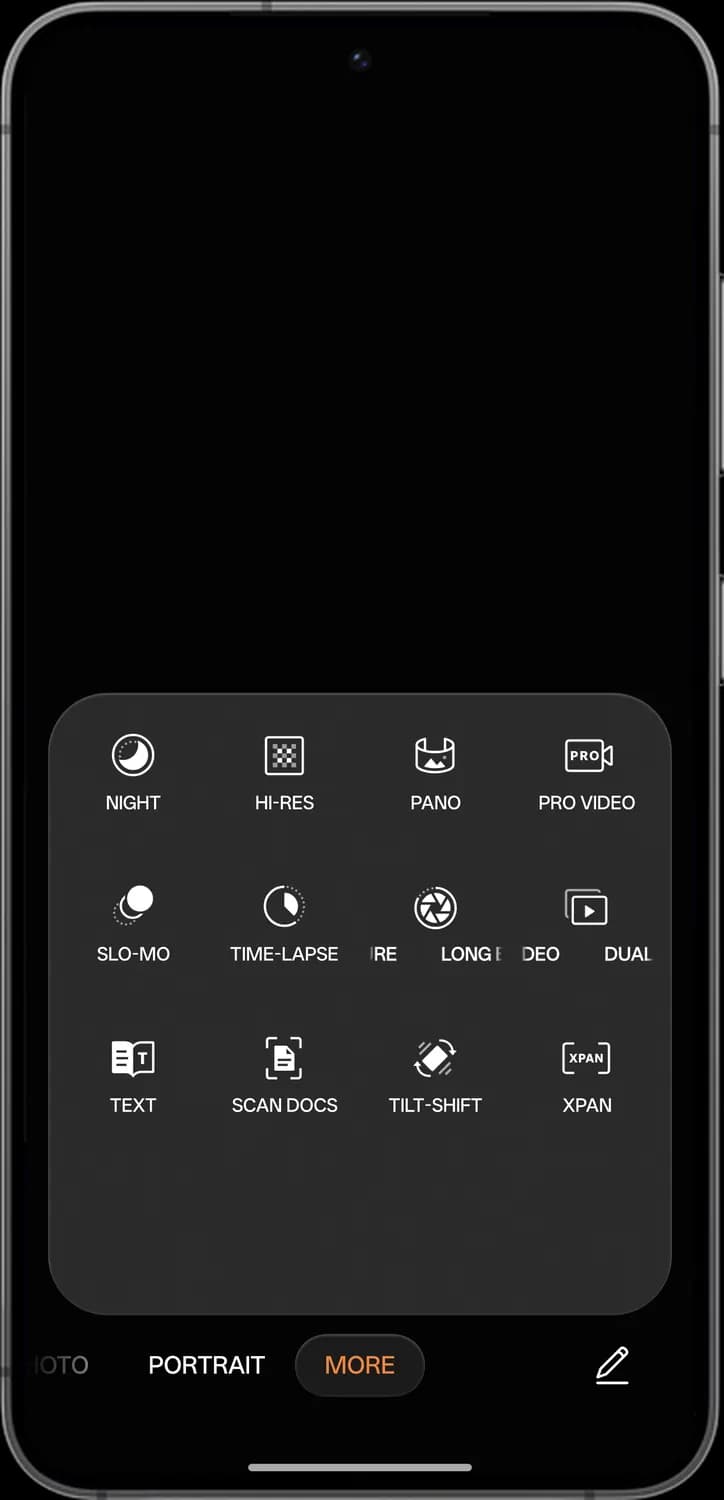
First two rows

Night
Brighter, cleaner photos in the dark, using a longer exposure.

Hi-res
Uses the full resolution of the sensor for the most detail.

Pano
Takes a wide panorama as you move the phone across a scene.

Pro video
Video with manual control of ISO, shutter speed, focus and white balance.

Slo-mo
Records in slow motion.
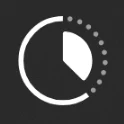
Time-lapse
Speeds up long scenes, such as clouds or traffic, into a short video.

Long exposure
Keeps the shutter open longer to blur moving things, such as light trails or flowing water.

Dual-view video
Records with the front and back cameras at the same time.
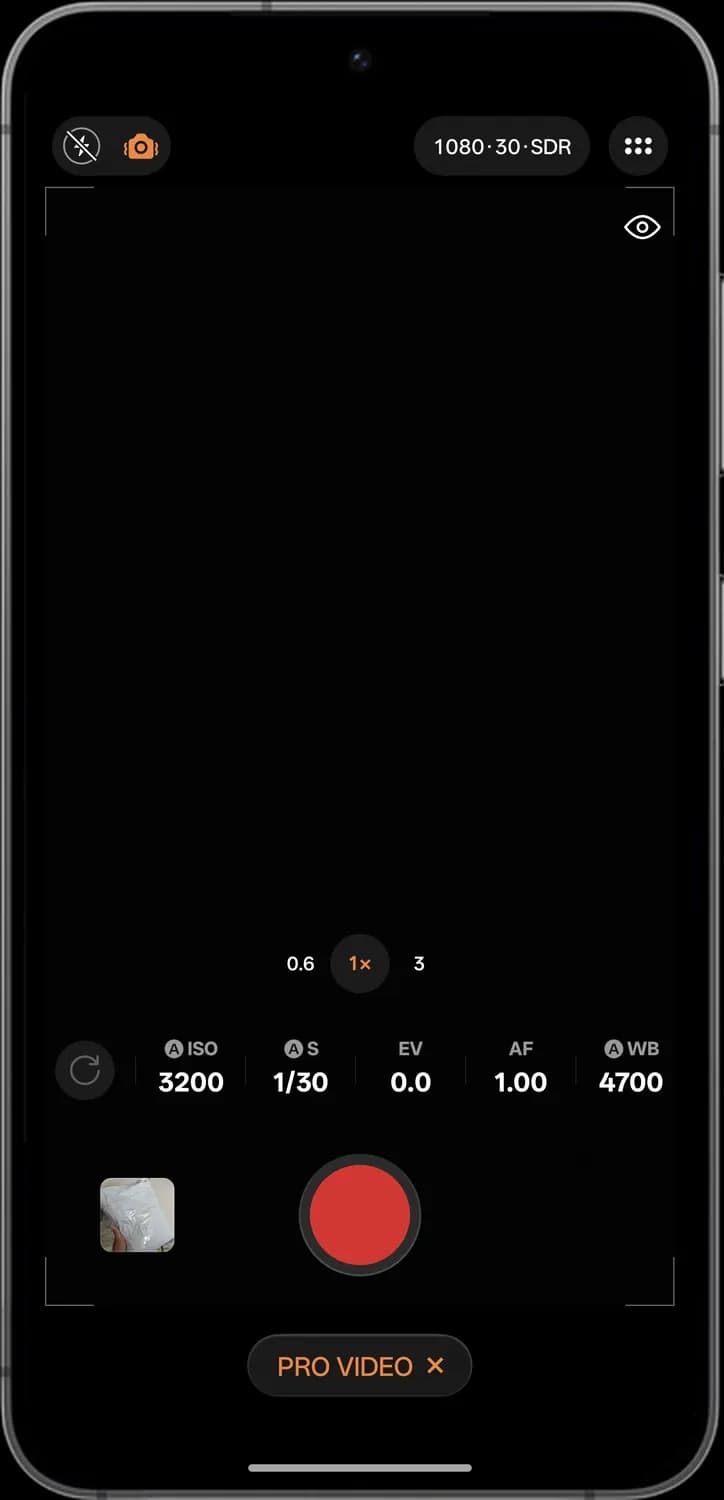
Pro video
How to get here: CameraMOREPRO VIDEO
Pro video puts every setting on a dial. An A next to a setting means it is on auto; tap it to set it yourself.

Stabilisation
Keeps handheld video steady. Orange means it is on.
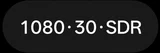
Video format
Resolution, frame rate and dynamic range: 1080p, 30 frames a second and SDR here. Tap to change them.

Reset
Puts every setting back to auto.
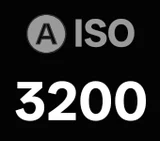
ISO
How sensitive the sensor is to light. Higher is brighter but grainier.
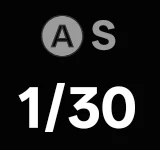
Shutter speed
How long each frame is exposed. 1/30 suits 30 frames a second.
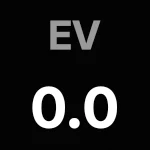
Exposure (EV)
Makes the whole video brighter or darker.
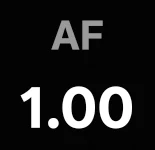
Focus
Manual focus distance. Slide it to focus nearer or further.
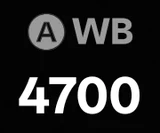
White balance
Colour temperature in kelvin. Lower looks cooler and bluer, higher looks warmer.
Current mode
The mode you are in. Tap the cross to go back to the main modes.
Panorama
How to get here: CameraMOREPANO
Press the shutter, then move the phone slowly along the line to capture a wide scene.
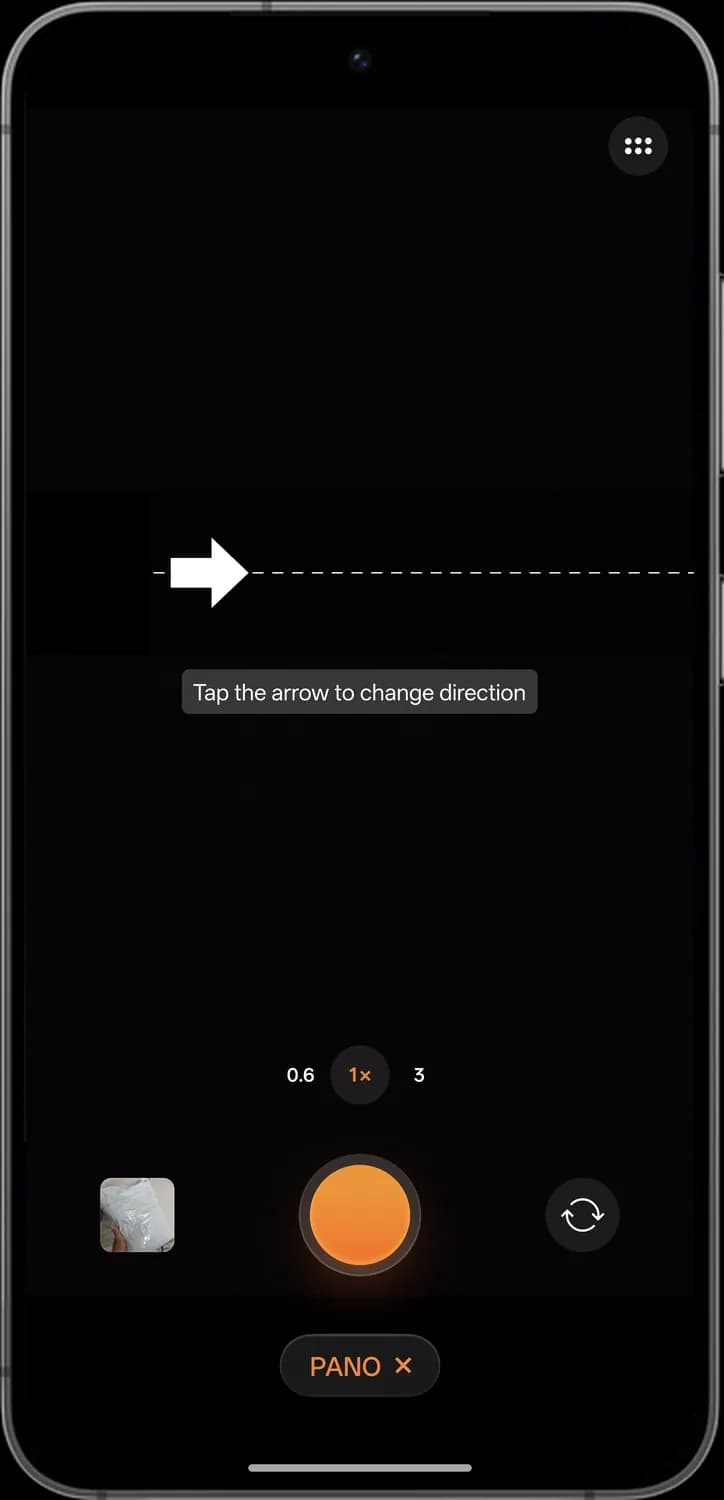

Direction arrow
Which way to move the phone. Tap it to pan the other way.

Guide line
Keep the arrow on this line as you move for a straight panorama.

Tip
Reminds you that the arrow changes direction.

Shutter
Starts the panorama. Tap again to finish early.

Current mode
Tap the cross to leave panorama.
Time-lapse
How to get here: CameraMORETIME-LAPSE
Time-lapse records for a long time and plays it back fast.
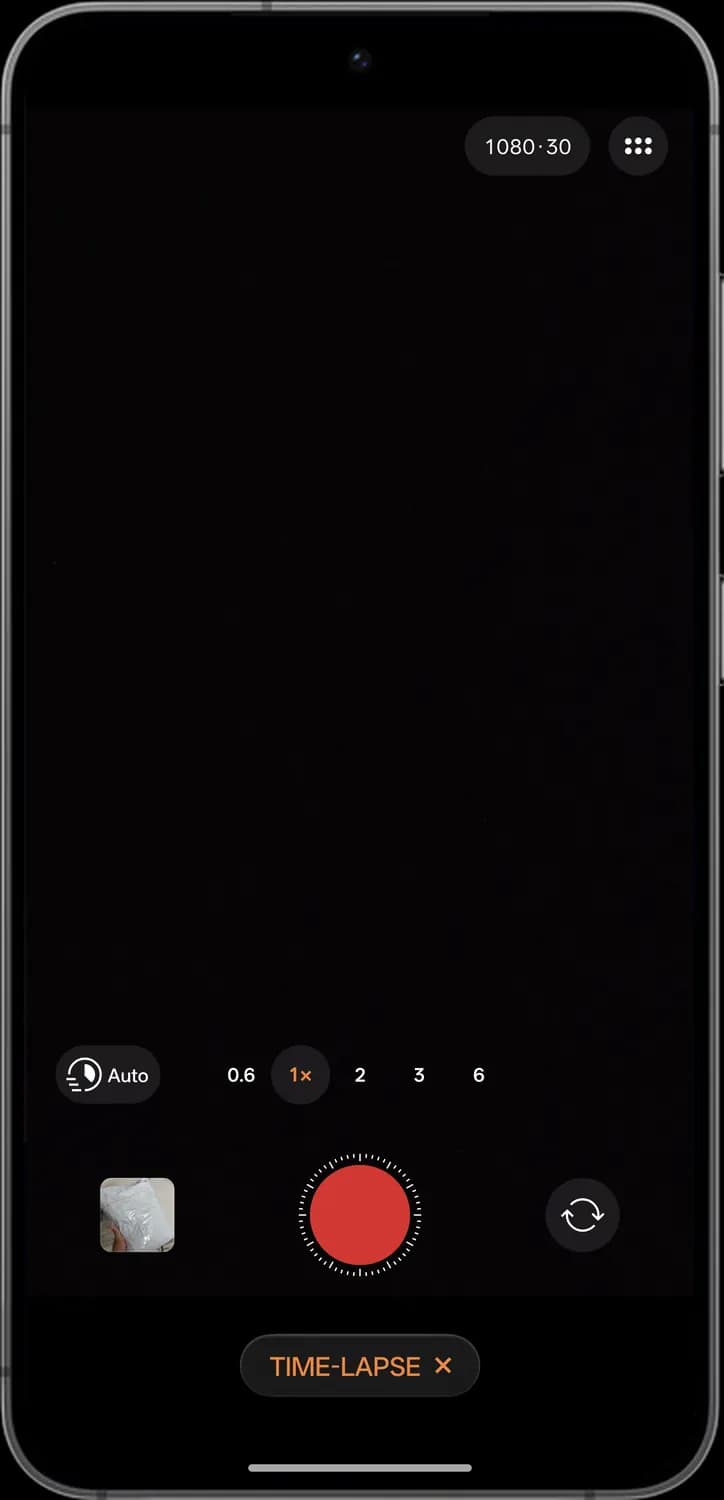
Video format
The video's resolution and frame rate.
Speed
How much faster the video plays back. Auto picks the speed for you; tap to choose your own.

Record
Starts and stops the time-lapse. The ticks round it show it records in steps.
Current mode
Tap the cross to leave time-lapse.
Dual-view video
How to get here: CameraMOREDUAL-VIEW VIDEO
Dual-view video records you and what you are filming at the same time.
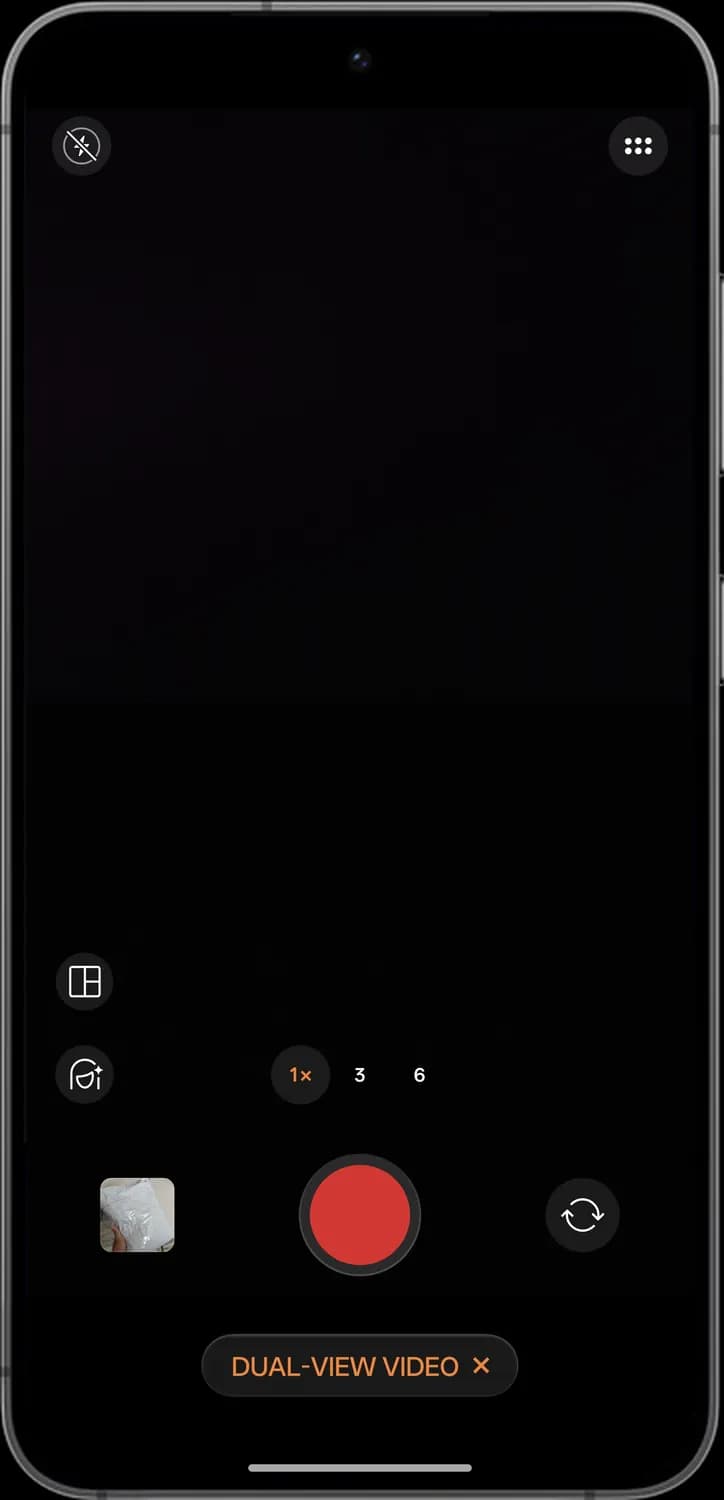

Layout
How the two views are arranged, such as side by side or a small window.
Zoom
Zoom for the back camera.
Current mode
Tap the cross to leave dual-view video.
XPAN
How to get here: CameraMOREXPAN
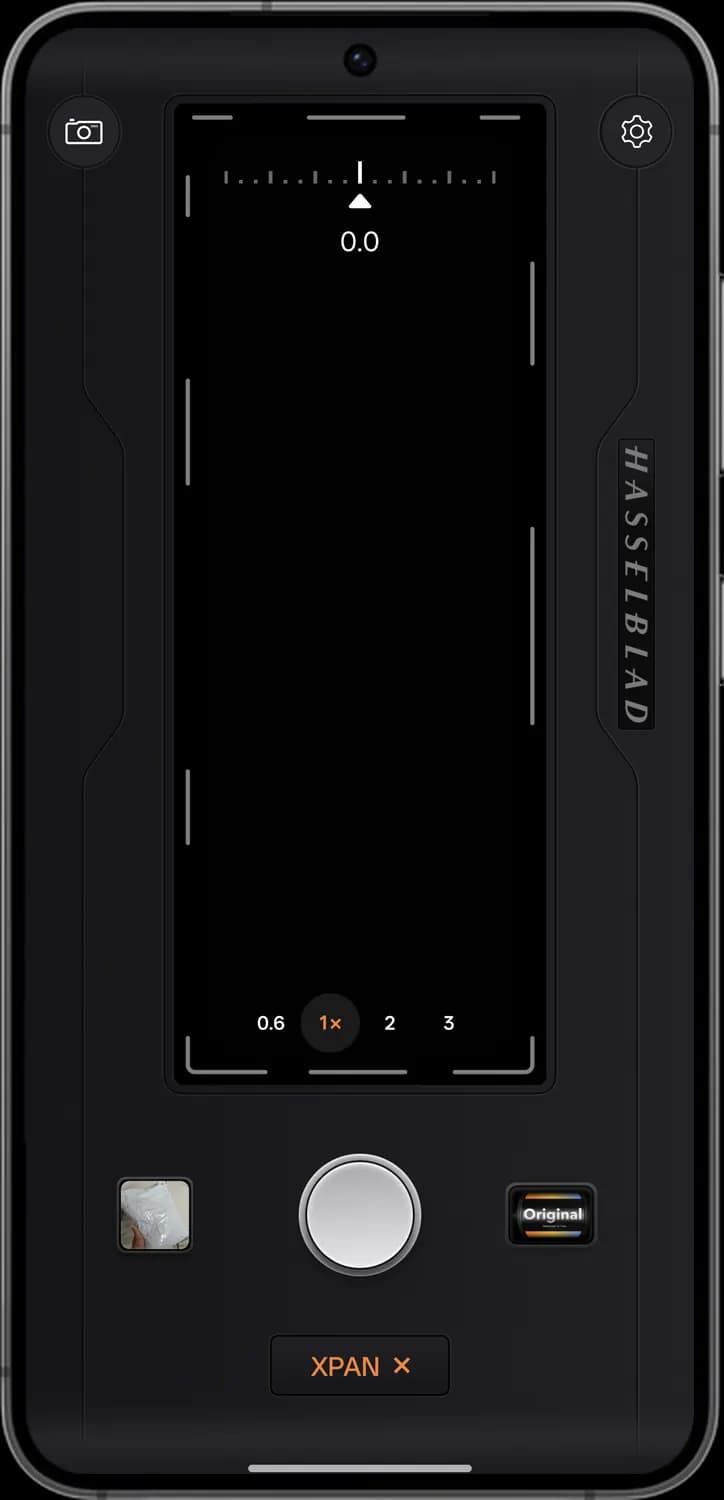
XPAN mode gives the camera a Hasselblad look, with the wide 65:24 frame of the XPan film camera.
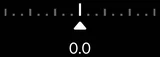
Exposure dial
Drag along the scale to make the shot brighter or darker.
XPAN settings
Settings for this mode.
Hasselblad
Marks the mode as a Hasselblad look.
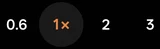
Zoom
Switches lenses inside the wide frame.
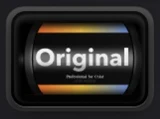
Colour style
The look of your photos. Original keeps natural colours; tap for other film-style looks.
Current mode
Tap the cross to leave XPAN.
Scanner
How to get here: CameraPHOTOScanner
The scanner icon in Photo mode opens a separate camera for documents, text and codes.
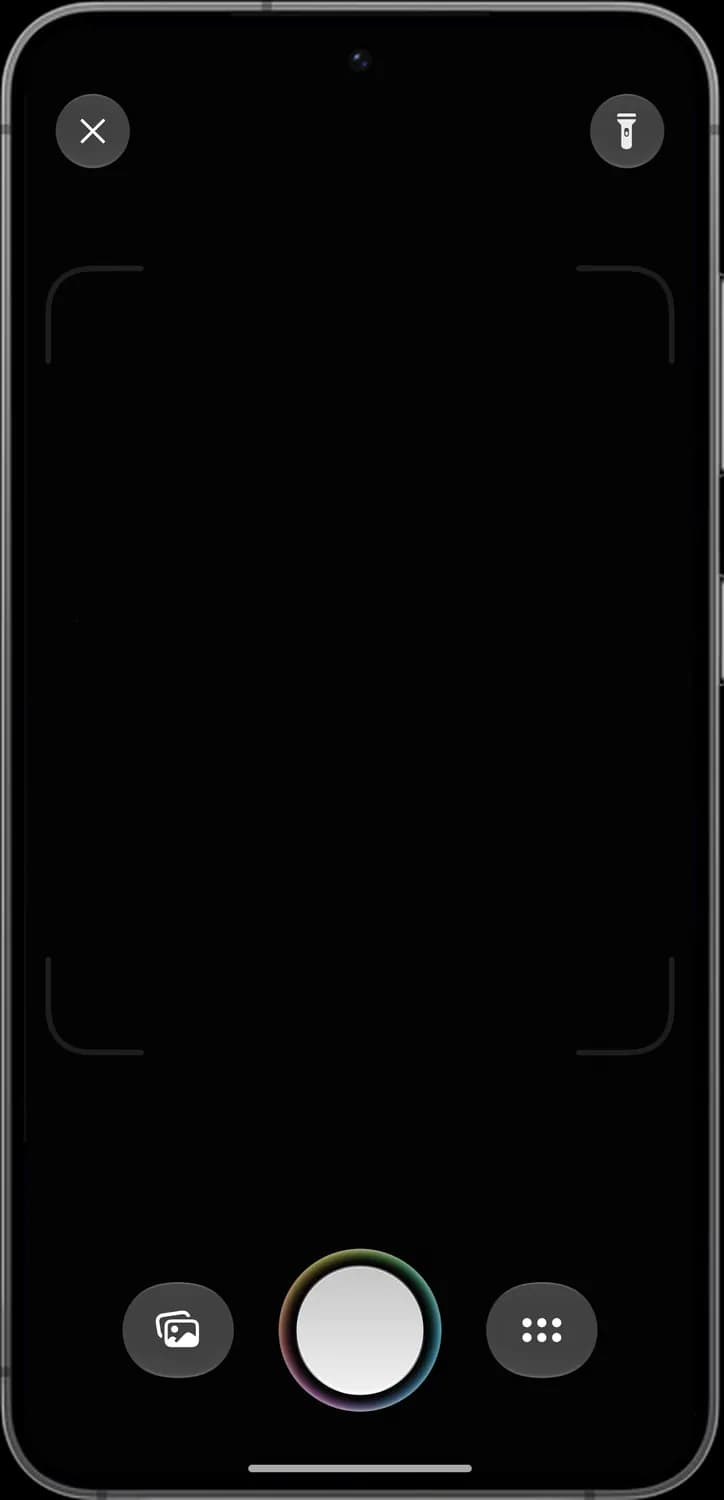
Scanner

Close
Goes back to the camera.
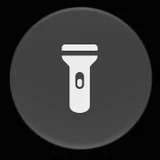
Torch
Turns the light on to scan in the dark.

Scan frame
Fit what you want to scan inside the corners.

Import
Scans a photo from your gallery instead.

Scan
Scans what is inside the frame.

More tools
Opens the scanner's tools: documents, translate and codes.
Those are the camera icons and features mean on Oppo ColorOS 17 since every device running ColorOS will have a similar interface with few features missing depending on the phone model. This should help you to learn everything about the camera app on your phone. If you still see icons you're confused about, you can comment below, I'm happy to help.
Was this article helpful?
Comments
0Share your thoughts, questions, or feedback about this guide.